
DIY Dog Breath Mints: Easy Frozen Recipe Your Dog Will Love
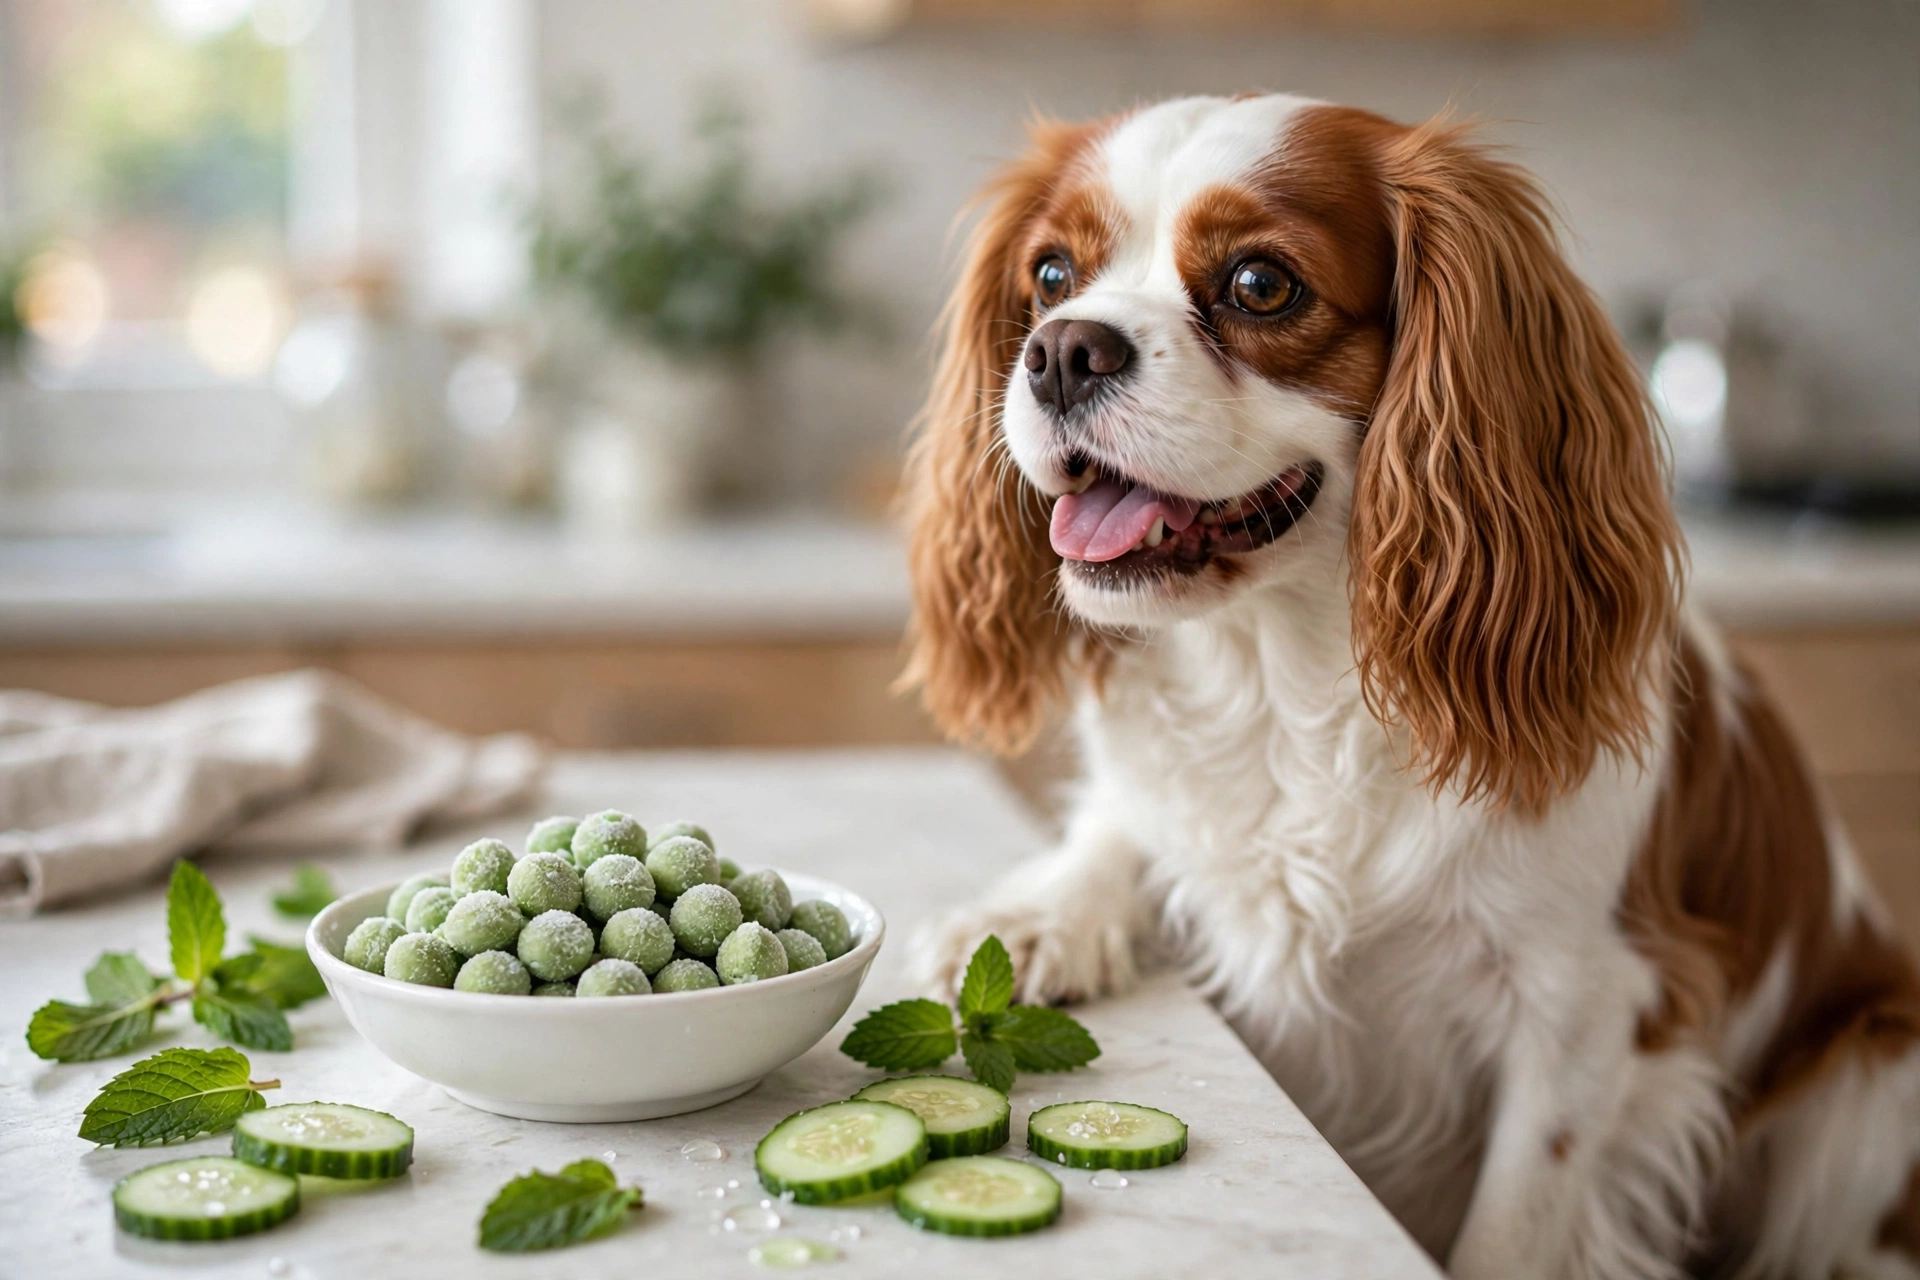
There is nothing quite like leaning in for a cuddle with your dog and getting a face full of fishy, sour doggy breath. If you have ever wished for a simple homemade fix, these DIY dog breath mints are worth a try. Made from fresh mint, parsley, cucumber, and tangy kefir, they freeze into bite-size treats that freshen your dog’s breath while giving you full control over every ingredient.
In this guide, I will explain what actually causes bad breath in dogs, share one easy no-cook recipe with a full ingredients table and step-by-step instructions, and cover portions, storage, and answers to the most common questions.
Table of Contents
- What Causes Dog Bad Breath?
- DIY Dog Breath Mints Recipe
- Portion and Serving Sizes
- Storage Instructions
- Frequently Asked Questions
- Keep Reading
What Causes Dog Bad Breath?
Before tossing treats at the problem, it helps to know where bad breath comes from. The most common culprit is plaque and tartar buildup on your dog’s teeth. As plaque hardens into tartar along the gum line, bacteria thrive and release foul-smelling gases. Regular brushing and dental cleanings matter far more than any treat, but the right snacks can help between brushings.
Diet plays a role too. Dogs fed a steady diet of rich foods may develop breath that reflects what is happening in their gut, not just their mouth. That is why breath-freshening treats built around chlorophyll-rich herbs and probiotic dairy or kefir can do more than mask odors: fresh herbs like mint and parsley naturally neutralize odors, while live cultures support a healthier balance in the digestive tract.
One important warning: if your dog’s breath suddenly turns extremely bad, smells sweet or like chemicals, or is paired with drooling, bleeding gums, or appetite loss, skip the treats and call your veterinarian. Persistent bad breath can signal dental disease, kidney issues, or digestive problems that no mint can fix.
DIY Dog Breath Mints Recipe
Frozen Minty Cucumber Kefir Breath Mints
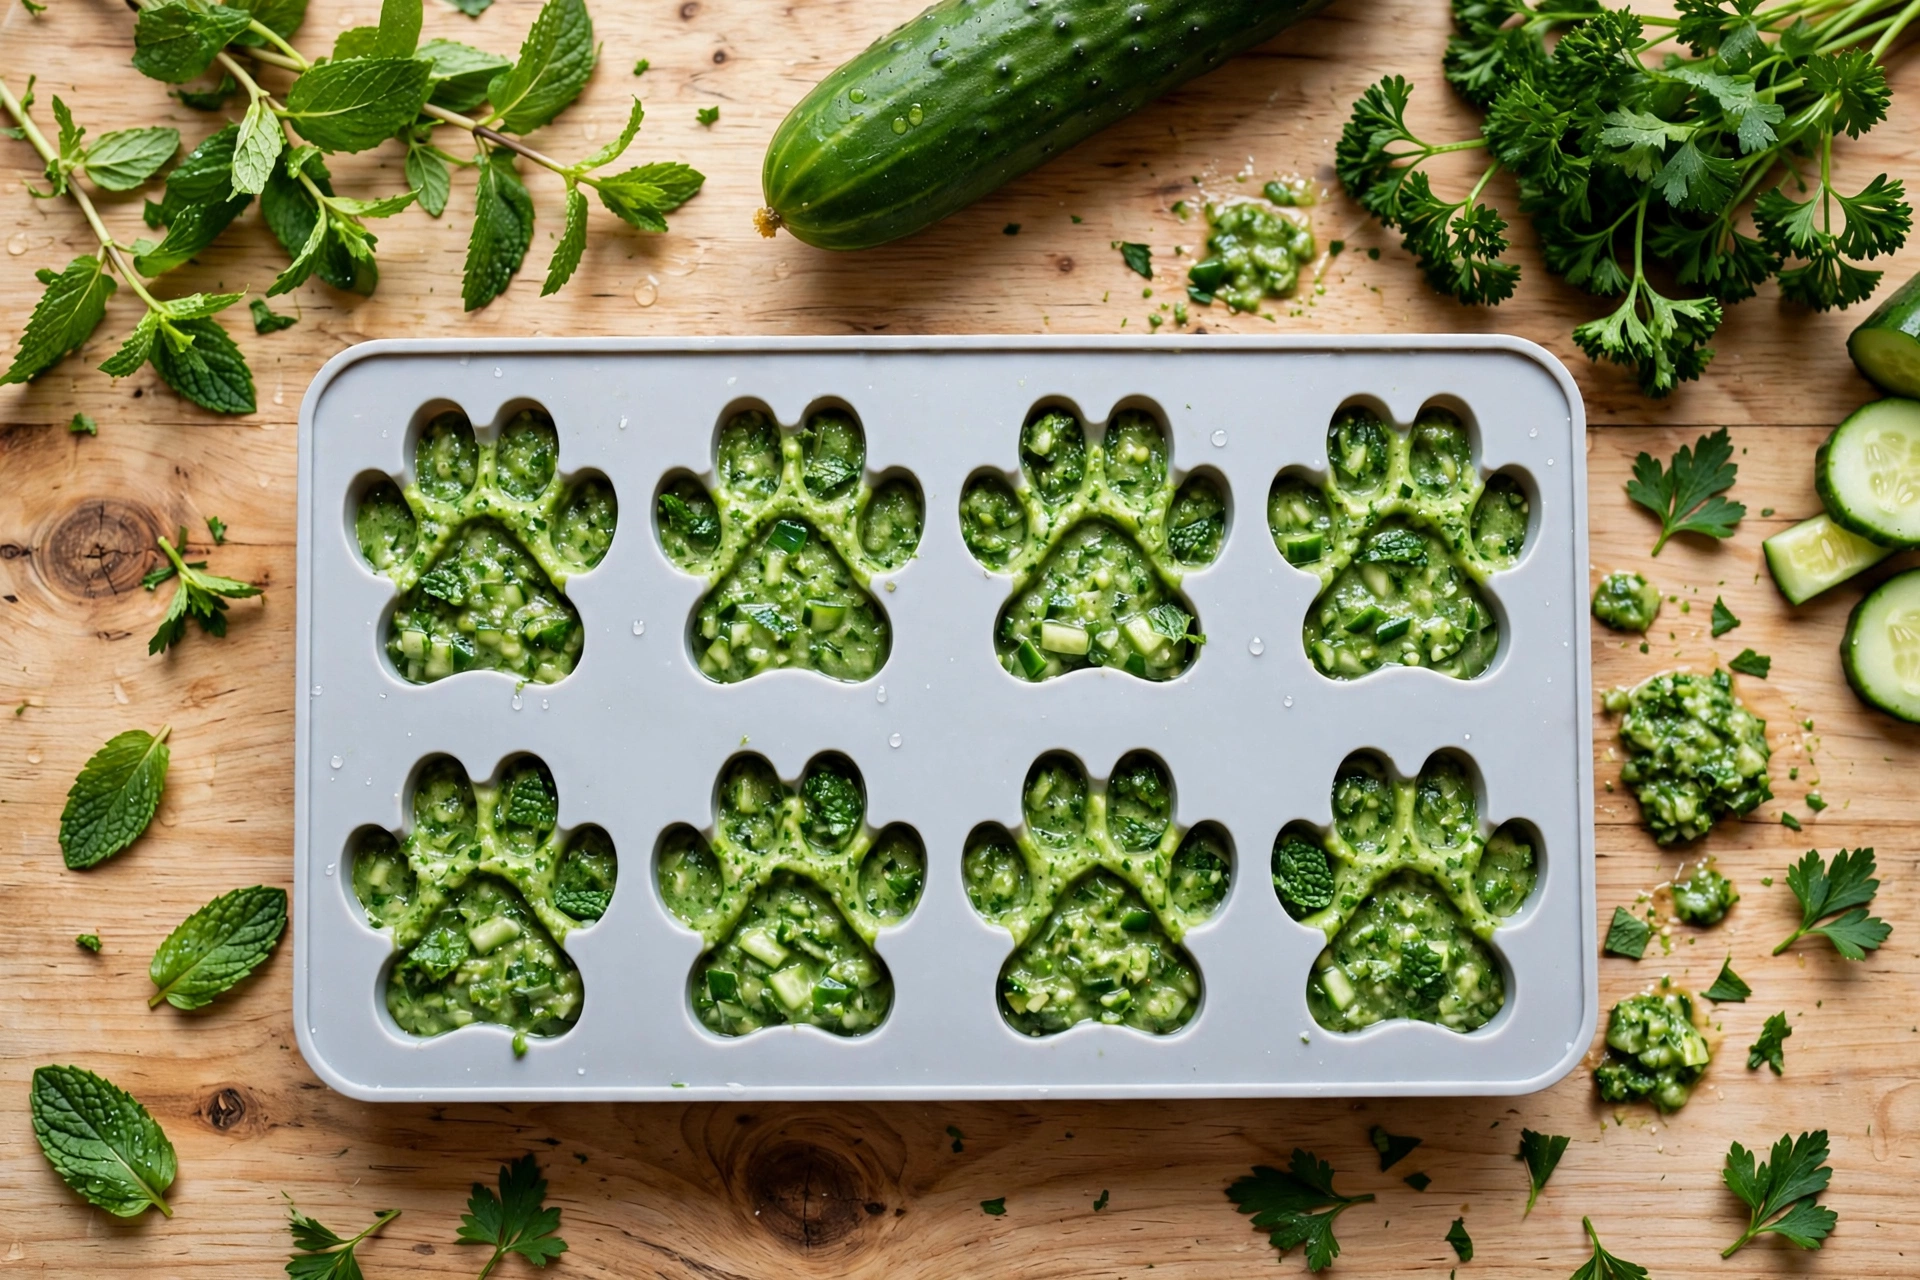
These no-cook mints combine fresh mint and parsley for their natural odor-fighting chlorophyll, cooling cucumber for hydration, and plain unsweetened kefir for probiotic support. The mixture freezes into small, firm treats that dogs crunch happily — and the cold texture doubles as a mild teeth-cleaning chew.
This batch makes about 30 small mints using standard mini silicone molds. You can easily double or halve the recipe.
Ingredients
| Ingredient | Amount |
|---|---|
| Fresh mint leaves, packed | 1/2 cup |
| Fresh flat-leaf parsley | 1/3 cup |
| Cucumber, peeled and chopped | 3/4 cup |
| Plain unsweetened kefir | 3 tablespoons |
| Cold water | 1/3 cup |
Step-by-Step Instructions
- Wash the herbs. Rinse the mint leaves and parsley under cool running water to remove dirt, then shake off the excess moisture. Pull the mint leaves from their stems; discard any thick, woody stems from the parsley.
- Prep the cucumber. Peel the cucumber and chop it into rough 1-inch chunks. Removing the peel keeps the texture smooth and avoids any wax coating found on grocery-store cucumbers.
- Load the blender. Add the cucumber chunks, mint leaves, parsley, kefir, and water to a blender or food processor. Put the water and kefir in first so the blades have liquid to work with from the start.
- Blend until silky. Run the blender on low for about 15 seconds to break down the solids, then switch to high and blend for 45 to 60 seconds until the mixture is completely smooth and bright green. Stop and scrape down the sides once if needed.
- Check the texture. The blend should pour easily, like a thick smoothie. If it is too thick and will not flow from a spoon, add cold water one tablespoon at a time and blend again. If your dog is picky about texture, you can pour the mixture through a fine-mesh strainer for an extra-silky finish.
- Fill the molds. Spoon or pour the mixture into silicone molds, ice cube trays, or mini muffin tins. Leave a little room at the top of each cavity — the mixture expands slightly as it freezes. Small paw or bone shapes work great for portioning.
- Freeze solid. Set the molds on a flat tray so they do not tip, and freeze for at least 4 hours. Overnight freezing gives the firmest mints, especially with larger molds.
- Pop out and pack. Push the frozen mints out of the molds and transfer them to an airtight freezer bag or container. They are ready to serve straight from the freezer.
Recipe tips: If your dog turns up its nose at green treats, crumble a small piece over their regular food the first couple of times — most dogs come around quickly once they taste them. Dogs with dairy sensitivities should have the kefir swapped for plain coconut yogurt in the same amount. And never use mint-flavored gum ingredients, flavored yogurt, or sweeteners of any kind; only plain, unsweetened ingredients are safe here.
Portion and Serving Sizes
Because these mints contain concentrated fresh herbs, serve them as a supplement treat, not a meal. Keep them to roughly 10 percent of your dog’s daily calories. As a general guide for small mints made in standard mini molds:
| Dog Size | Serving | Frequency |
|---|---|---|
| Small (under 20 lbs) | 1 small mint | Once daily |
| Medium (20 to 50 lbs) | 1 to 2 small mints | Once or twice daily |
| Large (50 to 90 lbs) | 2 small mints | Once or twice daily |
| Giant (over 90 lbs) | 2 to 3 small mints | Twice daily |
Serve the mints directly from the freezer — the cold, firm texture encourages chewing, which is where most of the teeth-cleaning benefit comes from. For senior dogs or dogs with missing teeth, let a mint sit on the counter for 5 to 10 minutes to soften before serving. Start with a smaller amount than the chart suggests for the first few days so your dog’s stomach can adjust to the fresh herbs.
Storage Instructions
These mints must be stored frozen to hold their shape. Here is how long they keep:
- Freezer: Up to 3 months in an airtight freezer bag or container. Squeeze out as much air as possible and label the bag with the date. Place parchment paper between layers if you are stacking mints so they do not freeze together.
- Refrigerator: Not recommended. The mints melt into a green liquid within an hour or two at fridge temperature.
- Counter: Serve only — they soften within minutes at room temperature.
For the best flavor and the strongest breath-freshening effect, use your mints within the first 2 months. Past 3 months they are still safe, but the herbs can lose their potency and the texture may turn grainy from freezer burn.
Frequently Asked Questions
Are mint leaves safe for dogs?
Yes, fresh mint leaves (spearmint and peppermint) are safe for dogs in the small amounts used in treats. Keep servings moderate — very large quantities of any herb can upset a sensitive stomach. Avoid pennyroyal, which is toxic to dogs.
Will these mints fix my dog’s dental problems?
No. Breath mints freshen breath and support oral freshness, but they cannot remove hardened tartar or treat gum disease. They work best alongside regular tooth brushing and professional dental cleanings. If your dog has red or bleeding gums, see your vet first.
Can puppies have these breath mints?
Puppies over 12 weeks old can have a very small amount — a crumb or a lick — to check tolerance. Their stomachs are sensitive, so introduce new herbs slowly and stick to tiny servings.
How soon will I notice fresher breath?
Many owners notice an improvement after 3 to 5 days of daily use. Dogs with long-standing breath issues may take 2 to 3 weeks, since the biggest gains come from consistent use rather than a single treat.
Can I use dried herbs instead of fresh?
Fresh herbs give the best flavor, color, and chlorophyll content for this recipe. If you must substitute, use about one-third the amount of dried herbs, but expect a duller green color and milder effect.



2 Comments