7 Fun Dog Art DIY Projects to Make at Home
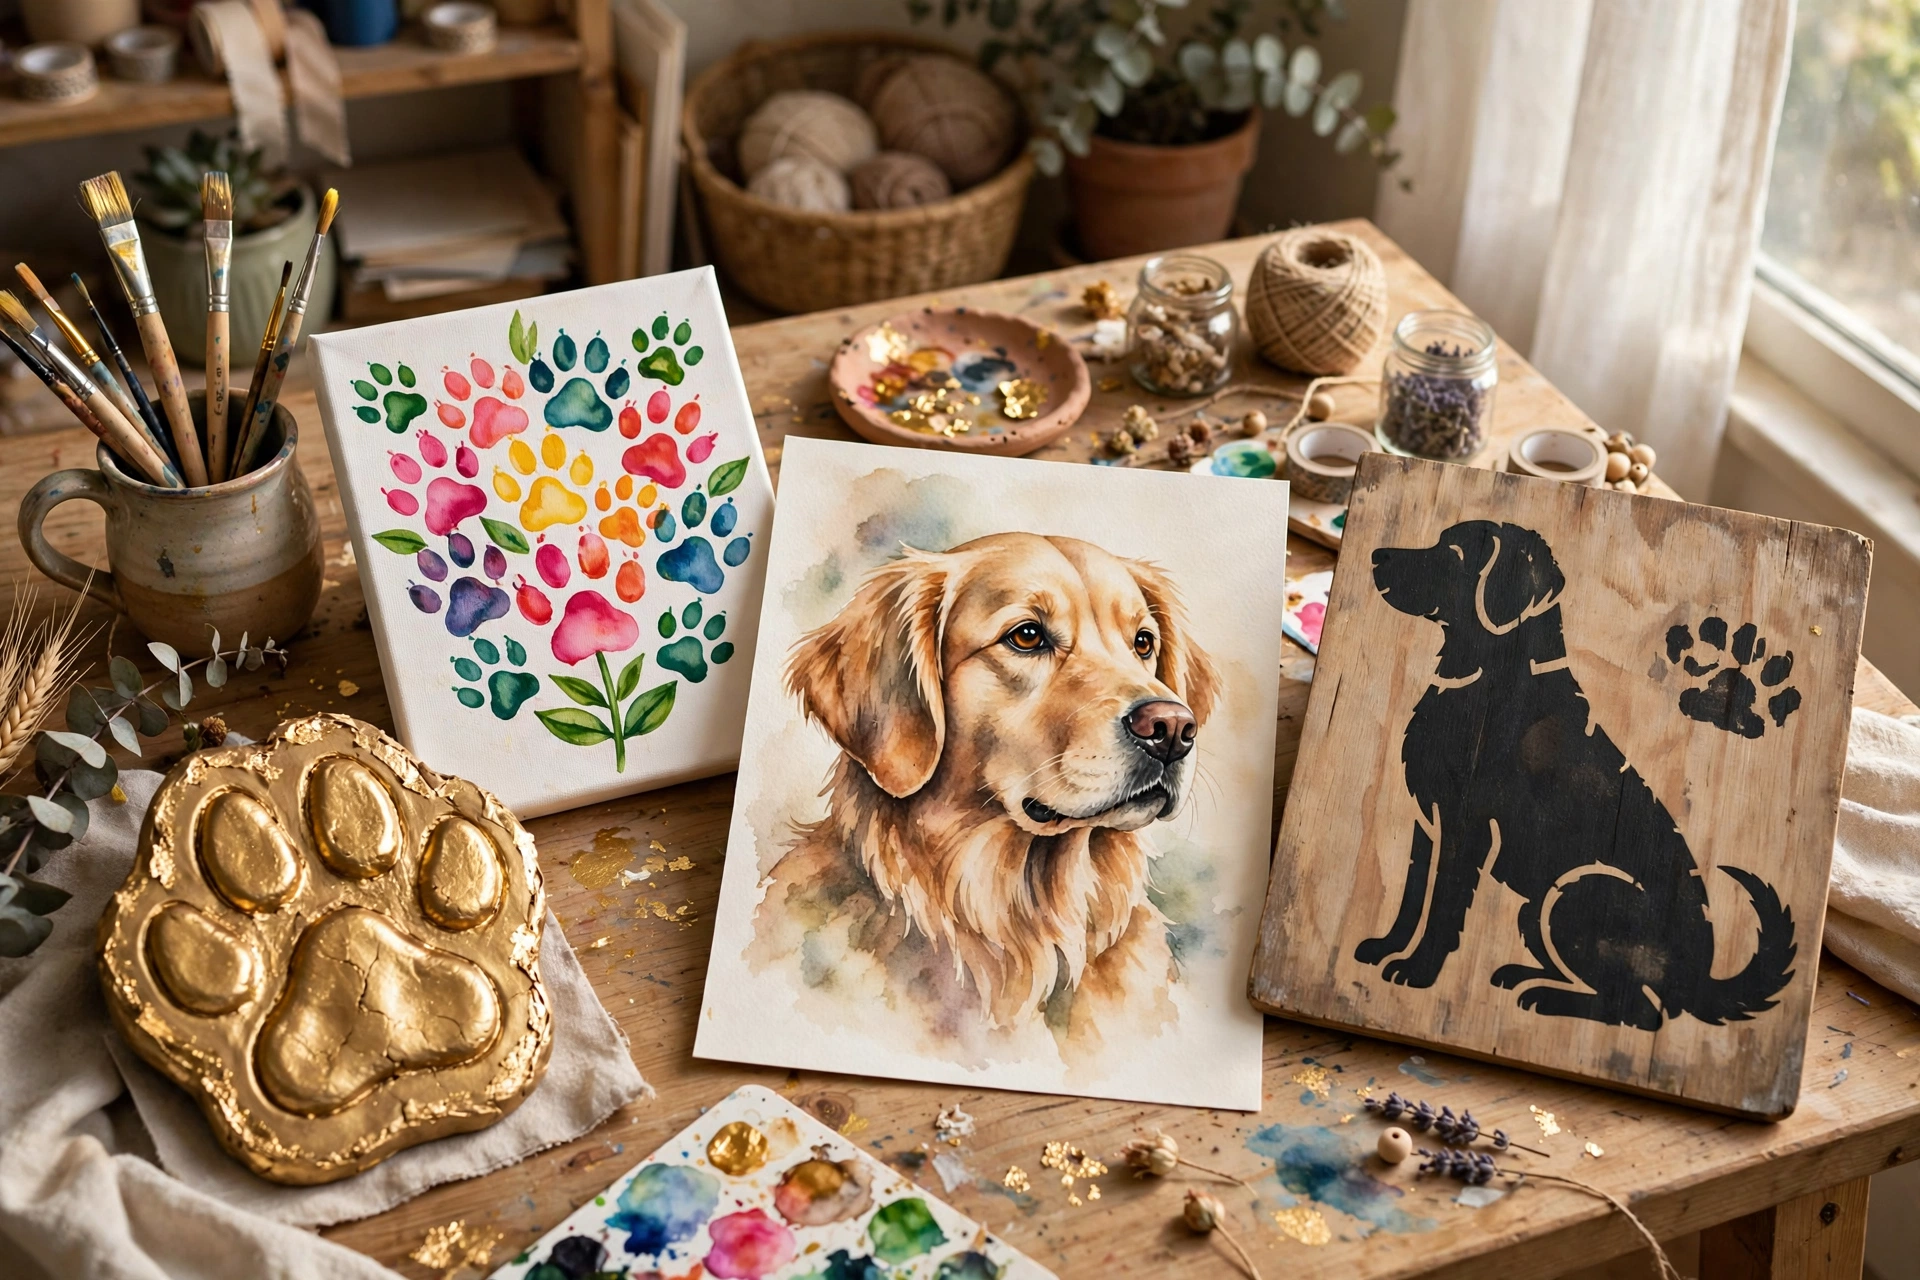
If you have been looking for a creative way to celebrate your pet, dog art DIY projects are one of the most rewarding things you can make. A handmade piece turns your dog into wall decor, a thoughtful gift, or a keepsake you will treasure for years. You do not need to be a professional artist either. With a few affordable supplies and an afternoon of free time, you can create something genuinely beautiful.
Below you will find seven original dog art DIY projects, from a gilded clay paw-print plaque to a needle-felted portrait. Each one includes a materials list, steps, and a pro tip, so pick the project that matches your skill level and get started.
1. Gilded Clay Paw-Print Plaque
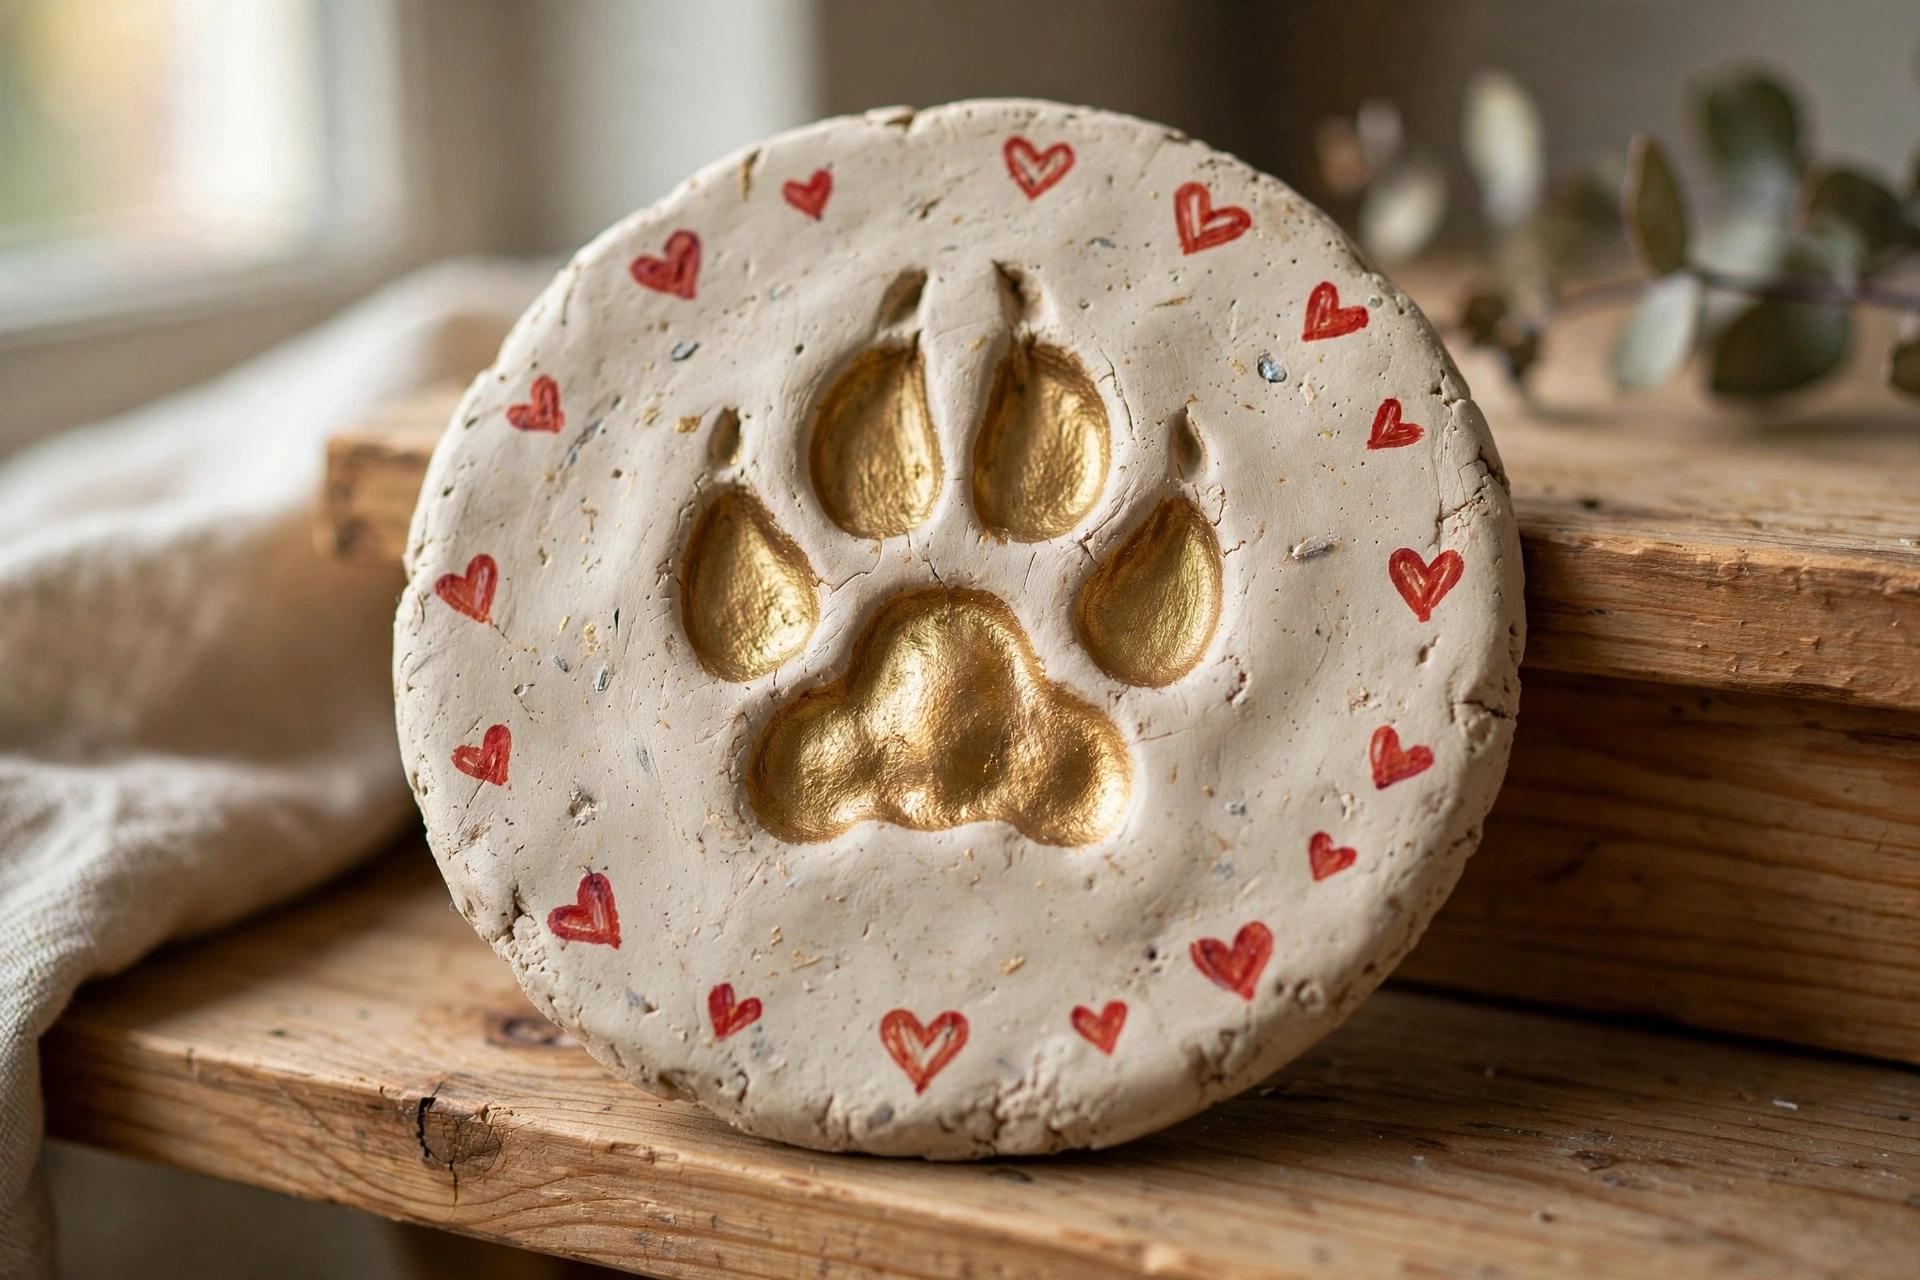
A clay paw-print plaque captures your dog exactly as they are right now, frozen in a piece of art you can hang or stand on a shelf. Air-dry clay means no kiln and no special equipment, just your hands and a little patience.
Materials: air-dry clay, a rolling pin, a plate or wooden board as a base, metallic gold acrylic paint, a fine brush, and clear craft sealant.
Instructions: Knead the clay, roll a slab half an inch thick, and smooth the surface. Press one paw straight down, then lift straight up. Let it dry fully, 24 to 72 hours. Paint the impression gold, add hearts or dots around the edge, and seal.
Pro tip: Wipe the paw with a damp cloth first and work after a walk when your dog is calm. A relaxed dog gives the clearest print.
Helpful pick: Crayola Air Dry Clay 5 lb Bucket gives you plenty of clay for several plaques, so you can keep one and gift the rest.
2. Paw-Print Flower Garden Painting
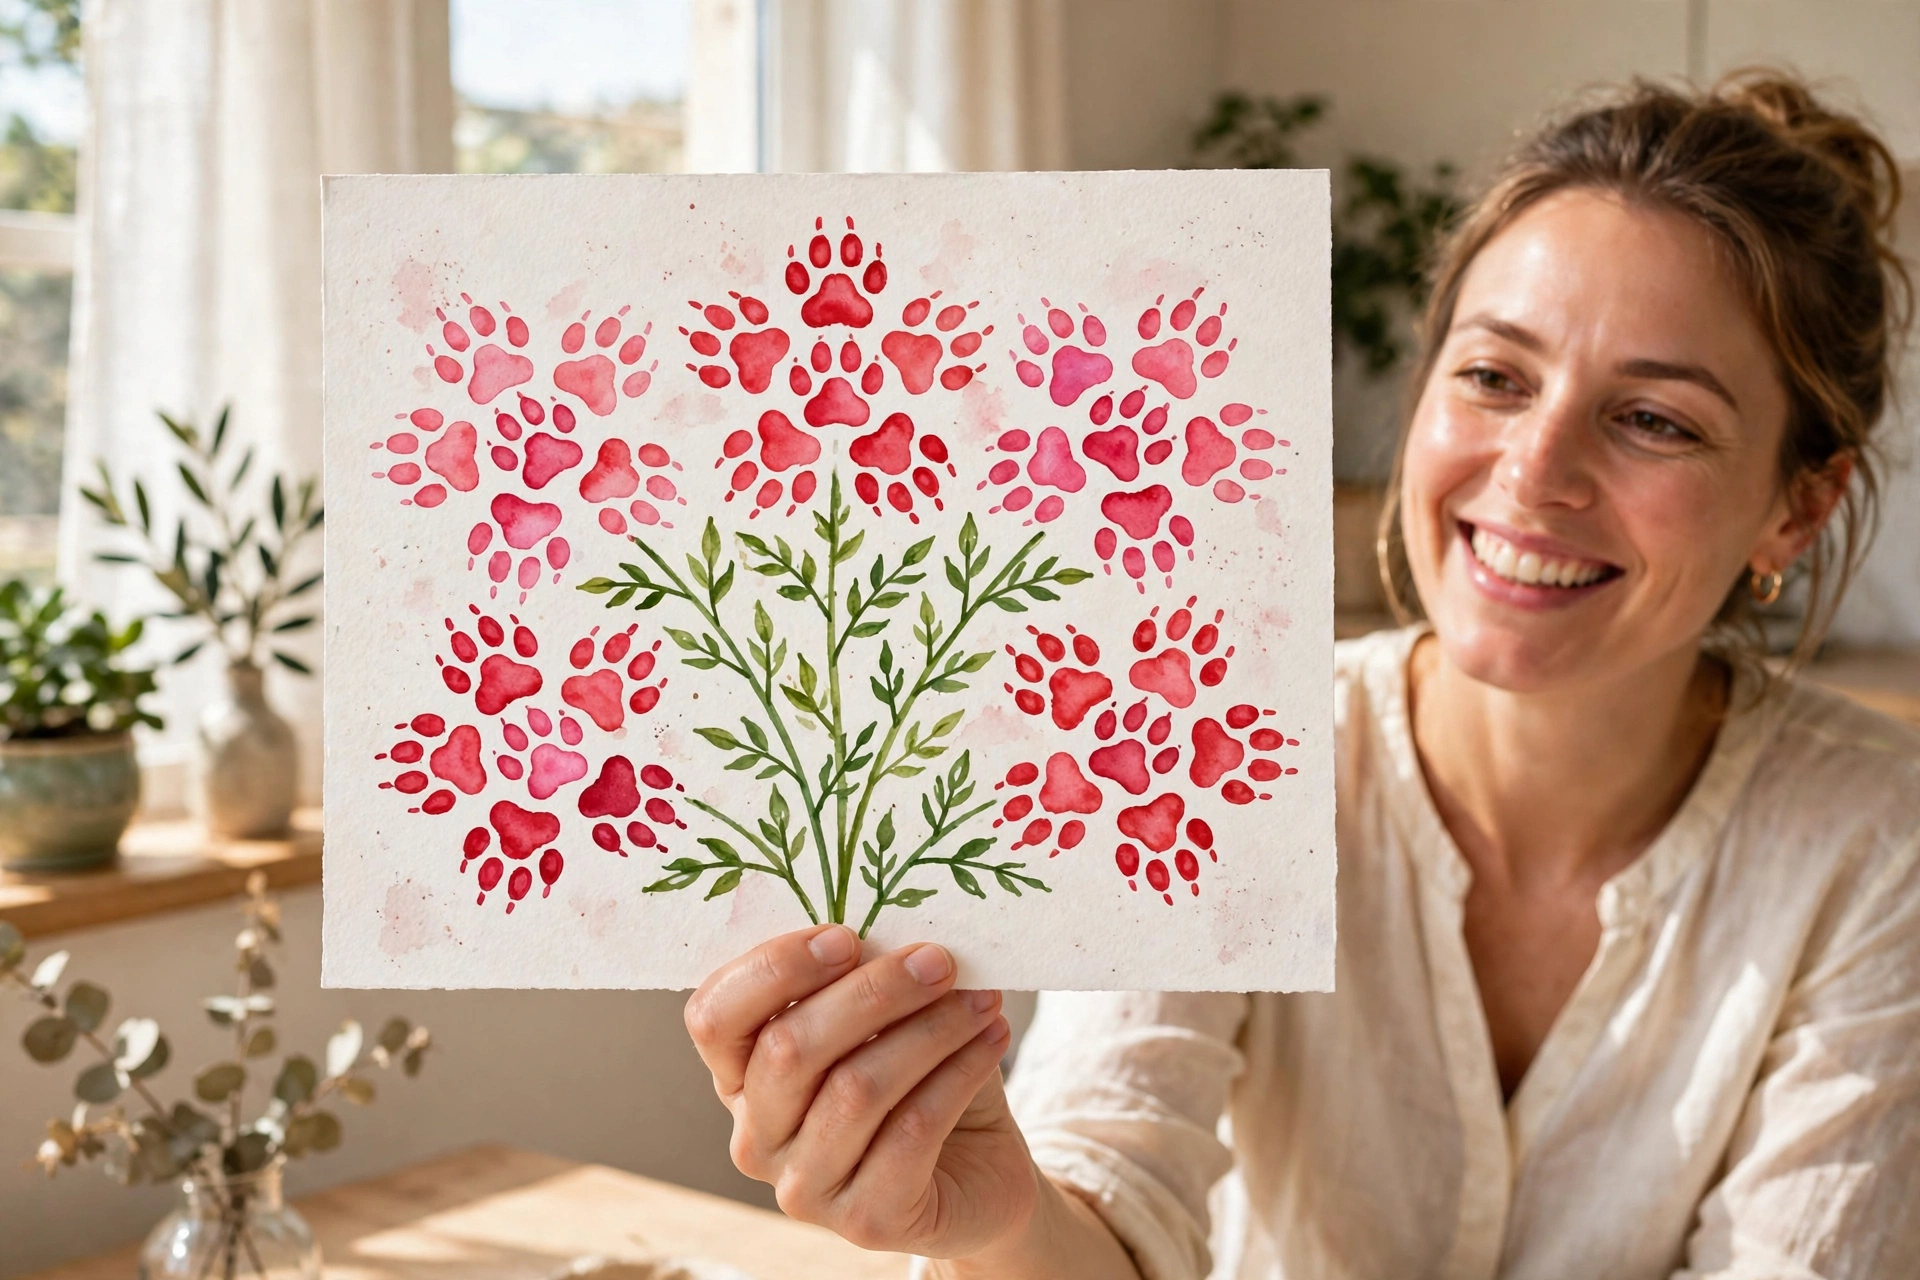
Turn your dog’s paw prints into a garden of flowers with a few brushstrokes. It is quick, joyful, and a great project to do with kids.
Materials: washable non-toxic paint in bright colors, a shallow paint tray, white cardstock or watercolor paper, and a medium brush.
Instructions: Pour a thin layer of paint into the tray and lightly coat the paw pads. Press the paw onto the paper to form a blossom, and repeat to make a row or cluster. Let the prints dry completely, then paint a curved stem and two leaves beneath each print in green. Frame the finished garden.
Pro tip: Keep a bowl of warm water and a towel nearby to rinse the paw between prints. This keeps the colors clean instead of muddy.
Helpful pick: Crayola Washable Kids Paint 6 ct washes out of paws and clothes easily, which matters when your artist has four legs.
3. Watercolor Dog Portrait
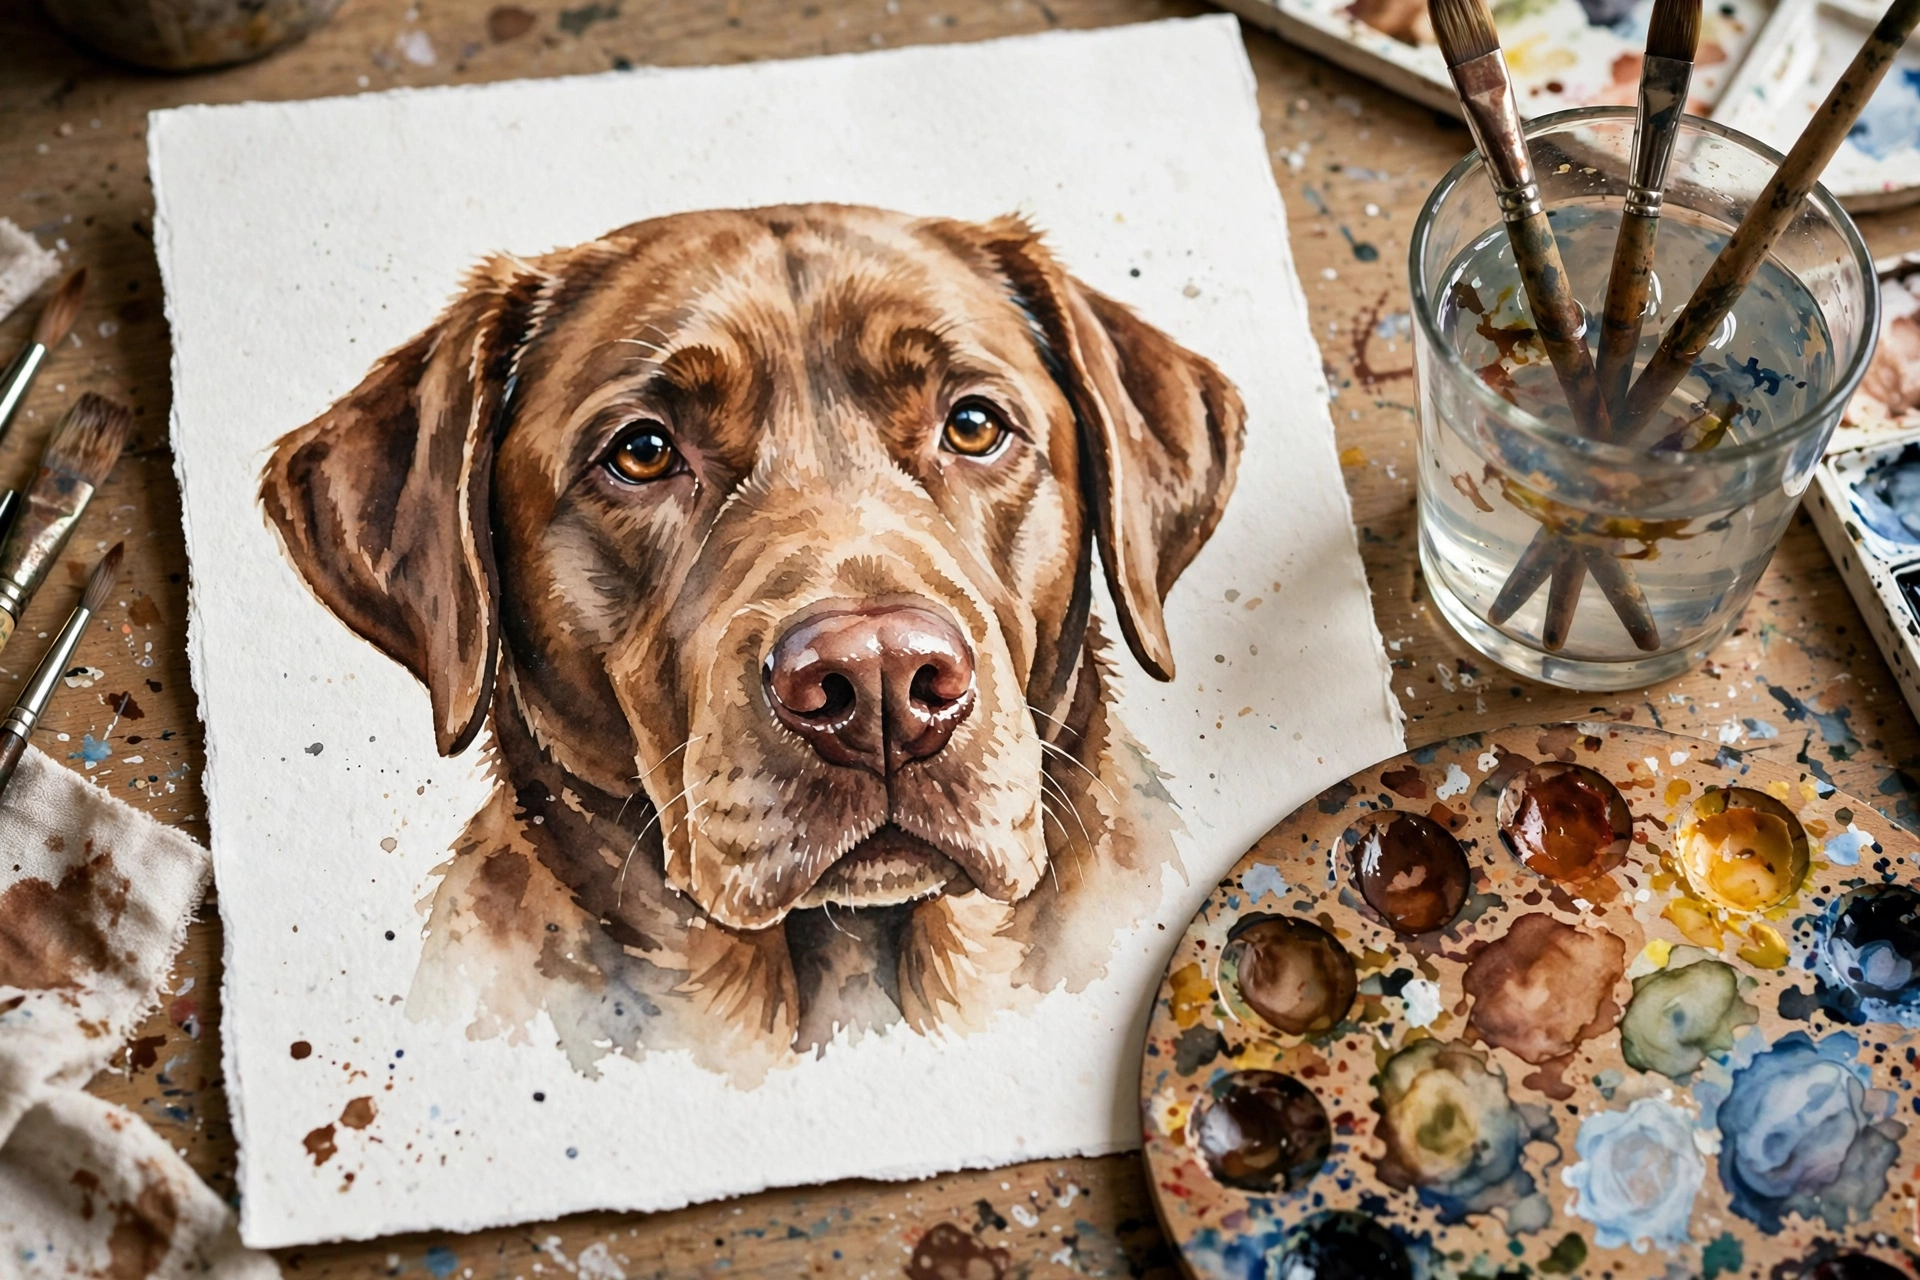
A hand-painted watercolor portrait is the classic dog art DIY gift. The loose, glowing washes suit dogs perfectly and reward a light touch.
Materials: a watercolor pan set, two water jars, watercolor paper, a round brush and a detail brush, a pencil, and a reference photo.
Instructions: Lightly sketch the head and ears, focusing on the muzzle shape and head tilt. Lay in a pale wash of the main fur color and let it dry. Add a slightly darker wash on the shaded side of the face. Paint the nose, then the eyes, leaving a tiny white highlight in each eye. Add fur texture with short strokes and finish with the ears.
Pro tip: Get the eyes right and the portrait comes alive. Place them carefully in the sketch before any color goes down.
Helpful pick: Crayola 24 ct Washable Watercolors is an affordable way to start, and the included brush handles the first layers nicely.
4. Stenciled Dog Silhouette Wall Art
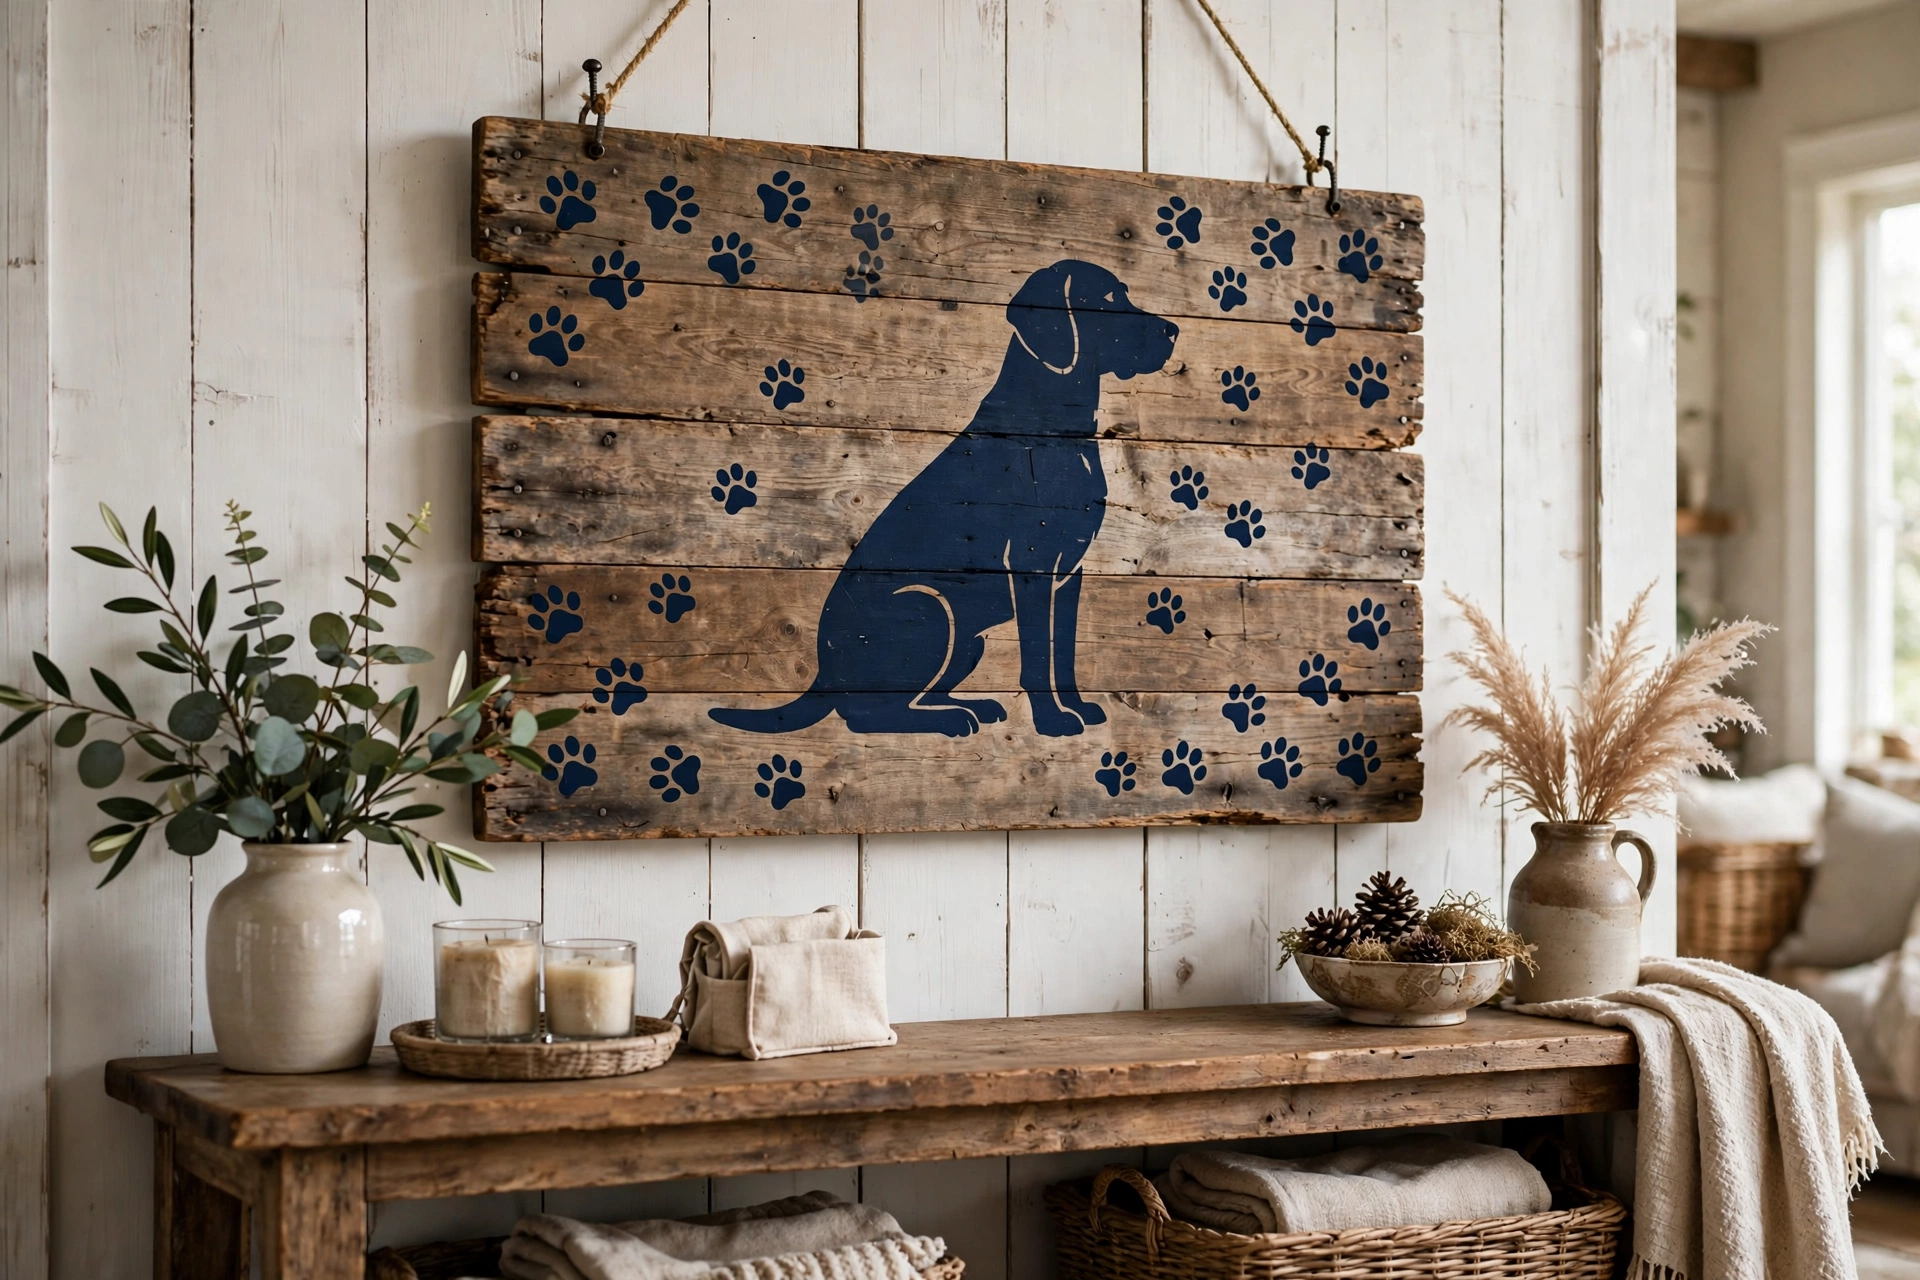
Stencils give you gallery-worthy dog art DIY decor with almost no drawing skill. Pick a silhouette that matches your dog’s breed, add a few paw prints, and you have a farmhouse-style statement piece.
Materials: reusable dog and paw stencils, acrylic paint, a stencil brush or sponge dabber, a wooden board or canvas, and painter’s tape.
Instructions: Paint the background and let it dry. Position the silhouette stencil and tape the edges. Load the brush lightly, dab off the excess, then pounce up and down over the stencil. Use two light coats to prevent bleeding, then lift straight up and add paw print accents.
Pro tip: The secret to crisp edges is a nearly dry brush. Dab paint onto a paper towel until the brush feels almost empty before stenciling.
Helpful pick: Boqon 16-Piece Dog Stencils Set includes heart paws and breed silhouettes, so you can mix and match across many projects.
5. Needle-Felted Dog Portrait
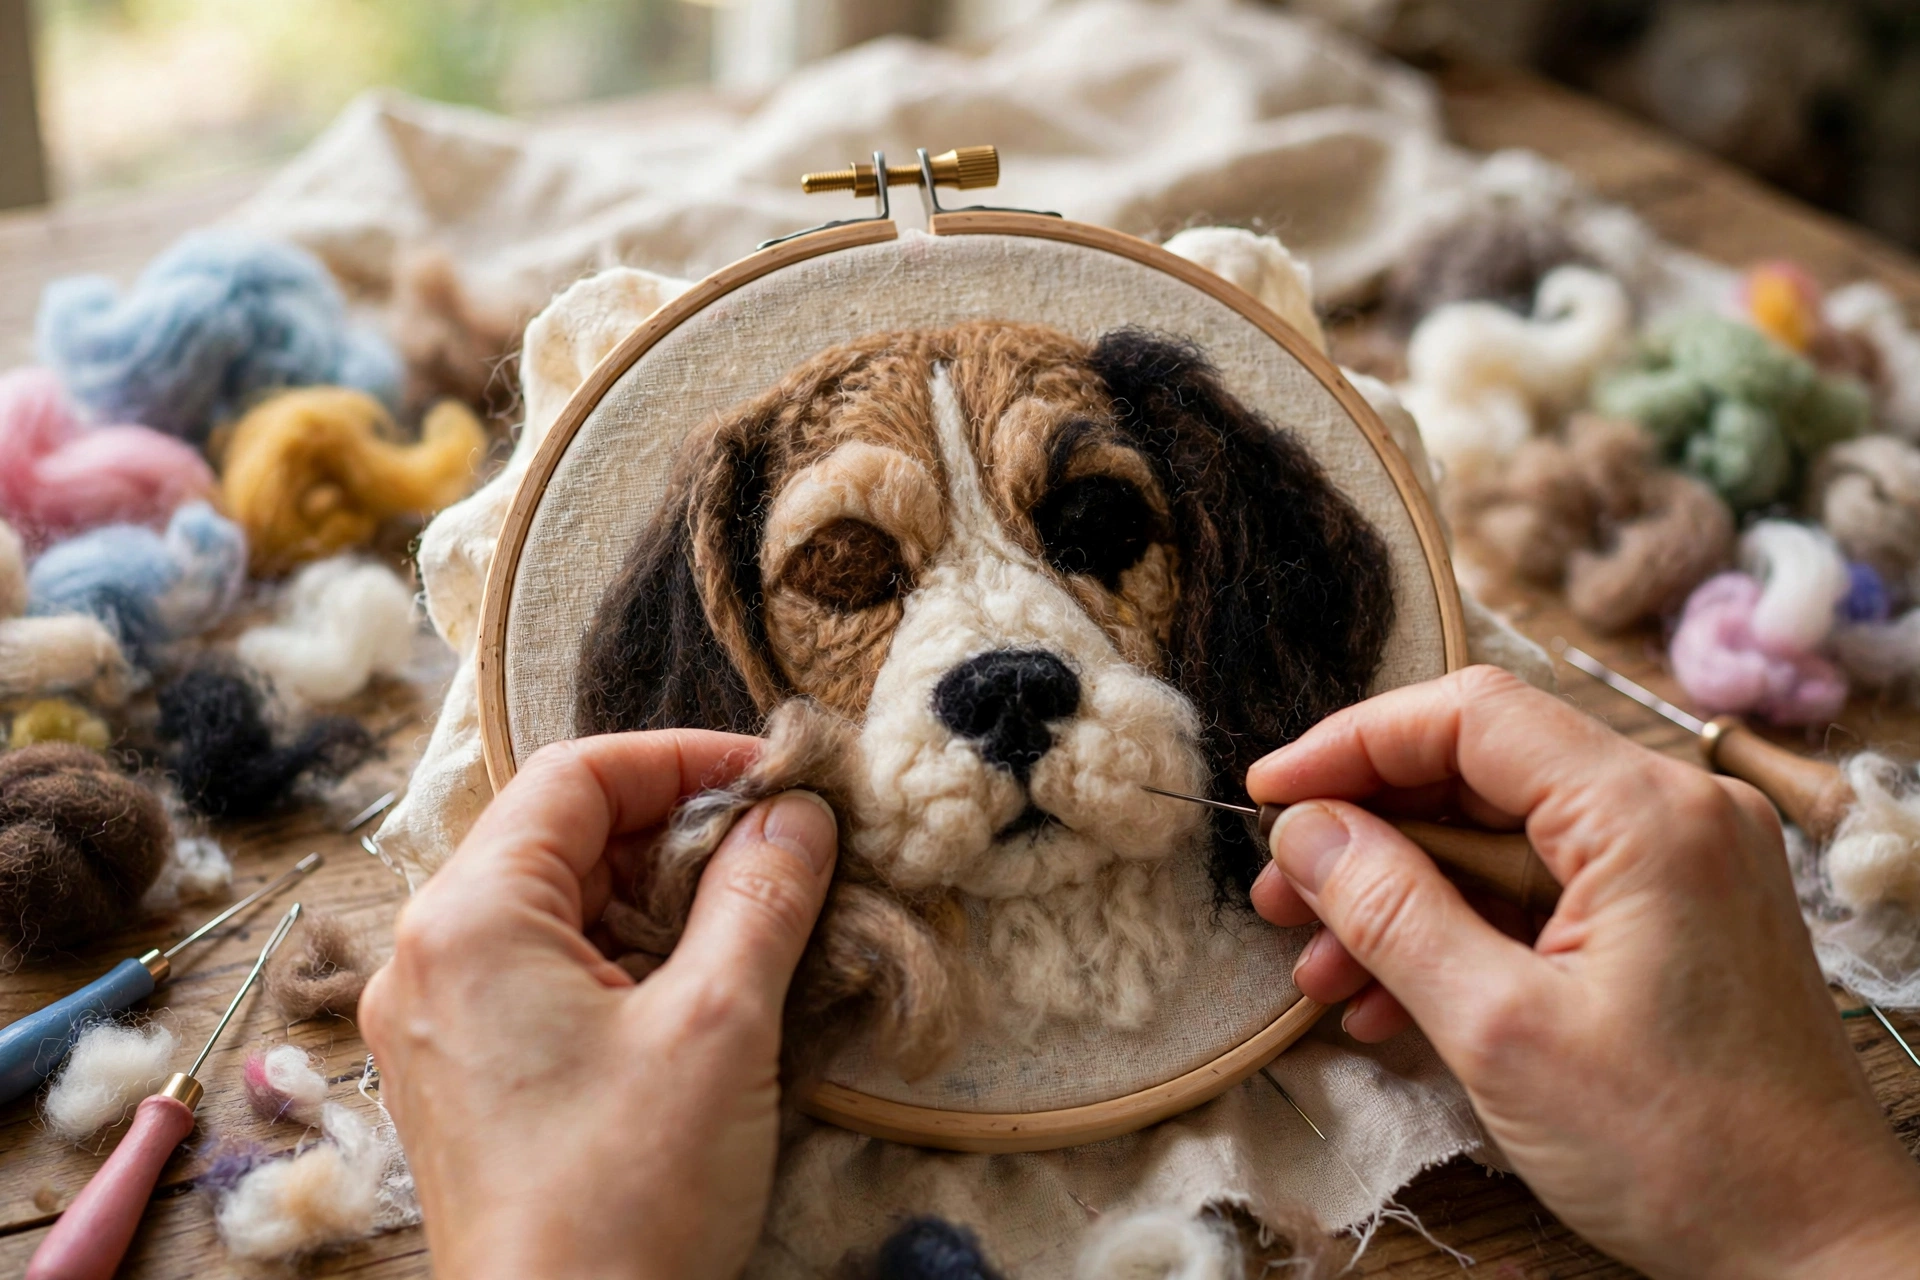
Needle felting builds your dog’s face out of colored wool roving, poked into fabric until a soft, dimensional portrait appears. It takes an afternoon and produces something no one else has.
Materials: a beginner needle felting kit with wool roving, needles, and a foam mat, plus an embroidery hoop and plain fabric for the background.
Instructions: Stretch the fabric tightly in the hoop and place the foam mat underneath. Lay small wisps of wool in the base fur color in the rough shape of the head. Poke the needle straight up and down until the fibers tangle and anchor into the fabric. Layer more colors for shading, then add small pieces of wool for the eyes, nose, and muzzle.
Pro tip: Start with far less wool than you think you need. Thin layers blend smoothly; thick lumps are hard to fix once felted.
Helpful pick: Yizzvb Needle Felting Kit, 5 Animal Kits includes dog designs, wool, needles, and instructions in one box.
6. Hand-Painted Wooden Name Sign
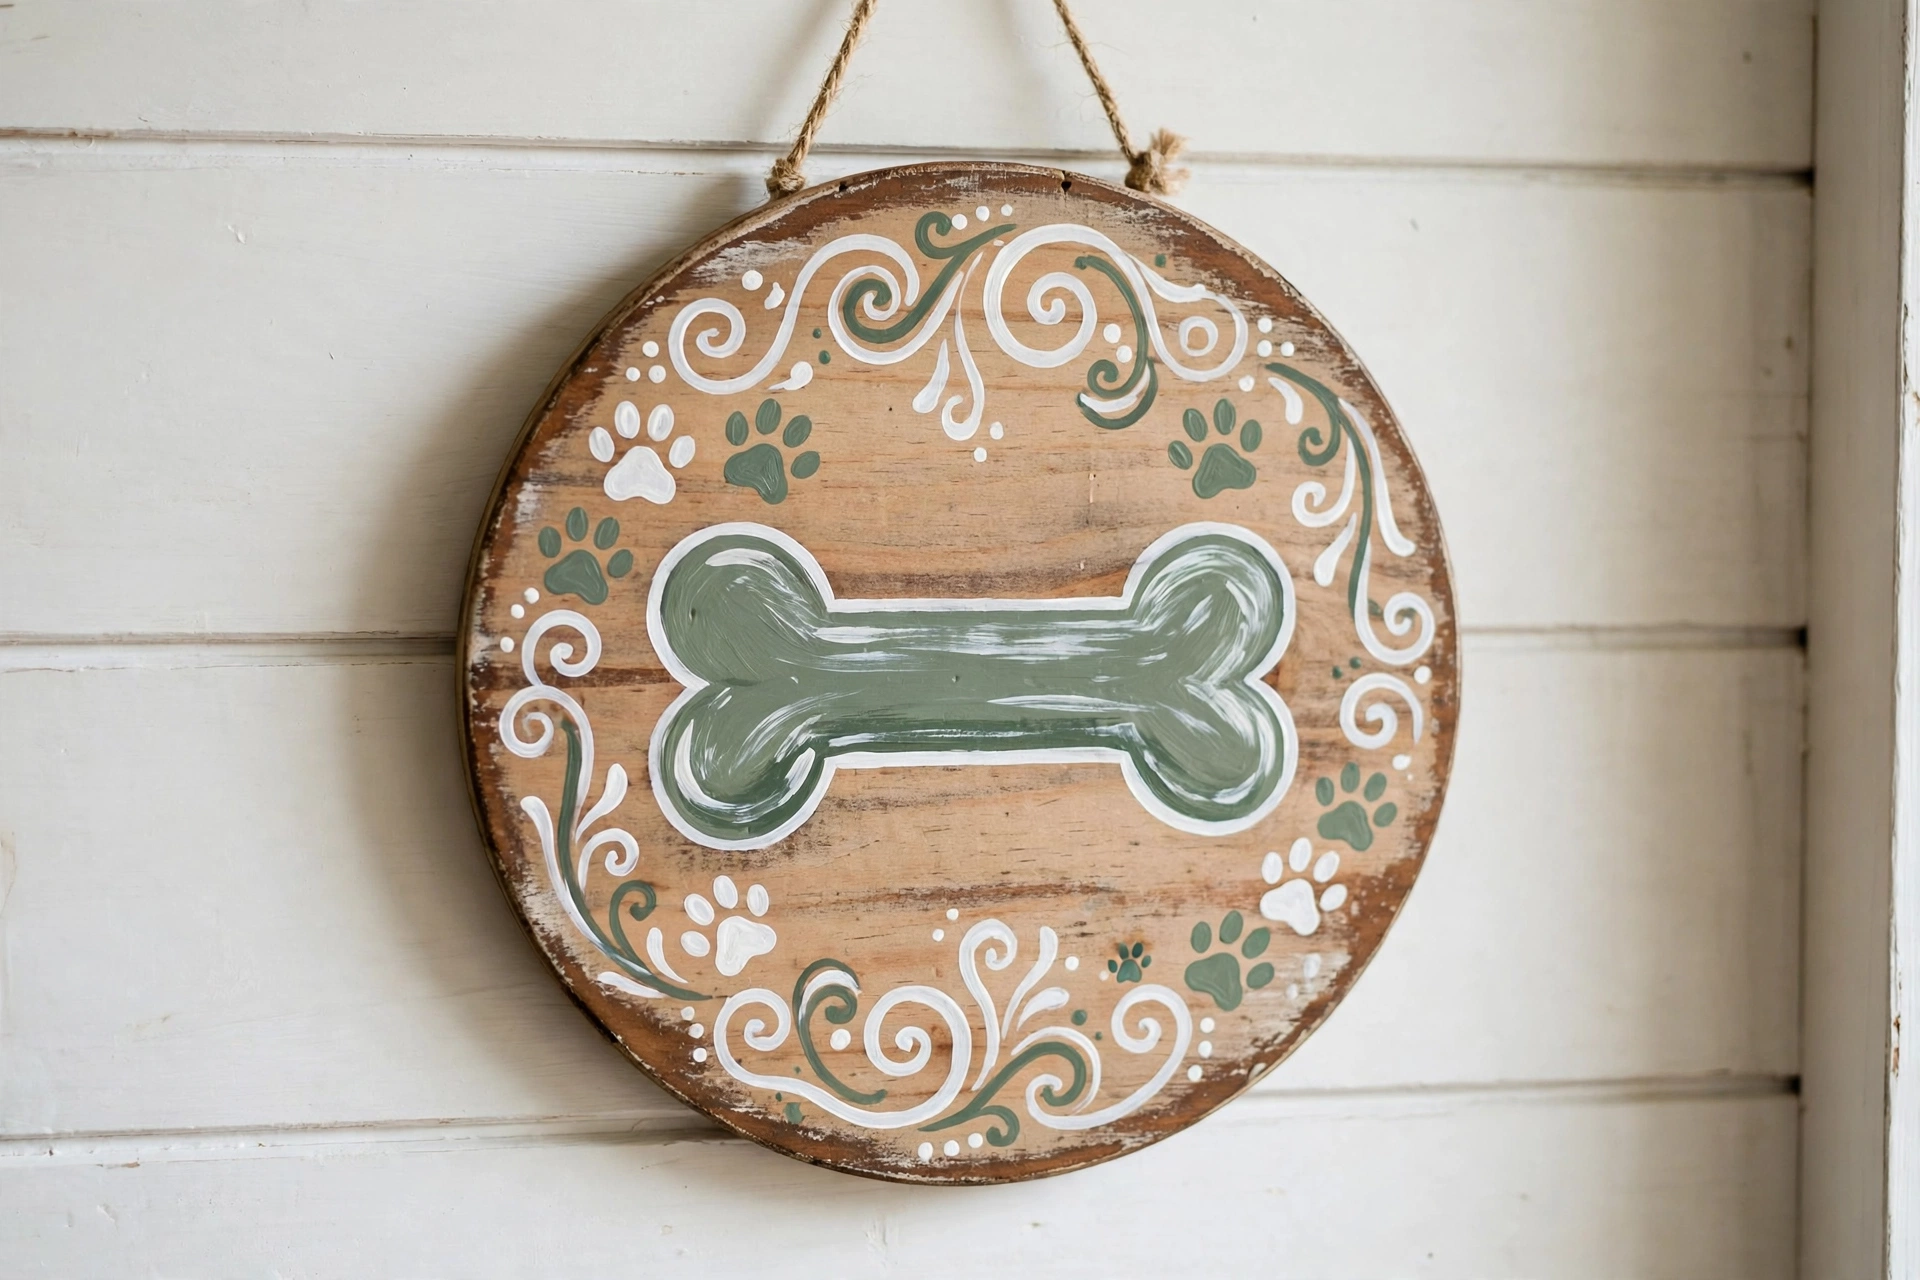
A hand-painted wooden name sign turns a simple wood plaque into a personalized welcome for your dog’s favorite corner. Add their name, a bone motif, and paw prints for a gift any dog lover would hang by the door.
Materials: an unfinished round wood plaque, acrylic paint, small round brushes, a pencil, and a hanging rope or ribbon.
Instructions: Sand lightly if rough, then wipe clean. Sketch the name and layout in pencil, centering the name with paw prints or a bone around it. Paint the background color and let it dry fully. Fill in the name and motifs with a small brush, adding a second coat for opacity. Attach the rope or a sawtooth hanger to the back.
Pro tip: Write the name in pencil first and trace it with paint using the tip of a round brush. Thin paint flows more smoothly than thick globs.
Helpful pick: AWIZOM 2-Pack 12-Inch Round Wood Plaques gives you a second plaque to practice on, so the final sign looks its best.
7. Splatter-Paint Paw Canvas
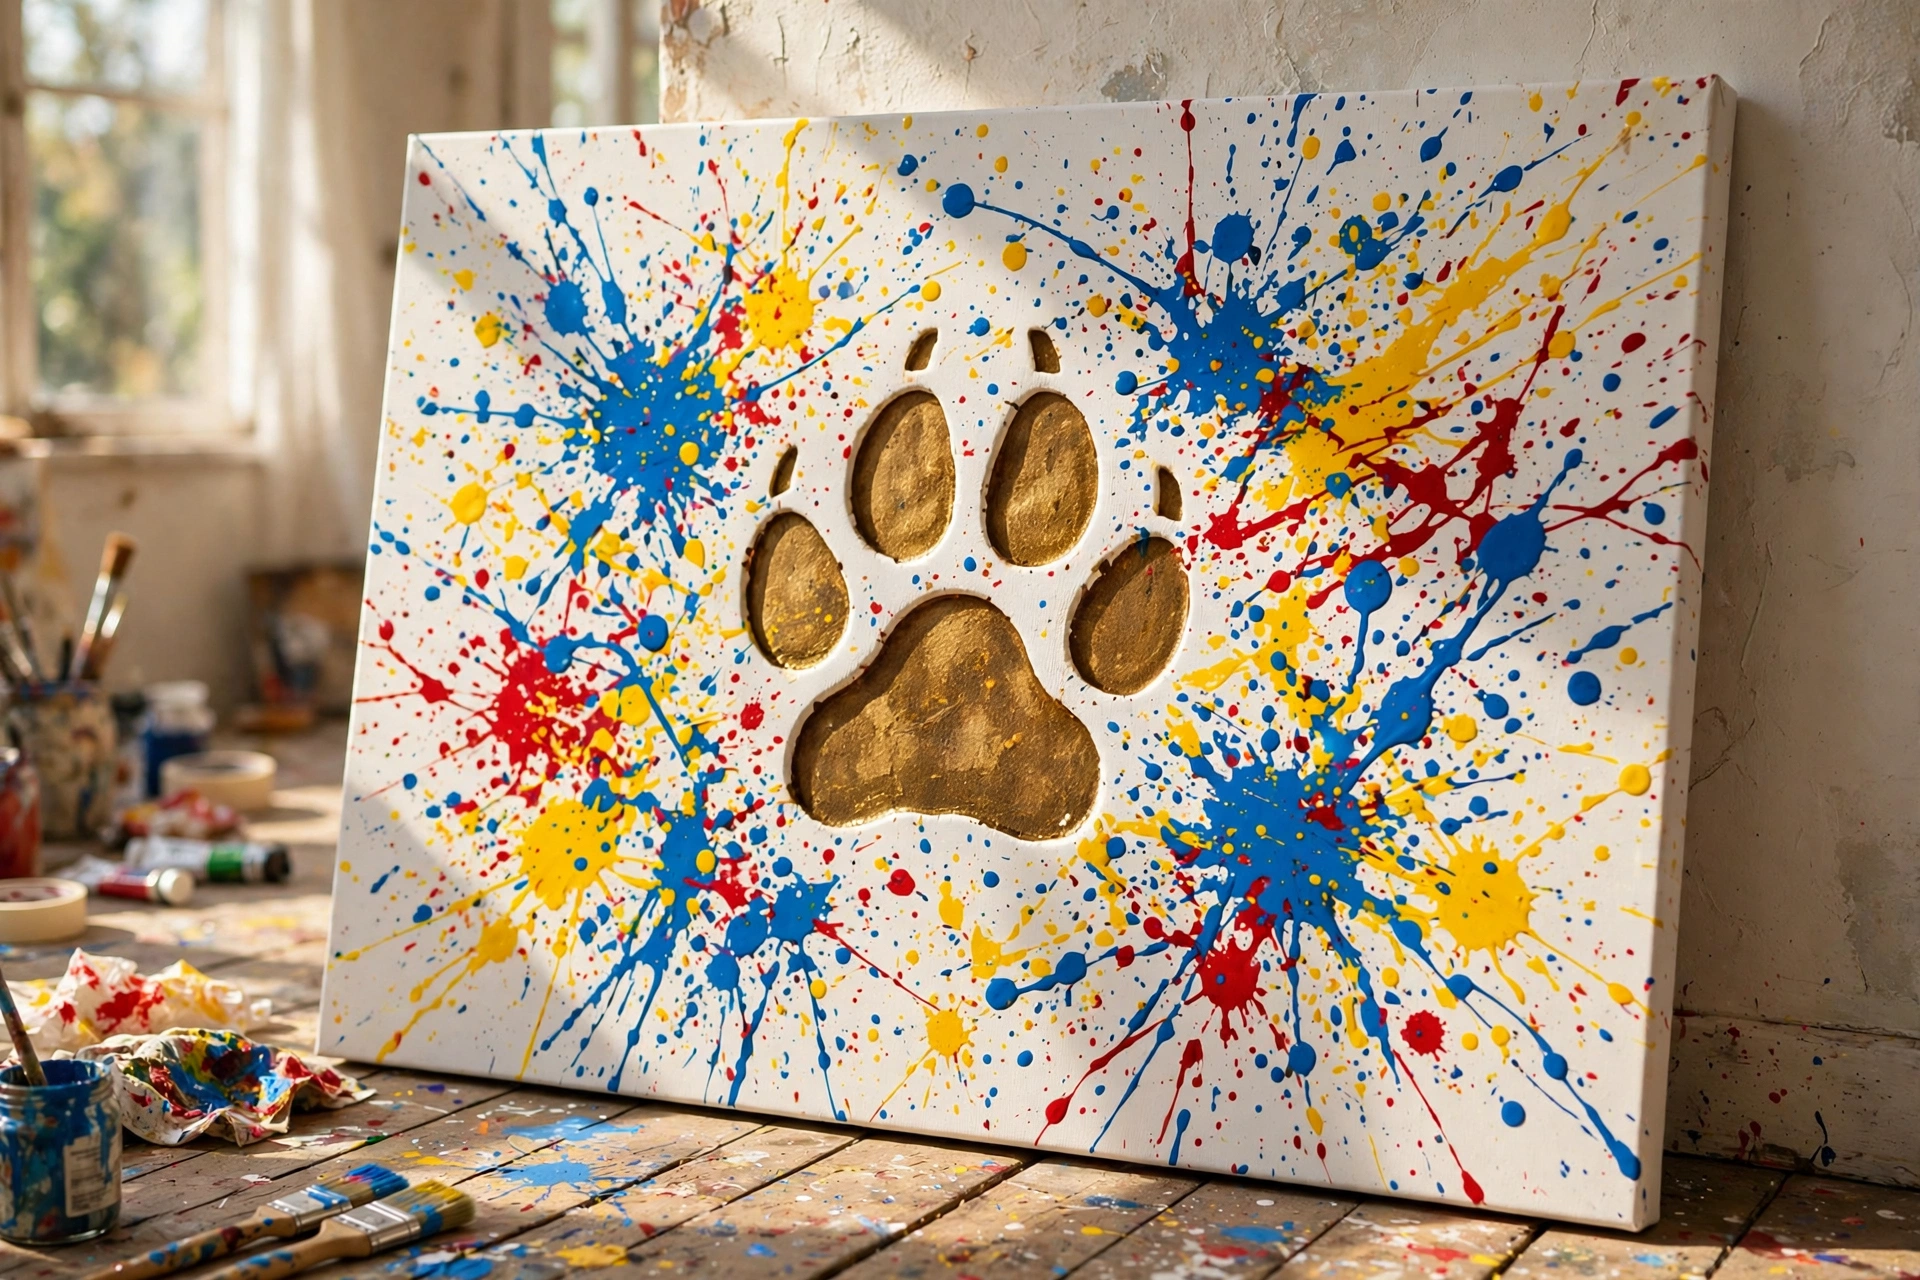
For a bold, modern look, fling paint across a canvas and stamp your dog’s paw print in the center. You make the background, your dog adds the finishing touch.
Materials: a stretched canvas, washable acrylic or tempera paint in bright colors, an old toothbrush for flicking, and newspaper for the floor.
Instructions: Lay the canvas on newspaper and flick or drizzle paint across it in layers, letting each color dry slightly between rounds. Coat the paw with one bold color, press firmly into the center, lift straight up, and let everything dry for several hours.
Pro tip: Do a trial print on scrap paper first. One strong, confident press makes a better centerpiece than several wobbly attempts on the real canvas.
Helpful pick: U.S. Art Supply 12×12 Canvas Panels 12-Pack is perfect for making a matching set or gifting several pieces.
Keep Reading
- 10 Dog Painting Ideas You’ll Want to Hang
- 10 Dog Photo Ideas for Perfect Portraits
- 15 Easy Steps to Draw a Cute Dog
- 10 Dog Wall Decor Ideas for Every Home
- 10 DIY Dog Ornaments to Make This Christmas
Frequently Asked Questions
What paint is safe to use on my dog’s paws?
Use non-toxic, washable paint labeled safe for kids, such as tempera or washable acrylics. Always check the label, avoid toxic ingredients, and wash the paw right after printing.
Which dog art DIY project is best for beginners?
The paw-print flower painting and the splatter-paint canvas are the easiest. Both need basic supplies, take under an hour of active work, and look great even with no painting experience.
How do I keep my dog calm during a paw-print project?
Work after a walk or play session when your dog is relaxed. Have treats ready, move quickly and gently, and set everything up beforehand so it takes just a few minutes.
Can I make dog art DIY projects as gifts?
Absolutely. The clay paw-print plaque and the hand-painted name sign make especially thoughtful gifts, and the two-pack wood plaque lets you practice first.
How should I protect finished dog art?
Seal clay and painted wood with a clear craft sealant and frame paper artwork behind glass. Keep pieces out of direct sunlight to prevent fading.
As an Amazon Associate, PetPostHub earns from qualifying purchases.