Butternut Squash Dog Treats: Soft-Baked Peanut Butter Bites
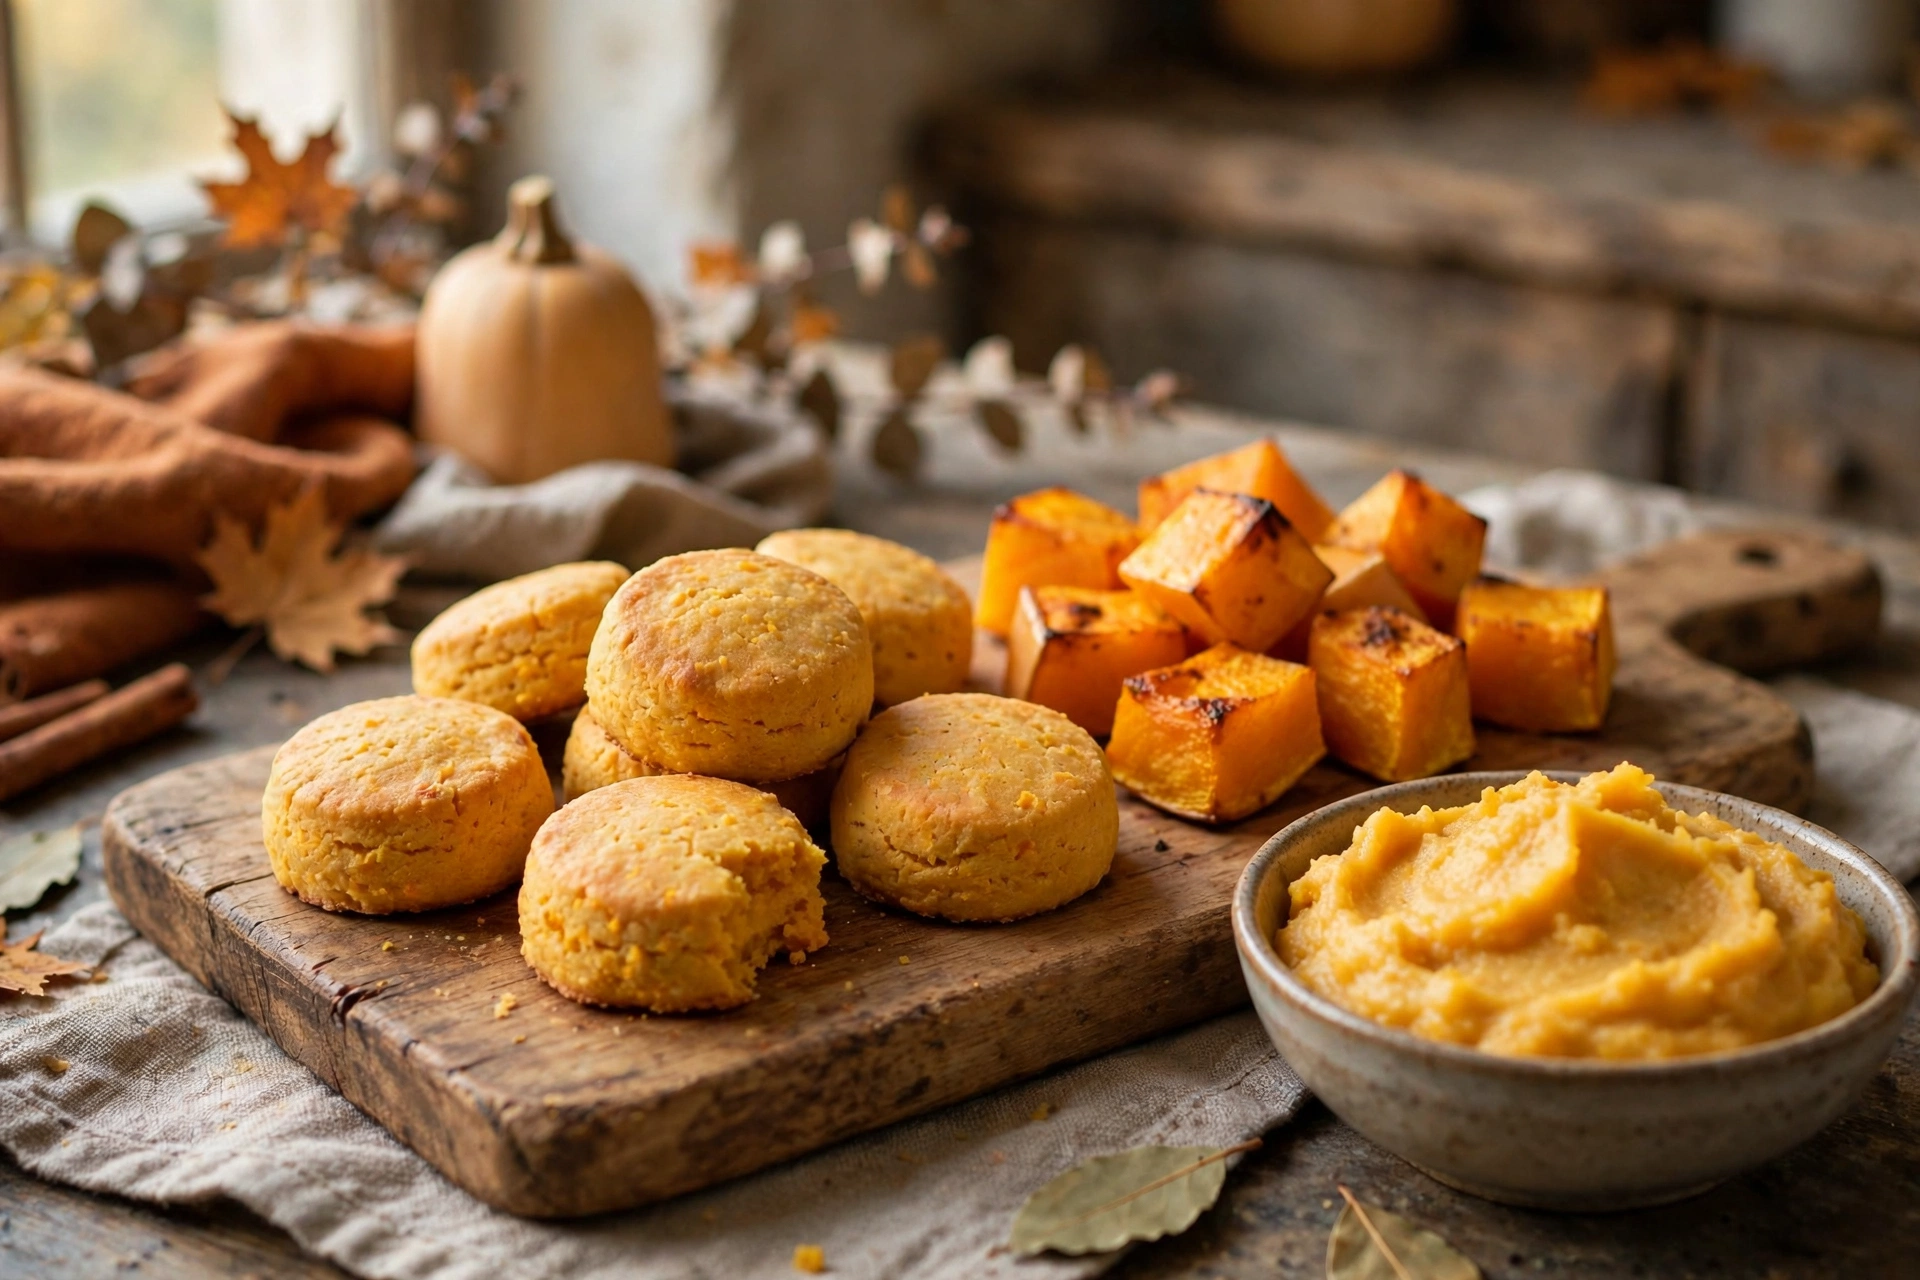
Homemade butternut squash dog treats are one of the easiest homemade snacks you can bake for your dog, and they could not taste more like fall. Butternut squash turns naturally sweet and creamy in the oven, which means you can skip the refined sugar entirely and still end up with treats that smell incredible and that most dogs will do a little dance for. When you stir mashed squash together with peanut butter, a fresh egg, and coconut flour, you get a batch of soft, golden-orange bites that are gentle on digestion and easy for dogs of every age to chew.
What I like most about this recipe is how little fuss it takes. There is no rolling pin, no cookie cutters, and no dough to knead. You mix everything in one bowl, scoop the batter onto a lined baking sheet, and let the oven do the work. The recipe below makes about 24 small treats, and the whole project takes roughly an hour from start to finish, including the time it takes to soften the squash.
The recipe is naturally grain-free thanks to coconut flour, with a pinch of turmeric and cinnamon for warm flavor dogs enjoy. Let us walk through everything you need to know.
Table of Contents
Is Butternut Squash Safe for Dogs?
Yes, plain cooked butternut squash is safe for dogs and genuinely nutritious. The flesh is rich in beta-carotene, which the body converts to vitamin A for healthy vision, skin, and immune function. It also provides vitamin C, potassium, and soluble fiber that support smooth digestion. That combination makes it a smart ingredient for homemade treats, especially for dogs that need gentle, easy-to-digest snacks.
The key word here is plain. Dogs should only get butternut squash that is cooked and unseasoned. Skip anything with butter, salt, garlic, onion powder, or brown sugar, and skip canned pumpkin pie filling, which often contains spices and sweeteners. If you use canned squash, check that the only ingredient listed is squash, and always remove the seeds and thick rind before cooking.
One more note: introduce squash gradually if your dog has never eaten it. A small taste on the first day, then a normal portion the next day, confirms it agrees with your dog.
Soft-Baked Butternut Squash & Peanut Butter Bites

These drop-style treats skip the rolling and cutting entirely. The coconut flour drinks up moisture as the batter rests, and the peanut butter keeps the finished bites tender in the middle with lightly crisp edges. A little turmeric and cinnamon round out the flavor and give the treats their warm, toasty aroma.
| Ingredient | Amount |
|---|---|
| Butternut squash, cooked and mashed | 1 cup |
| Creamy peanut butter (xylitol-free) | 1/2 cup |
| Coconut flour | 3/4 cup |
| Large egg | 1 |
| Ground turmeric | 1/2 teaspoon |
| Ground cinnamon | 1/2 teaspoon |
- Soften the squash. If you are starting with raw squash, peel it, scoop out the seeds, and cut the flesh into 1-inch cubes. Roast at 400°F (200°C) for 35 to 40 minutes, turning once, until the pieces mash easily with a fork, or boil the cubes for 15 minutes. Mash thoroughly and let the puree cool until just warm to the touch.
- Heat the oven. Lower the oven temperature to 325°F (165°C) and line a large baking sheet with parchment paper. Set a timer and keep a clean kitchen towel nearby.
- Mix the wet ingredients. In a large bowl, stir together the cooled mashed squash, peanut butter, and egg until the mixture is smooth and evenly combined. Make sure no streaks of peanut butter remain hiding at the bottom of the bowl.
- Fold in the dry ingredients. Add the coconut flour, turmeric, and cinnamon to the bowl and stir until a thick batter forms. Then let the batter rest for 5 full minutes. Coconut flour absorbs liquid slowly, so the batter will firm up while it sits.
- Scoop the bites. Use a tablespoon or a small cookie scoop to drop mounds of batter onto the prepared baking sheet, leaving about an inch of space between them.
- Flatten each mound. Dip the back of a spoon in water and press each mound down gently to about 1/2 inch thick. The batter does not spread much in the oven, so shape it now.
- Bake until set. Bake for 18 to 20 minutes, until the edges are firm and the tops look dry. The centers will still feel slightly soft when you press them.
- Dry and cool. Turn the oven off, crack the door open a couple of inches, and leave the treats inside for 30 minutes. This finishing step helps the edges crisp while the middles stay chewy. Transfer the treats to a wire rack and cool completely before serving.
Recipe Tips for the Perfect Batch
Coconut flour behaves differently from wheat or oat flour, so a few small habits will make this recipe turn out right every time. First, do not skip the 5-minute rest after mixing the batter. If you scoop too early, the batter will be too loose and the treats will spread flat; once the flour absorbs the moisture, the batter should feel like thick cookie dough.
Second, measure the coconut flour with a spoon into the measuring cup rather than scooping straight from the bag, since it packs down easily and an overfilled scoop can make the treats dry. If the batter feels dry, drizzle in a teaspoon of water at a time until it holds together.
Third, choose your peanut butter carefully. Many brands now add xylitol, also labeled as birch sugar, which is toxic to dogs even in small amounts, so check the ingredients every time you buy a new jar. Natural peanut butter with only peanuts and salt on the label is the safest choice.
Finally, roasting the squash instead of boiling it is worth the extra minutes, since roasting concentrates the natural sugars and gives the treats a deeper flavor dogs prefer. If you are short on time, frozen cooked squash that you thaw and drain well works too.
Portion and Serving Sizes
Treats should stay at or below 10 percent of your dog’s total daily calories, so the right daily amount depends mostly on your dog’s size. The table below is a practical starting point for these squash bites.
| Dog Weight | Treat Size | Daily Maximum |
|---|---|---|
| 5 to 15 lbs | Quarter of a bite | 2 to 3 bites |
| 16 to 30 lbs | Half of a bite | 2 to 4 bites |
| 31 to 50 lbs | 1 whole bite | 3 to 4 bites |
| 51 to 70 lbs | 1 whole bite | 4 to 5 bites |
| 71 lbs and up | 1 whole bite | 5 to 6 bites |
These are general guidelines for typical adult dogs. Puppies, seniors, and dogs with health conditions may need smaller portions, so check with your veterinarian if your dog has a special diet.
Storage Instructions
Because these treats contain egg and have a soft, chewy center, they do not keep at room temperature as long as fully crunchy biscuits.
Room temperature (up to 3 days): Let the treats cool completely, then store them in an airtight container on the counter. The brief oven-drying step helps, but moisture in the soft centers limits how long they stay fresh.
Refrigerator (up to 2 weeks): For the longest everyday freshness, keep the treats in a sealed container in the fridge, which keeps them chewy and prevents any off smells.
Freezer (up to 3 months): These bites freeze beautifully. Lay them in a single layer on a small tray, freeze until solid, then move them into a freezer bag with the air pressed out. Thaw a few at a time in the refrigerator overnight.
Frequently Asked Questions
Can puppies eat butternut squash dog treats?
Yes, puppies can enjoy these treats in small amounts. Squash is gentle on the stomach, and the soft texture is easy for young dogs to chew. Introduce new treats slowly while your puppy’s digestive system adjusts.
Can I use frozen butternut squash instead of fresh?
Absolutely. Thaw the frozen squash completely and drain off any excess liquid before mashing it. Add an extra tablespoon of coconut flour if the puree feels wetter than usual, since frozen squash can hold more water.
Are these treats gluten-free?
Yes. Coconut flour contains no gluten, and the rest of the ingredients are naturally gluten-free as well. This makes the recipe a good choice for dogs that are sensitive to wheat, although you should still double-check your peanut butter label for unexpected additives.
Can I substitute another flour for the coconut flour?
You can, but the ratio changes. Coconut flour is extremely absorbent, so it is not a one-to-one swap with wheat or oat flour. If you use oat flour instead, start with 2 cups and add more only if the batter seems too loose.
Why did my treats turn out crumbly?
The most common reason is skipping the 5-minute batter rest. Coconut flour needs that time to absorb the liquid from the squash and egg. If the batter is still too dry after resting, stir in a teaspoon of water at a time until it holds together when scooped.