7 DIY Dog Feeding Stations That Cut the Mess and Look Great
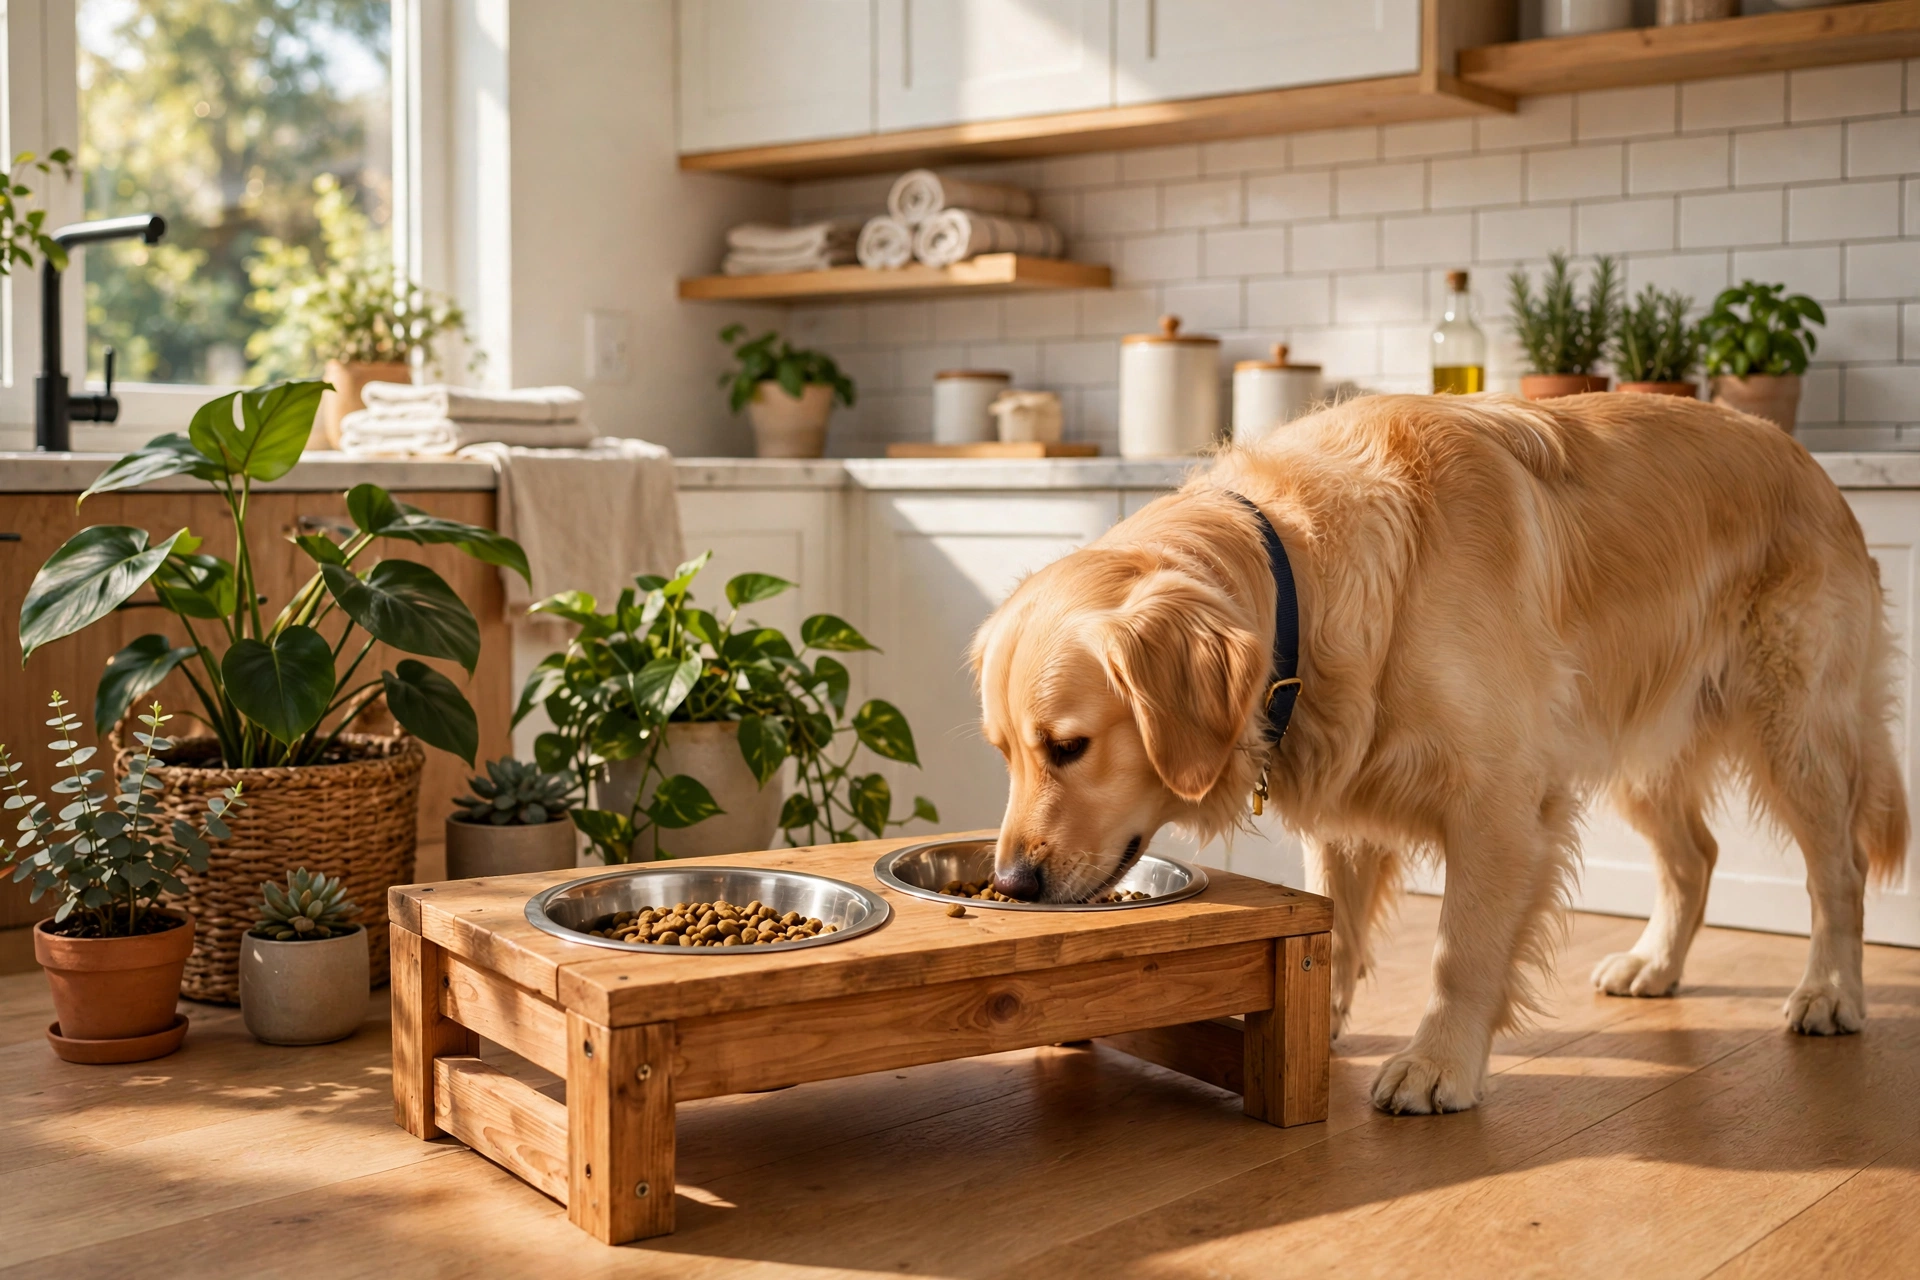
There is nothing wrong with a bowl on the floor — until the third time you kick it across the kitchen at 6 a.m. A DIY dog feeding station keeps bowls from sliding, catches the splash zone, hides the kibble bag, and looks like it belongs in your home. The seven builds below range from weekend woodworking projects to no-drill afternoon jobs.
Whether you have a floor-surfing labrador or a dainty eater in a small apartment, there is a version here that fits your space, skill level, and dog.
Table of Contents
- 1. Rustic Pallet-Crate Feeder
- 2. Cabinet Pull-Out Bowl Drawer
- 3. Modern Concrete-and-Walnut Feeder
- 4. Vintage Suitcase Feeding Station
- 5. Corner Wall-Mounted Folding Feeder
- 6. Storage-Bin Feeder With Kibble Dispenser
- 7. Floating Shelf Feeder With Leash Hooks
- The Bowl-Sizing Rule Most People Get Wrong
- Keep Reading
- FAQ
1. Rustic Pallet-Crate Feeder
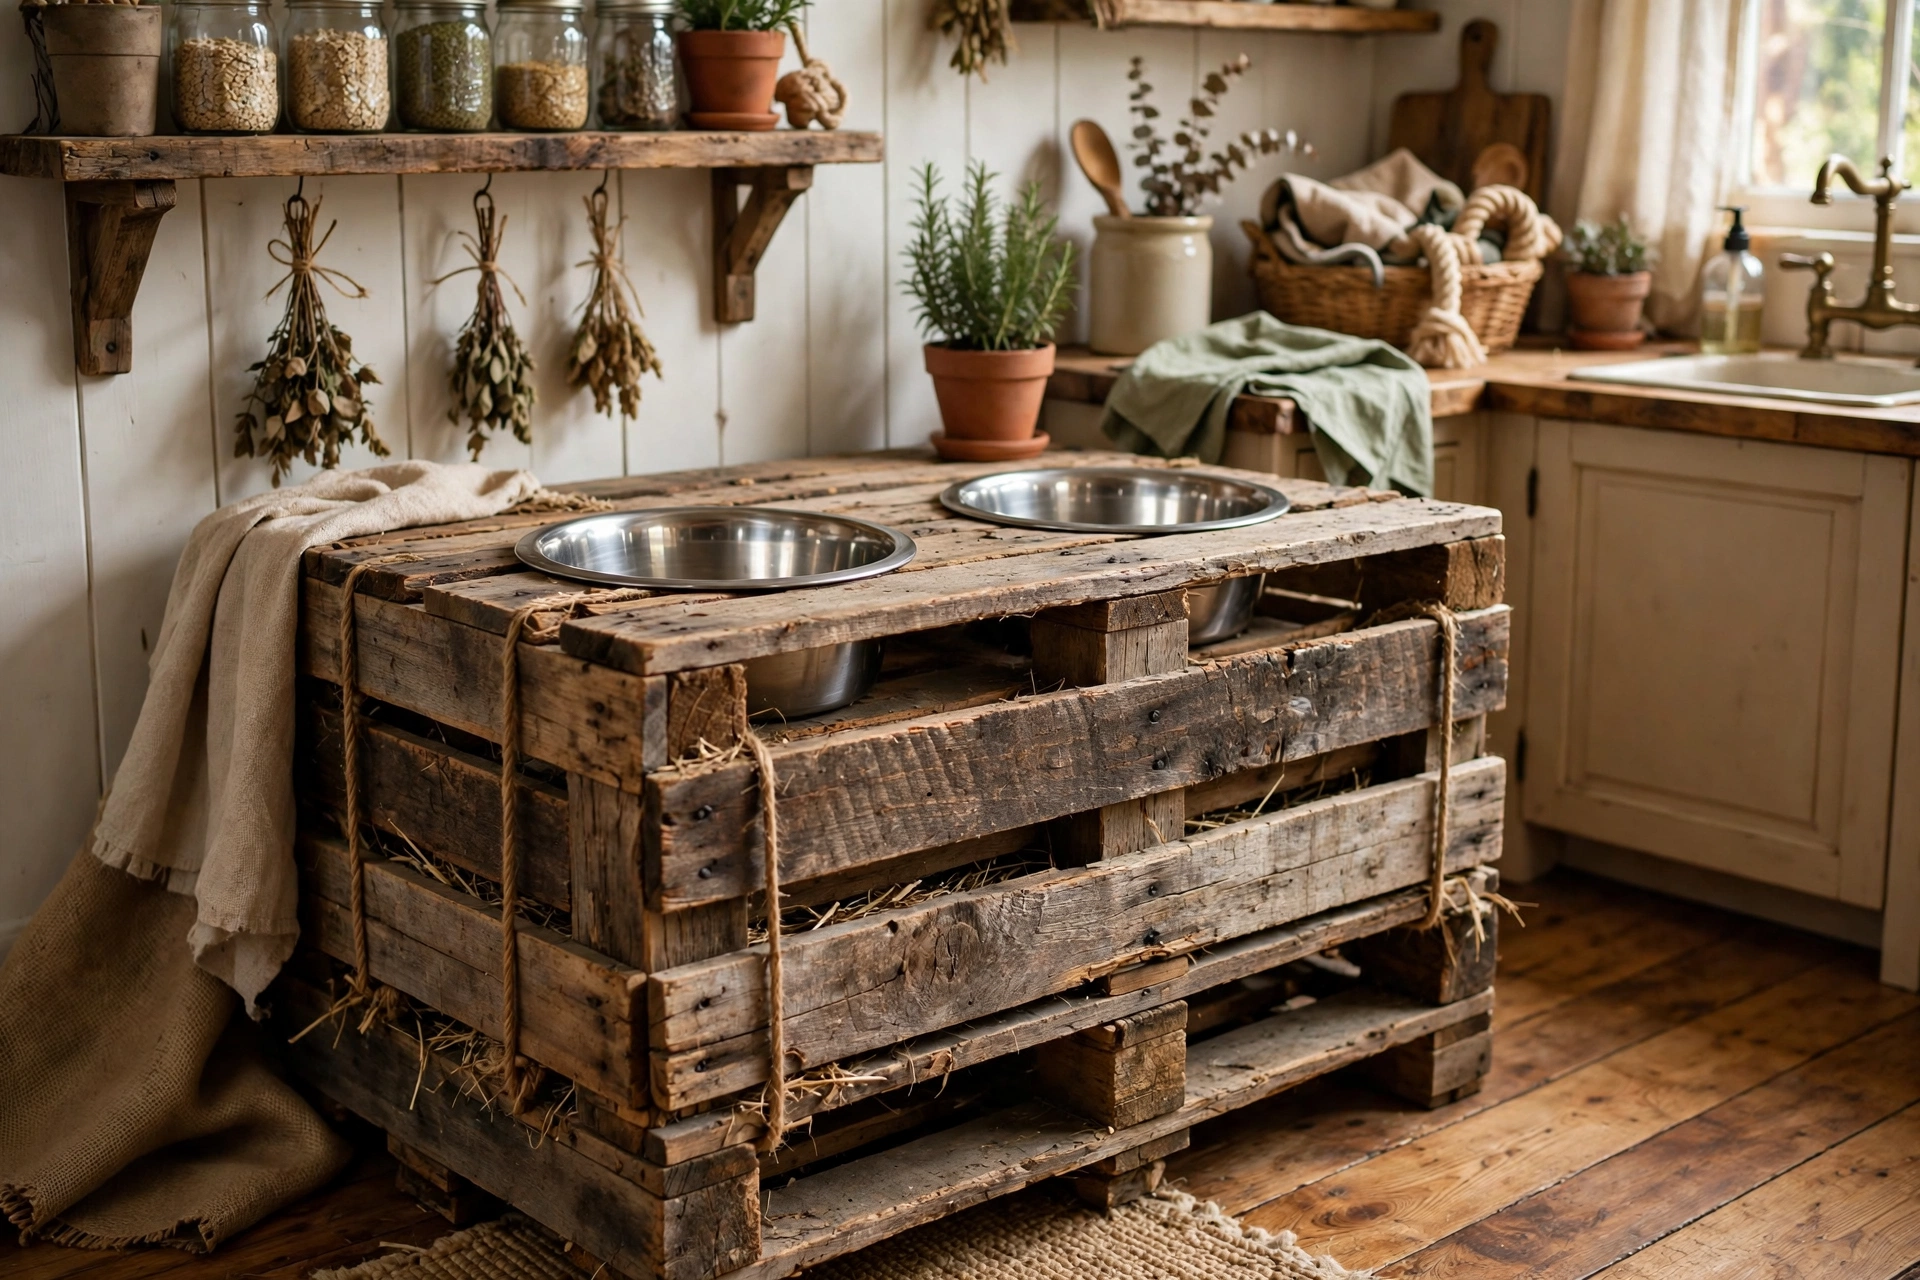
If you love the farmhouse look, this is the fastest route to a raised feeder that costs almost nothing. A wooden pallet crate becomes a box feeder with two bowl cutouts on top and a spare-bowl shelf underneath.
Materials and tools: wooden pallet crate, two stainless steel bowls, wood glue, 120-grit sandpaper, jigsaw, drill, exterior-grade wood finish.
- Sand the crate smooth and pull any loose nails or staples.
- Trace the bowls upside down on the lid and cut just inside each circle with a jigsaw.
- Seal the whole crate with exterior-grade finish so spilled water does not soak in.
Build tip: Measure your dog’s shoulder height first — the bowl rim should sit near their lower chest so they eat without hunching.
Helpful pick: BLACK+DECKER Jigsaw — cuts clean bowl circles in crate wood.
2. Cabinet Pull-Out Bowl Drawer
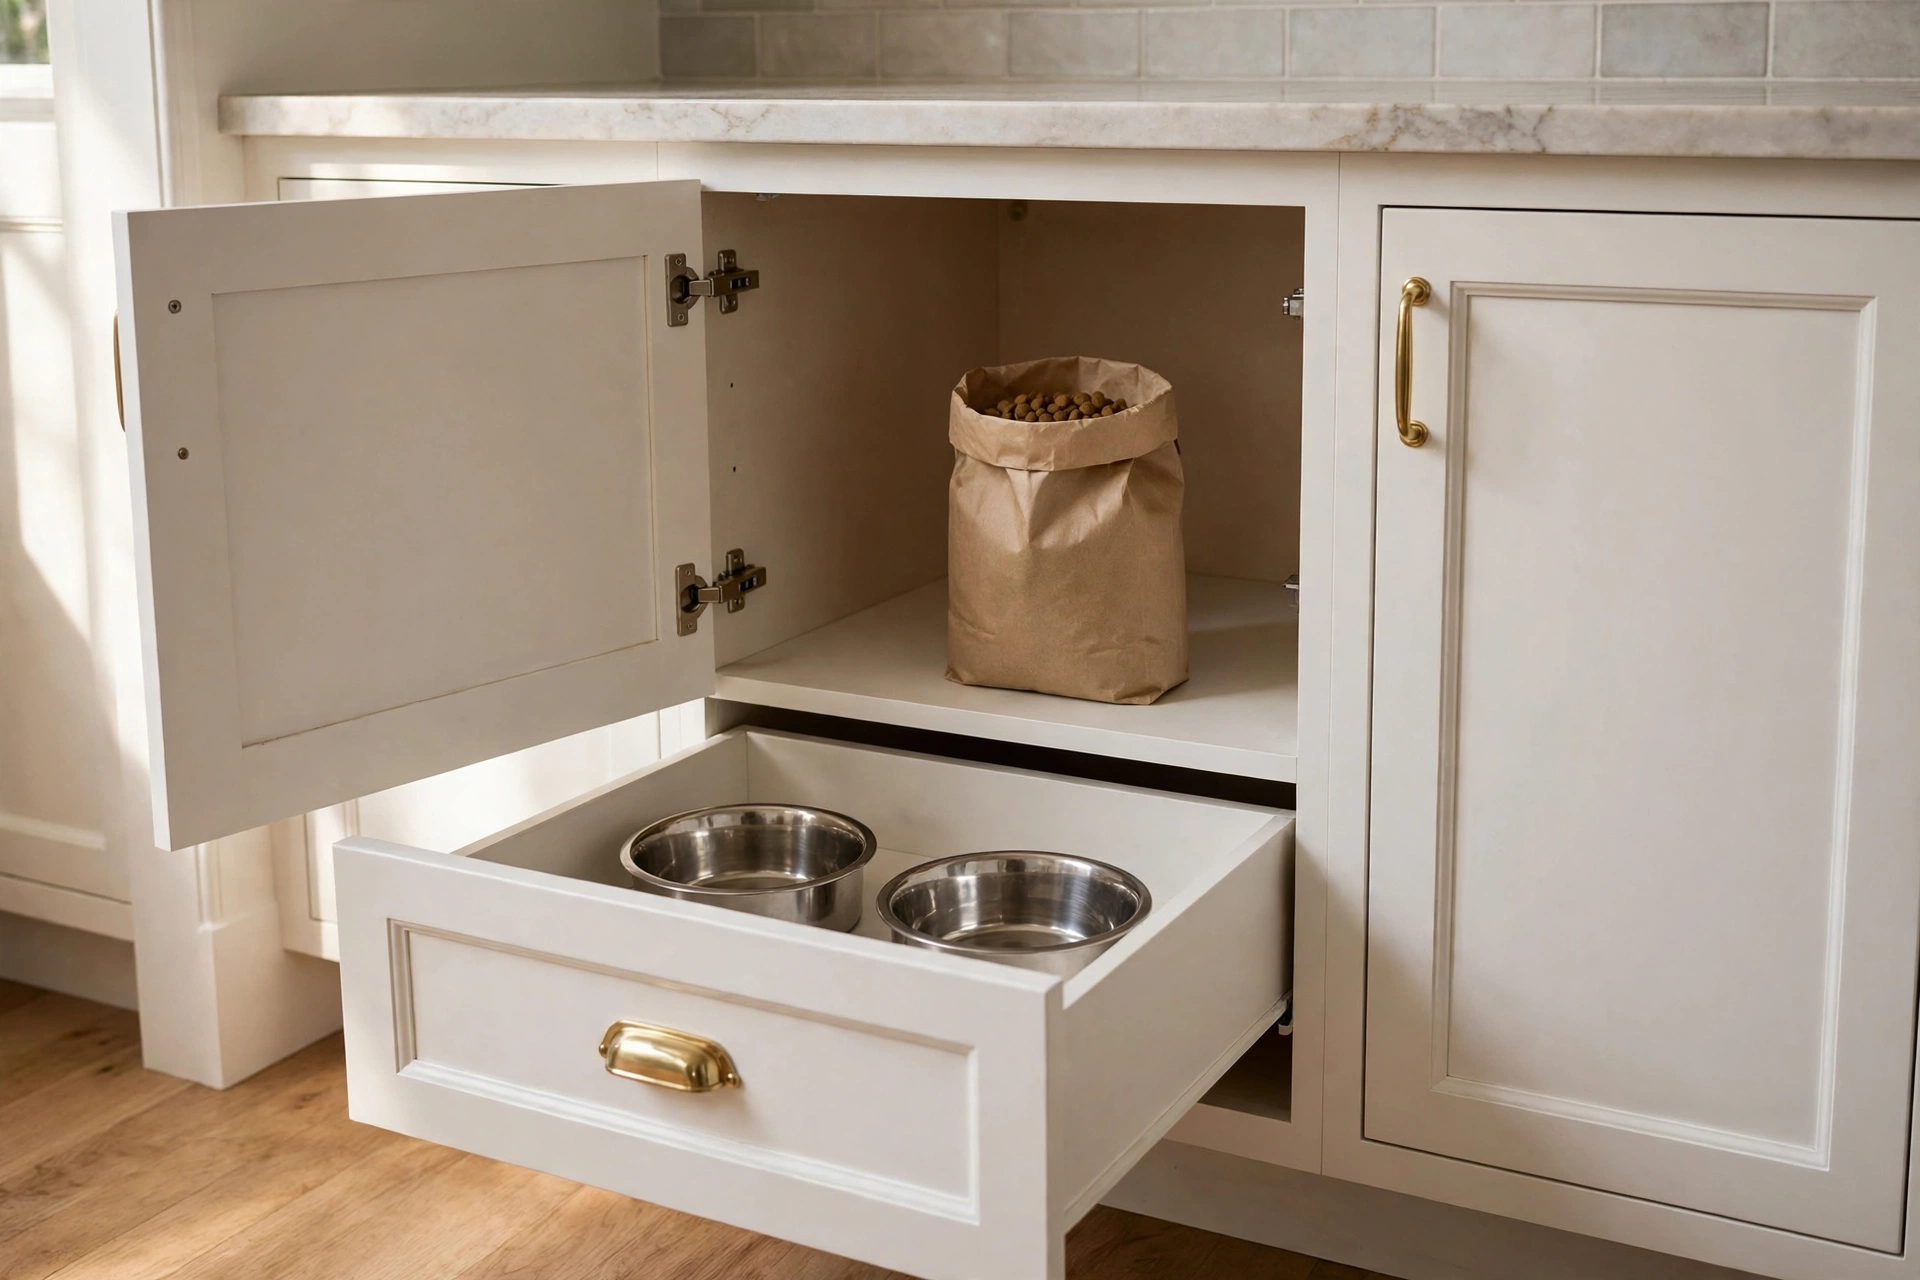
This build hides the whole feeding setup inside a low kitchen cabinet on drawer slides. Slide it out at mealtime, slide it back in when your dog is done — the floor stays clear and the kibble bag lives behind the bowls inside the same cabinet.
Materials and tools: two drawer slides, 1/2-inch plywood for the drawer box, two stainless steel bowls, wood screws, paint or stain to match your cabinets.
- Build a plywood drawer box that leaves room for slides on both sides of the cabinet interior.
- Cut two bowl holes in the drawer top so the bowls sit on their lips, then mount the slides level.
- Paint or stain the drawer to match the cabinet fronts so it disappears when closed.
Build tip: Choose full-extension slides rated for at least 50 pounds — two full bowls plus the drawer box put real weight on the hardware.
Helpful pick: KILZ Wood Stain and Sealant — seals drawer wood against drool and daily wipe-downs.
3. Modern Concrete-and-Walnut Feeder
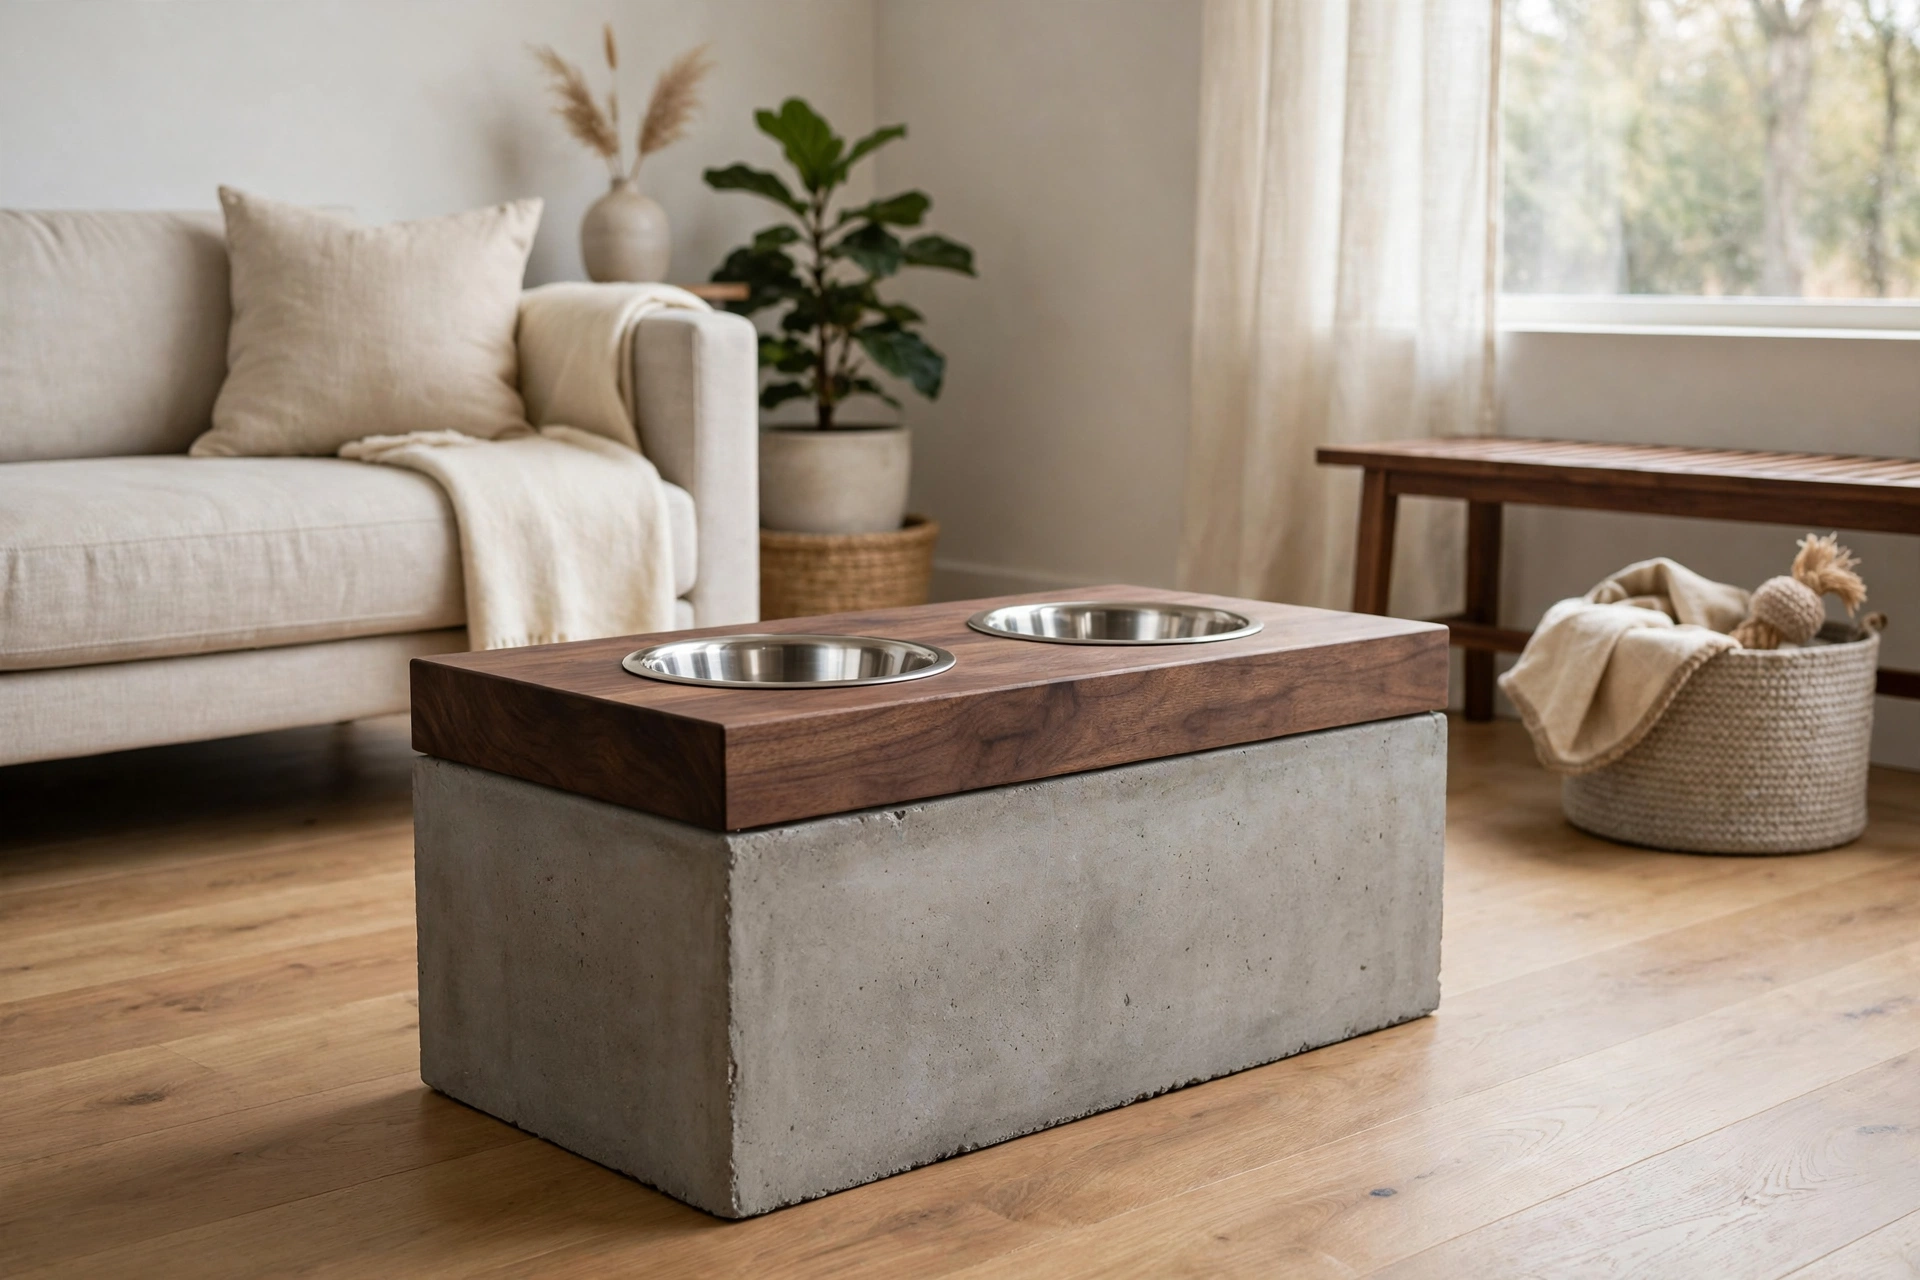
Pair a cast-concrete base with a walnut top for a feeder that reads more furniture than dog accessory. The concrete gives the station serious weight, so even the most enthusiastic eater cannot slide it around.
Materials and tools: concrete mix and a square form mold, walnut plank or walnut-stained plywood, two inset stainless bowls, food-safe concrete sealer, wood screws.
- Cast the concrete base in a square mold and cure it for a full 48 hours.
- Seal it with food-safe sealer — unsealed concrete absorbs water and odors.
- Cut the walnut top with a one-inch overhang, drill two bowl holes, and fasten it to the base.
Set it on a small silicone mat for an extra layer of splash protection under the concrete.
Helpful pick: LSK Corner Brackets — hidden support where the wood top meets the base.
4. Vintage Suitcase Feeding Station
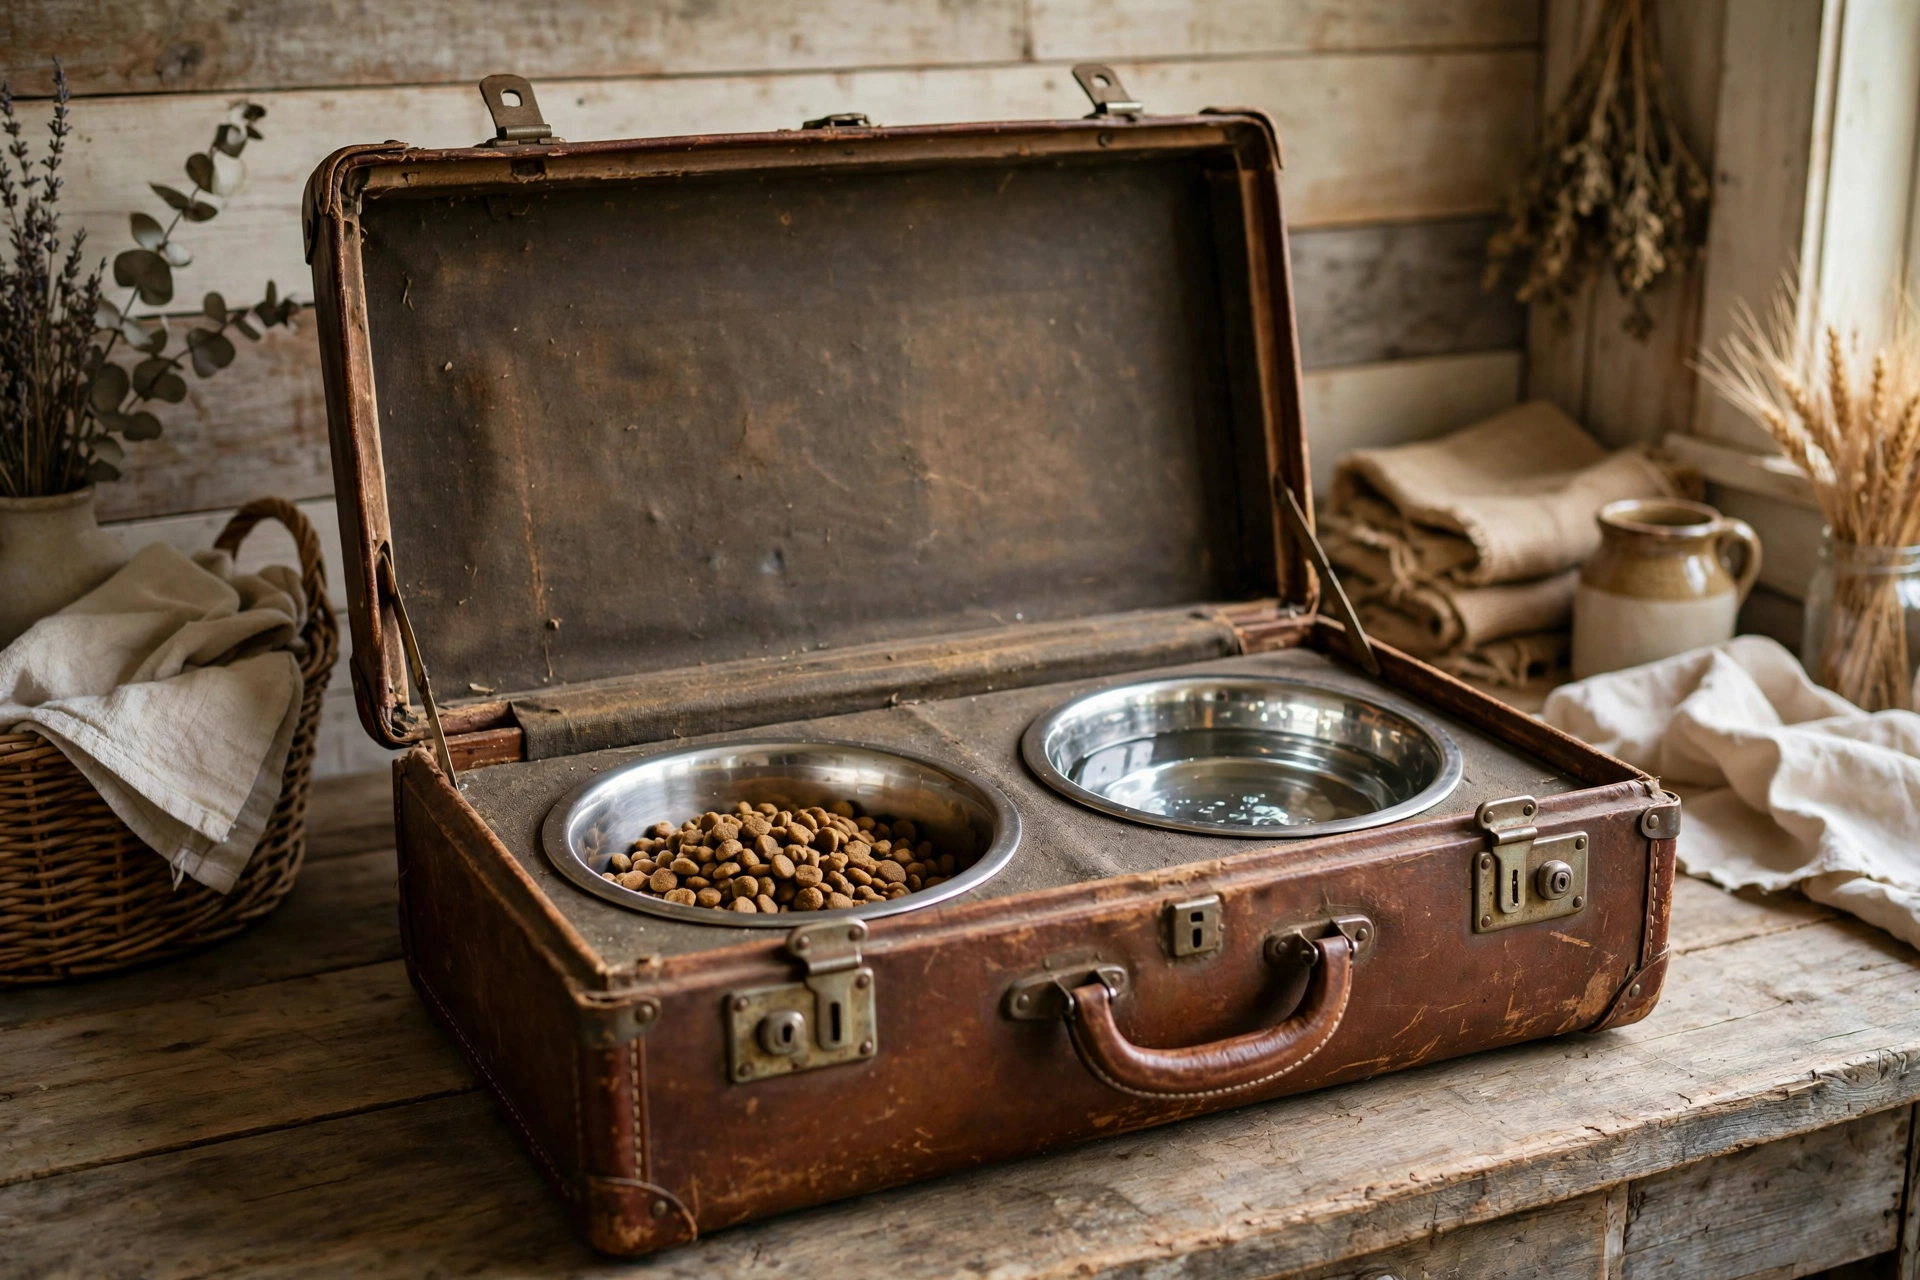
Old hard-sided suitcases show up at thrift stores constantly, and their shallow depth suits small and medium dogs. Open the lid flat, cut two bowl holes into the bottom half, and the top half holds a spare leash and waste bags.
Materials and tools: vintage hard-sided suitcase, two stainless steel bowls, jigsaw or hole saw, sandpaper, food-safe sealant, wooden dowels for reinforcement.
- Clean the suitcase inside and out and remove any musty lining fabric.
- Lay it open flat, trace the bowls onto the bottom half, and cut each hole slightly smaller than the bowl lip.
- Reinforce the inside walls with glued dowels if the case flexes when lifted.
Build tip: Best for calm eaters — suitcase shells are not built for a dog that paws or shoves its bowl.
Helpful pick: ONUPGO Wooden Dowels — glue these along the inside walls to keep a thrifted case rigid under daily use.
5. Corner Wall-Mounted Folding Feeder
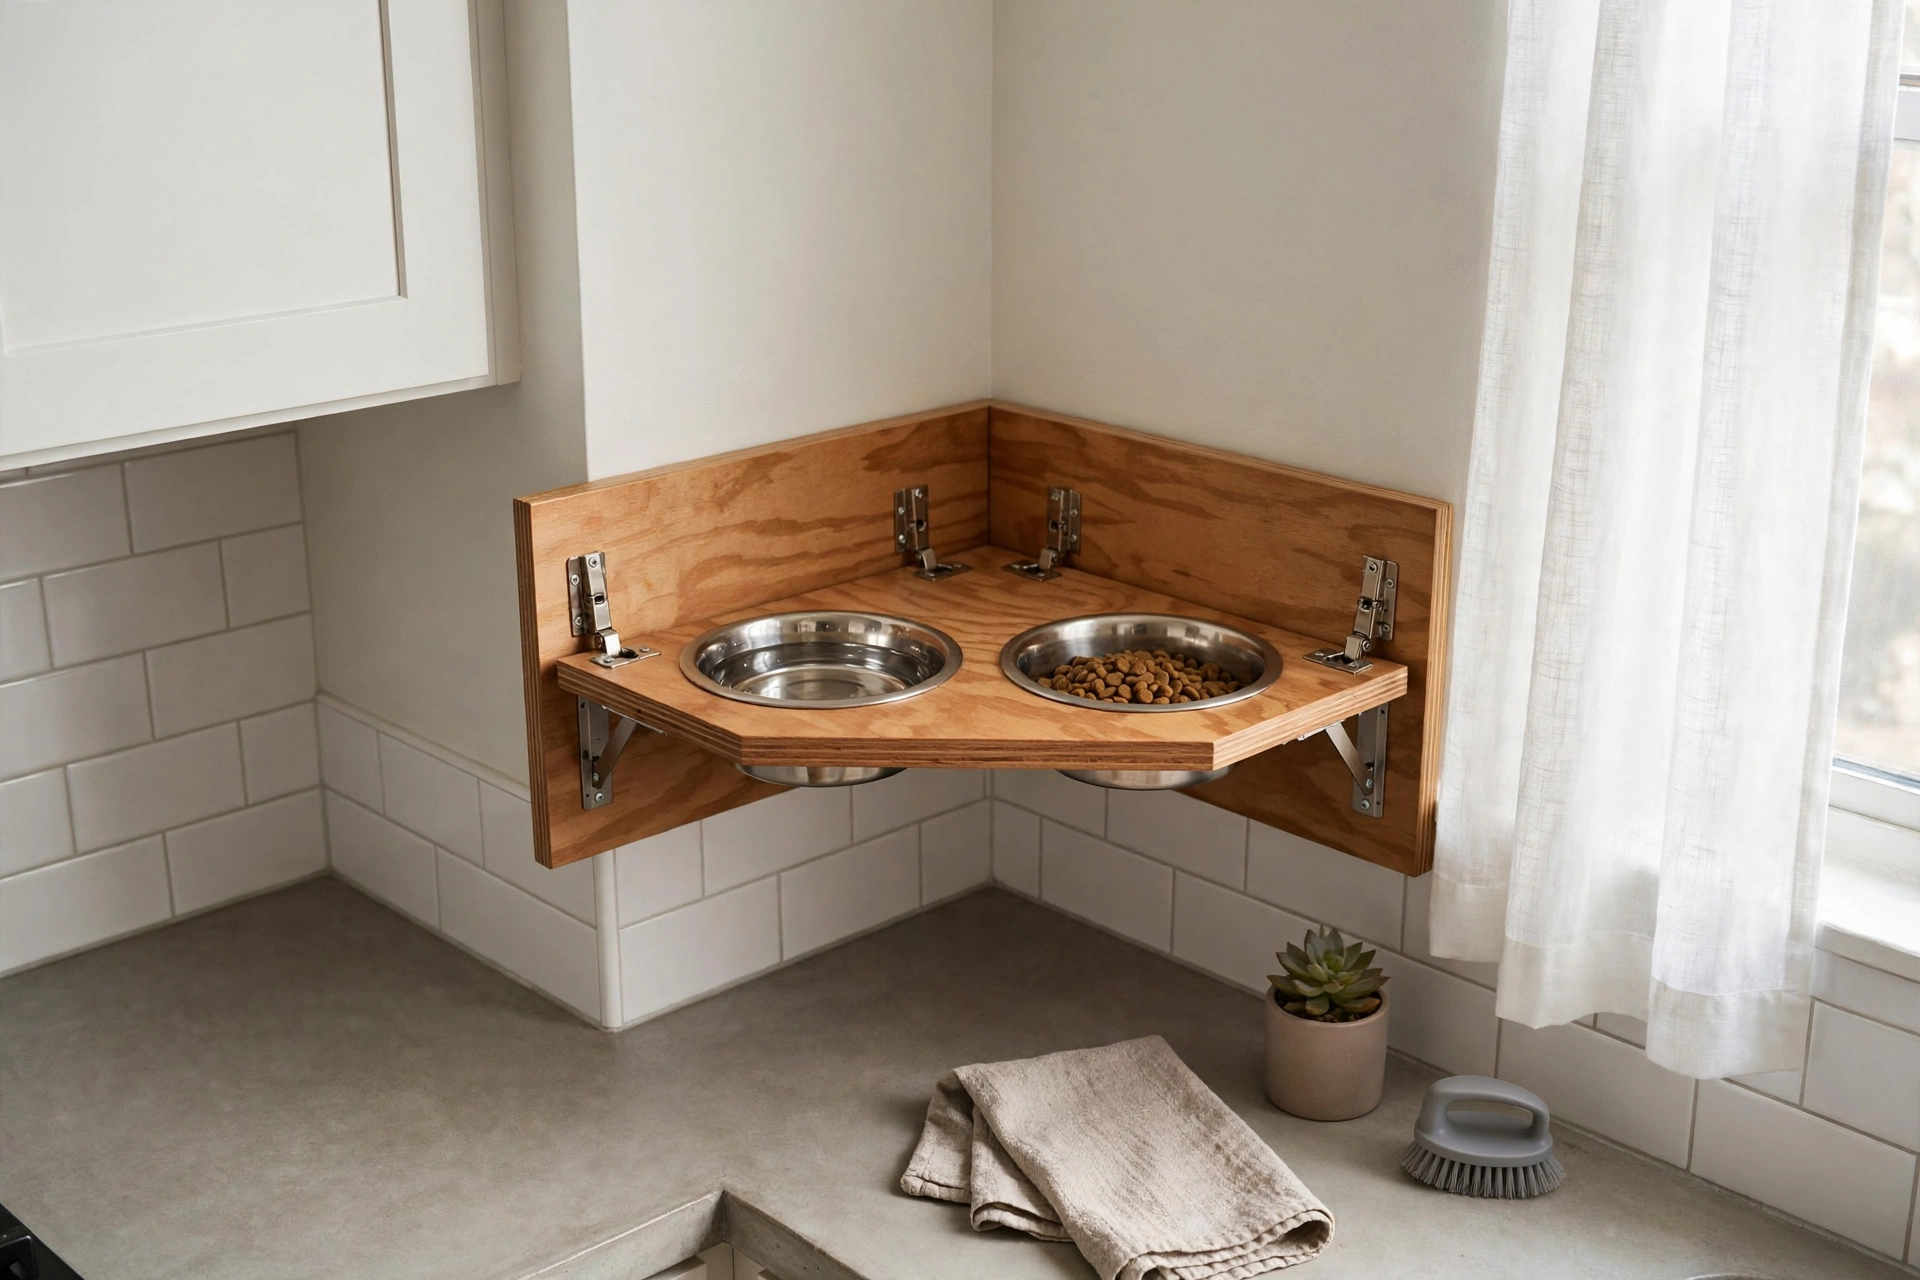
Small-apartment dog owners, this one is for you. A folding shelf in a kitchen corner holds two bowls at mealtime and folds flat against the wall when your dog is done — zero floor space used the rest of the day.
Materials and tools: folding shelf brackets (two), plywood shelf cut to corner shape, two stainless steel bowls, wall anchors, drill, level.
- Mount the brackets into studs (or heavy-duty anchors) at your dog’s ideal bowl height, keeping them level.
- Cut the bowl holes in the plywood shelf before screwing it to the brackets.
- Test the fold-down action with empty bowls, then water, before your dog uses it.
Build tip: Add a cord stop so the shelf locks flat at 90 degrees and cannot droop mid-meal.
Helpful pick: UMICKOO LED Strip Lights — stick a strip under the shelf so the corner feeder is visible during early-morning meals.
6. Storage-Bin Feeder With Kibble Dispenser
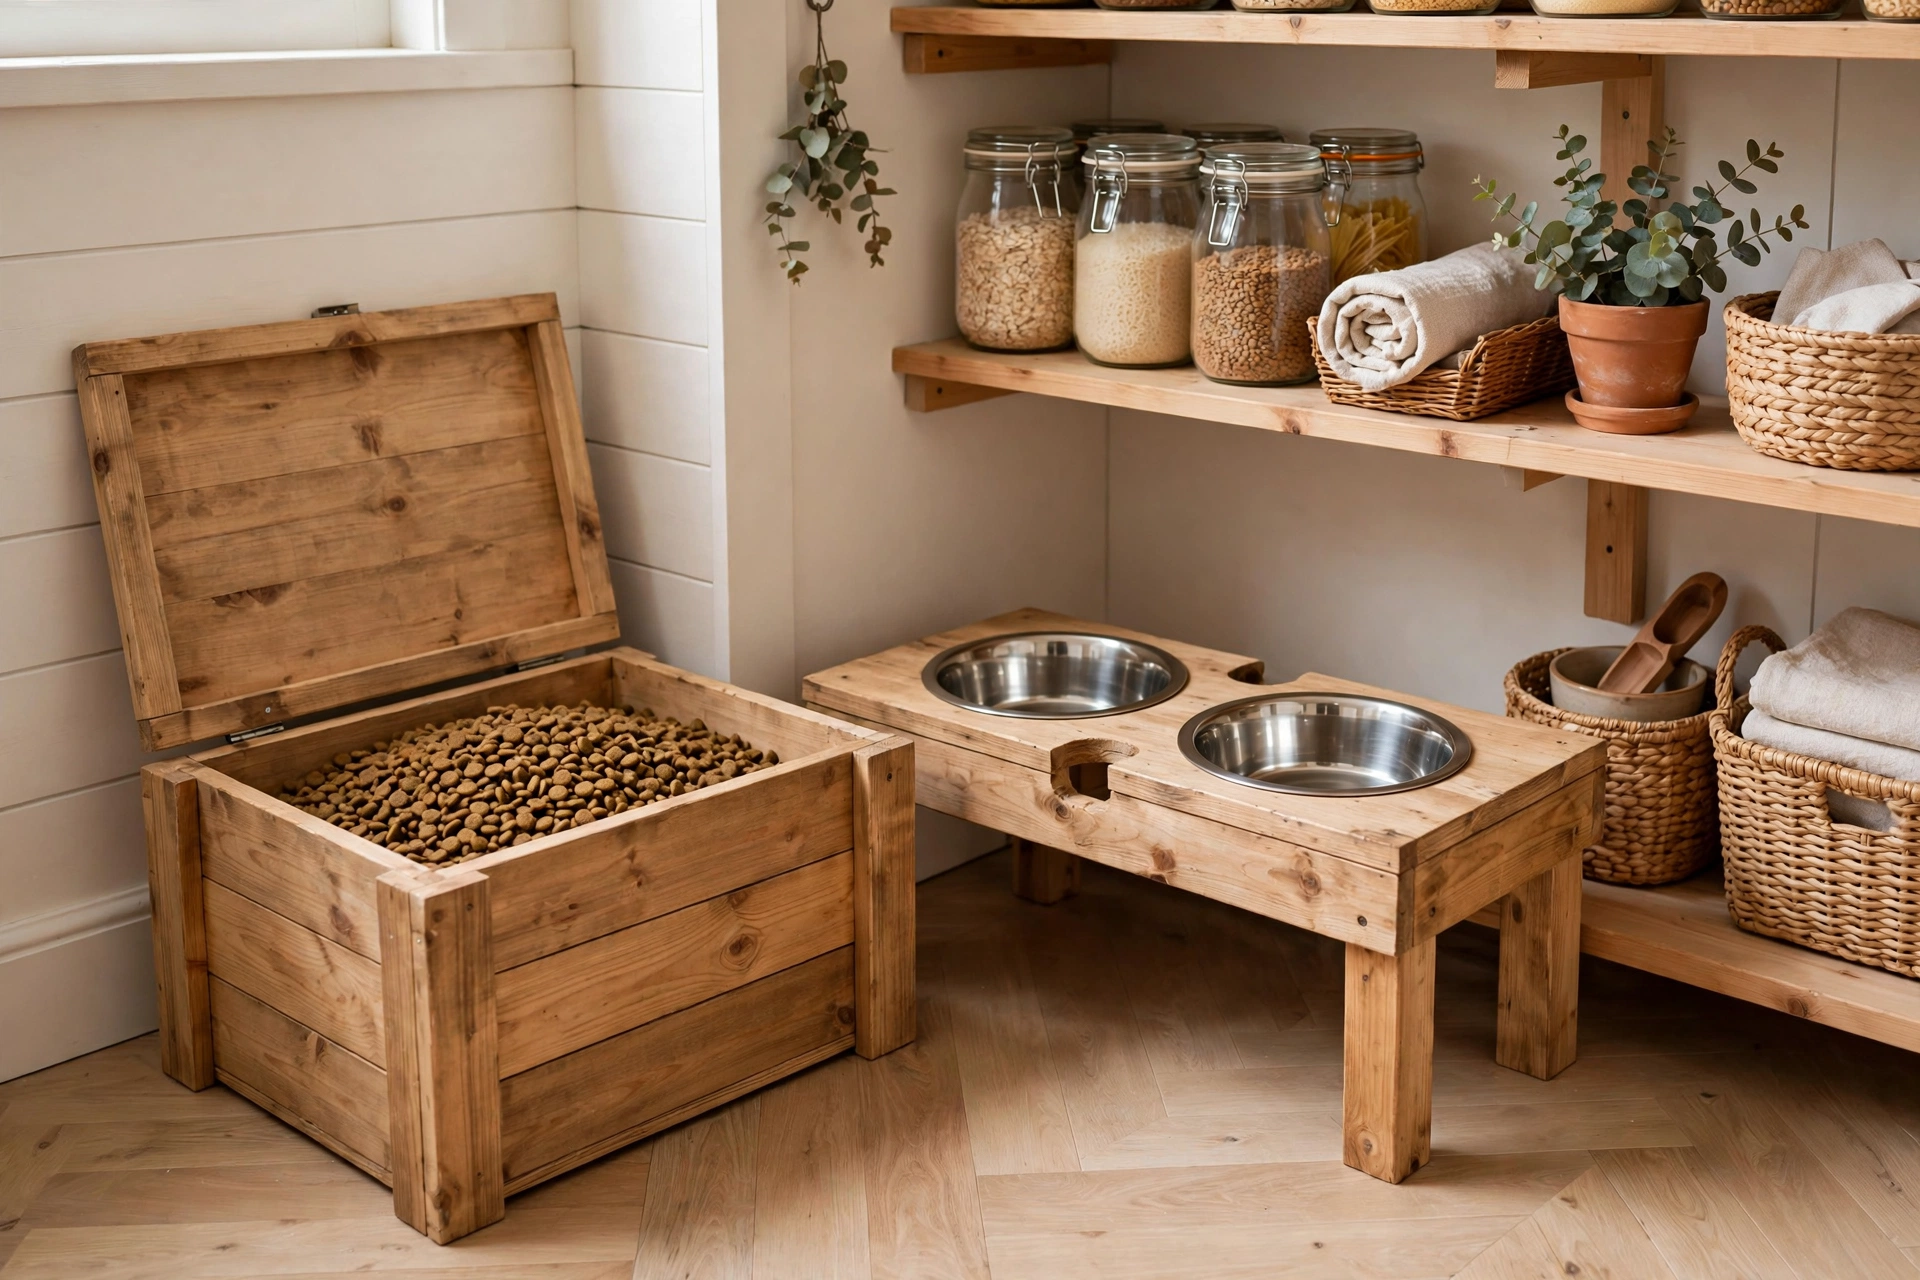
The biggest feeding-station annoyance is not the bowls — it is the giant kibble bag against the wall. This build pairs a raised double feeder with a lidded wooden bin underneath that holds the entire bag of food. One station, one footprint, no bag on the floor.
Materials and tools: plywood box with hinged lid, two stainless steel bowls, airtight inner container, piano hinge, wood screws, jigsaw.
- Build a plywood box sized for an airtight kibble container, with a hinged lid and a top shelf for the bowls.
- Cut two bowl holes in the top panel and hang a scoop on a hook inside the lid.
- Drop the airtight liner in — never pour kibble straight into wood — and fill the bowls.
Build tip: The airtight liner keeps food fresh and makes the bin easy to clean.
Helpful pick: Tuff Pupper Microfiber Dog Towel — keep one folded on the station for the post-meal splash zone.
7. Floating Shelf Feeder With Leash Hooks
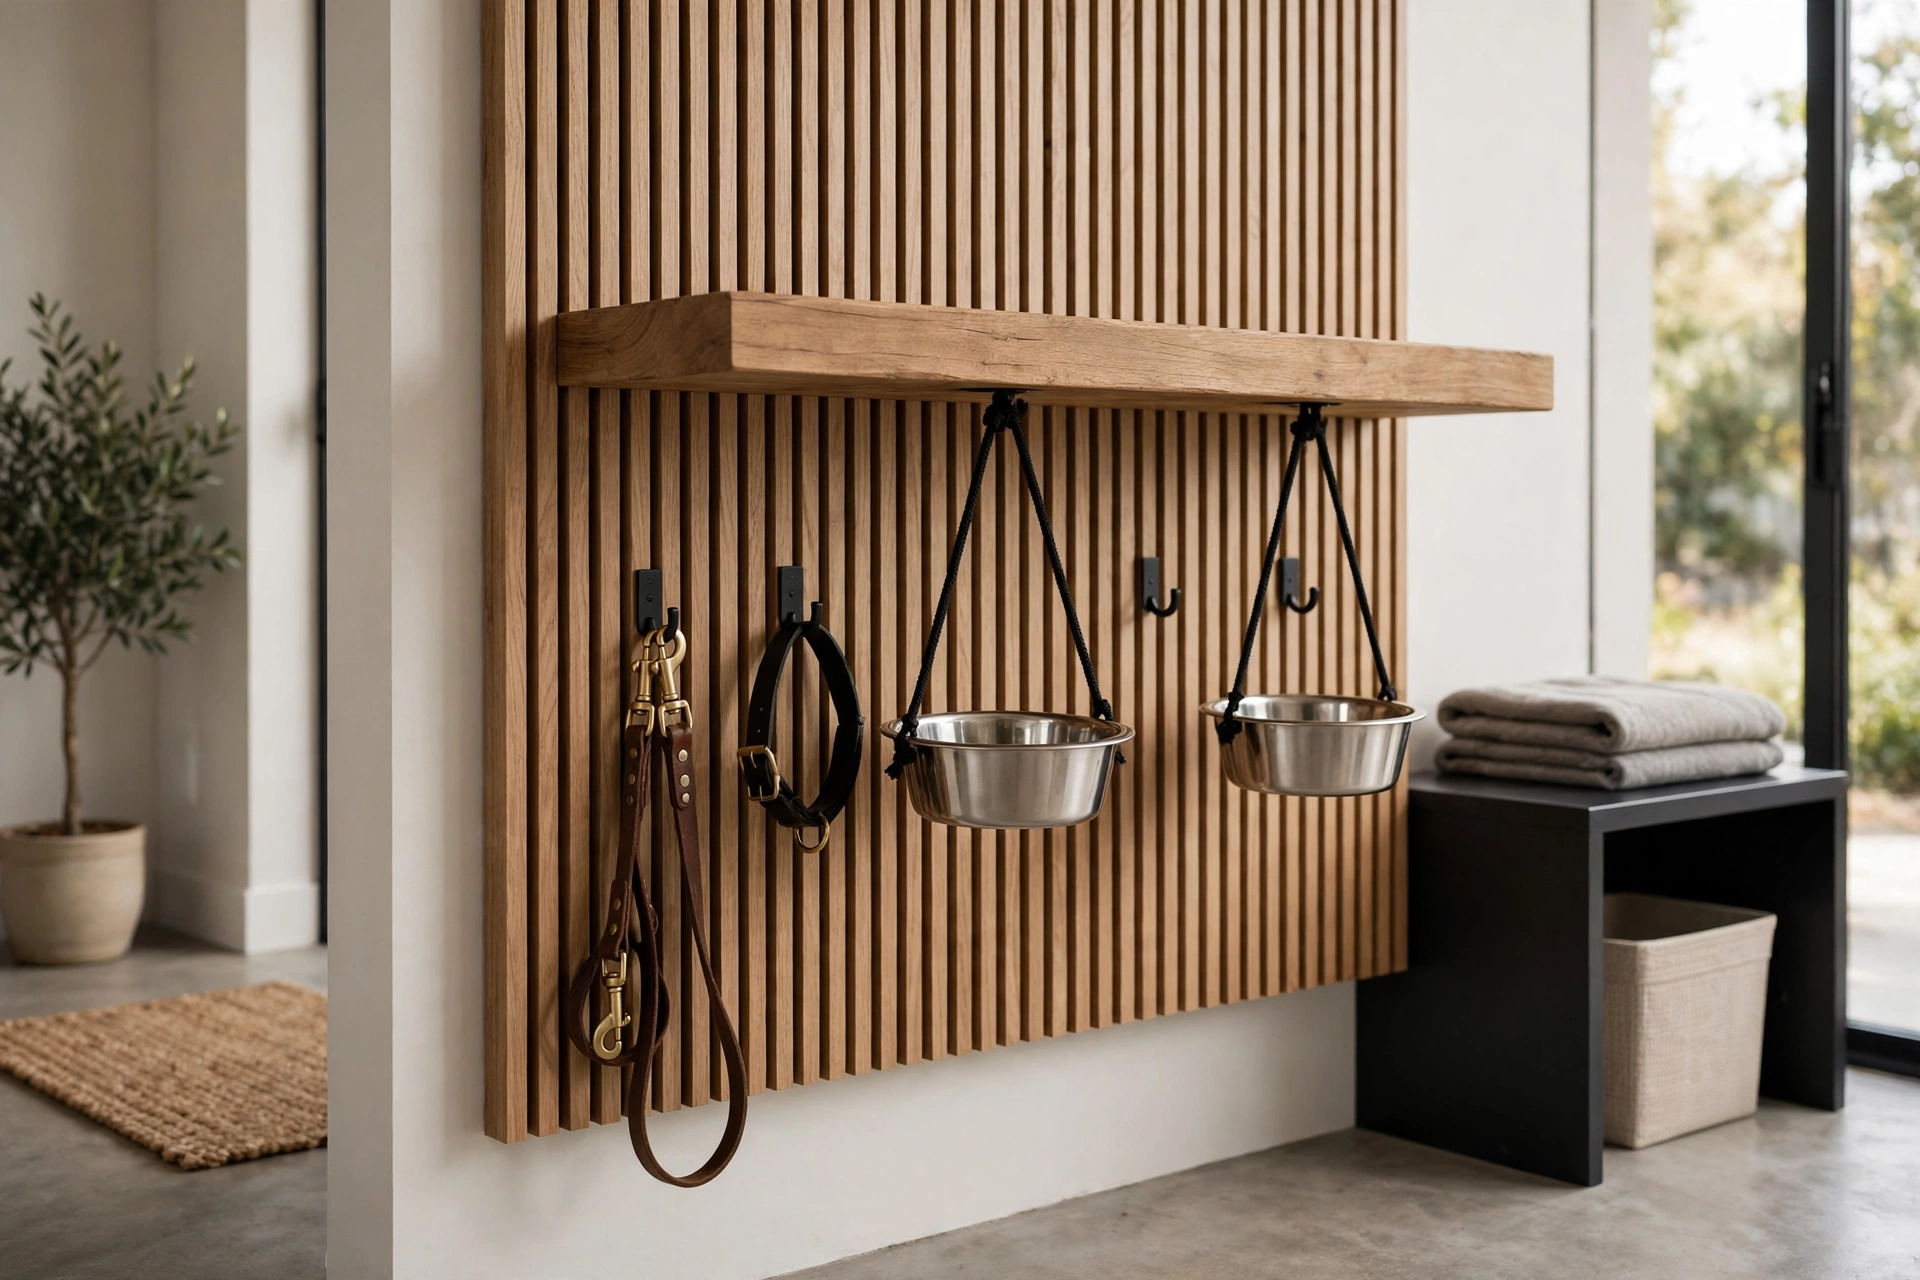
If your feeding corner is also your entryway, make one station do both jobs. A thick floating shelf at bowl height holds two bowls, while a row of hooks underneath keeps the leash and waste bags in one grab-and-go spot. Two people can hang it in under an hour.
Materials and tools: thick floating shelf board, heavy-duty floating shelf brackets, two stainless steel bowls, five coat hooks, drill, stud finder.
- Mount the shelf into studs at the right bowl height, then cut the bowl holes before hanging it.
- Screw the coat hooks evenly along the underside, facing outward.
- Hang the leash, collar, and waste bags so mealtime gear lives with the bowls.
Build tip: Leave four inches behind the bowls so the hook hardware does not bump your dog’s ears.
Helpful pick: TienYow Sisal Rope — loop it through the hooks as a rustic leash hanger.
The Bowl-Sizing Rule Most People Get Wrong
The single most common mistake is measuring the bowl’s diameter and cutting exactly that size. Cut the hole to the diameter of the bowl’s outer rim minus half an inch on each side so the bowl rests on its lip instead of falling through or wedging in. Set the feeding surface at roughly your dog’s elbow height for a comfortable eating posture, and seal every wood surface that can see water with a food-safe finish — unsealed wood soaks up drool and starts to warp within weeks.
Keep Reading
- DIY Dog Bunk Beds
- Indoor Dog Park Ideas
- Fun Dog Photo Ideas
- DIY Insulated Dog House Ideas
- DIY Raised Dog Bowls
Frequently Asked Questions
What is the best height for a DIY dog feeding station?
Set the bowl surface at roughly your dog’s elbow height so they eat without hunching. Large breeds usually need 12 to 16 inches; small dogs do well at 4 to 6.
What kind of bowls work best in a homemade feeding station?
Stainless steel bowls with a flared rim drop into cut holes and rest on their lip, do not break, and are dishwasher-safe. Ceramic works too but is heavier and can crack if knocked.
How do I keep the feeding station from getting soggy?
Seal all wood with a food-safe finish, set the station on a waterproof mat, and wipe it down after meals. Unsealed wood absorbs water and will warp or smell within weeks.
Can I build a feeding station without power tools?
Yes. The suitcase and floating shelf builds need only a hand saw, a drill, and sandpaper — and many hardware stores will pre-cut plywood to size for you.
Should the food and water bowls both be raised?
Raising both keeps posture comfortable and contains splashes in one spot, but it is not a rule. If your dog prefers water on the floor, raise only the food bowl.
As an Amazon Associate, PetPostHub earns from qualifying purchases.