
5-Minute Dog Treats: Easy 3-Ingredient Recipe (2026)
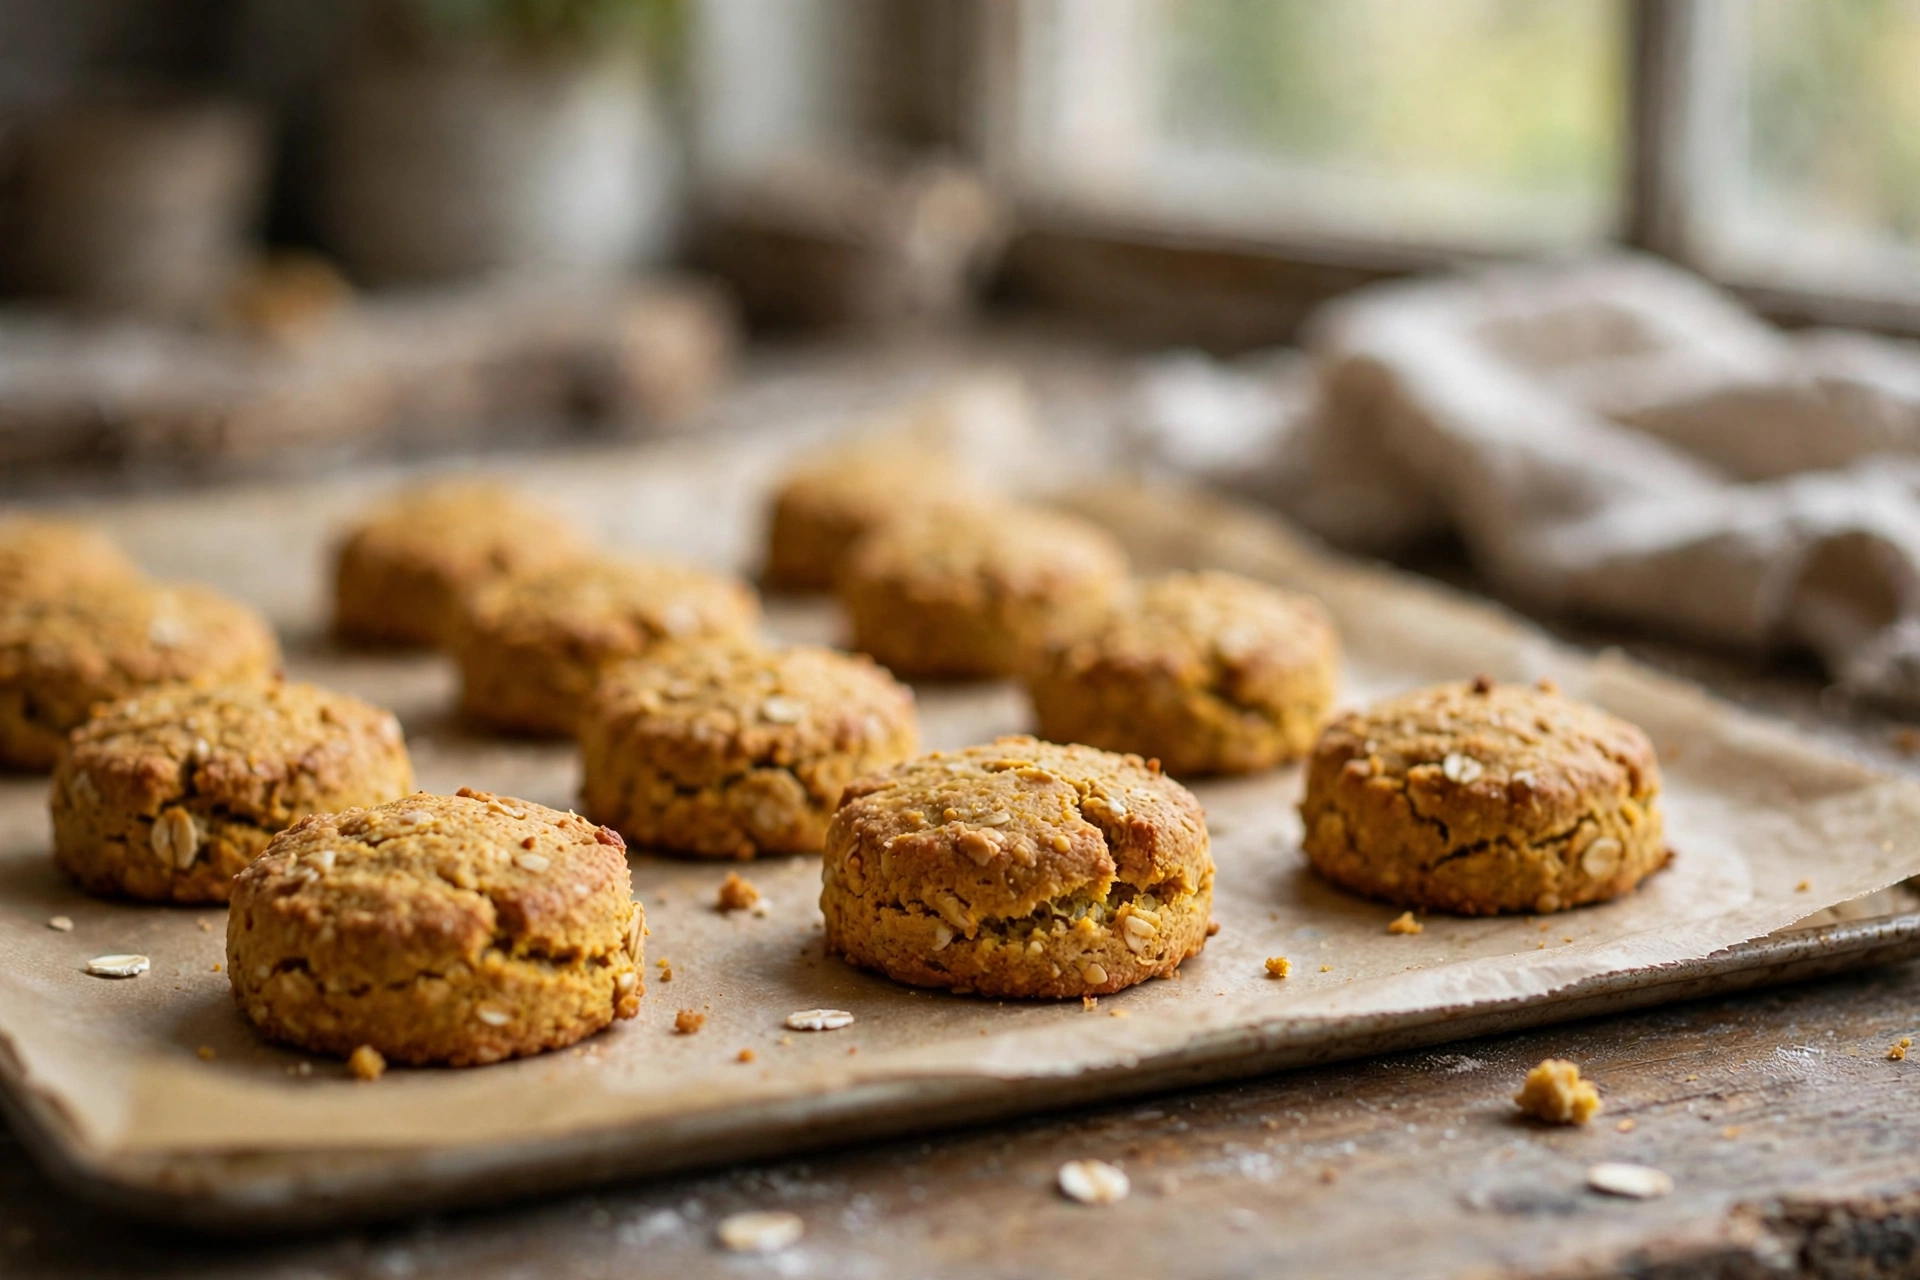
Some mornings you need a treat right now. Maybe your dog nailed a new trick, the jar is empty, and the store is not an option. These 5 minute dog treats are the answer: three pantry ingredients, one bowl, and five minutes of prep before they slide into the oven. No fancy flour, no resting dough, no marathon bake.
They bake up golden and firm with a soft middle, smelling faintly of roasted pumpkin and toasted oats. Keep a container in the fridge and you will never face an empty treat jar again. Best of all, every ingredient is a kitchen staple you probably already own.
In This Article
- Why 5-Minute Treats Are Worth Making
- Recipe: Pumpkin Oat 5-Minute Buttons
- Easy Variations to Try
- Tips for the Best Batch
- Portion and Serving Sizes
- Storage Instructions
- Frequently Asked Questions
- Keep Reading
Why 5-Minute Treats Are Worth Making
Speed is the headline, but these little buttons earn their place for a few more reasons. Busy mornings are exactly when dogs tend to get the same old kibble dust or a store treat full of things you cannot pronounce — and a five-minute homemade batch fixes that in the time it takes the coffee to brew.
- Real food, zero junk: Rolled oats, plain pumpkin puree, and egg. Nothing unpronounceable, no preservatives, no mystery filler.
- Gentle on tummies: Oats are famously soothing for dogs with sensitive stomachs, and pumpkin adds soluble fiber that helps keep digestion regular.
- Budget friendly: Three ingredients you can buy for a few dollars — and one batch replaces a bag of store treats.
- Soft enough for seniors: The centers stay slightly tender, so older dogs and teething puppies can chew them comfortably.
- Training-ready: Press them small and you have a whole pocket of high-value, low-cost training rewards.
Recipe: Pumpkin Oat 5-Minute Buttons
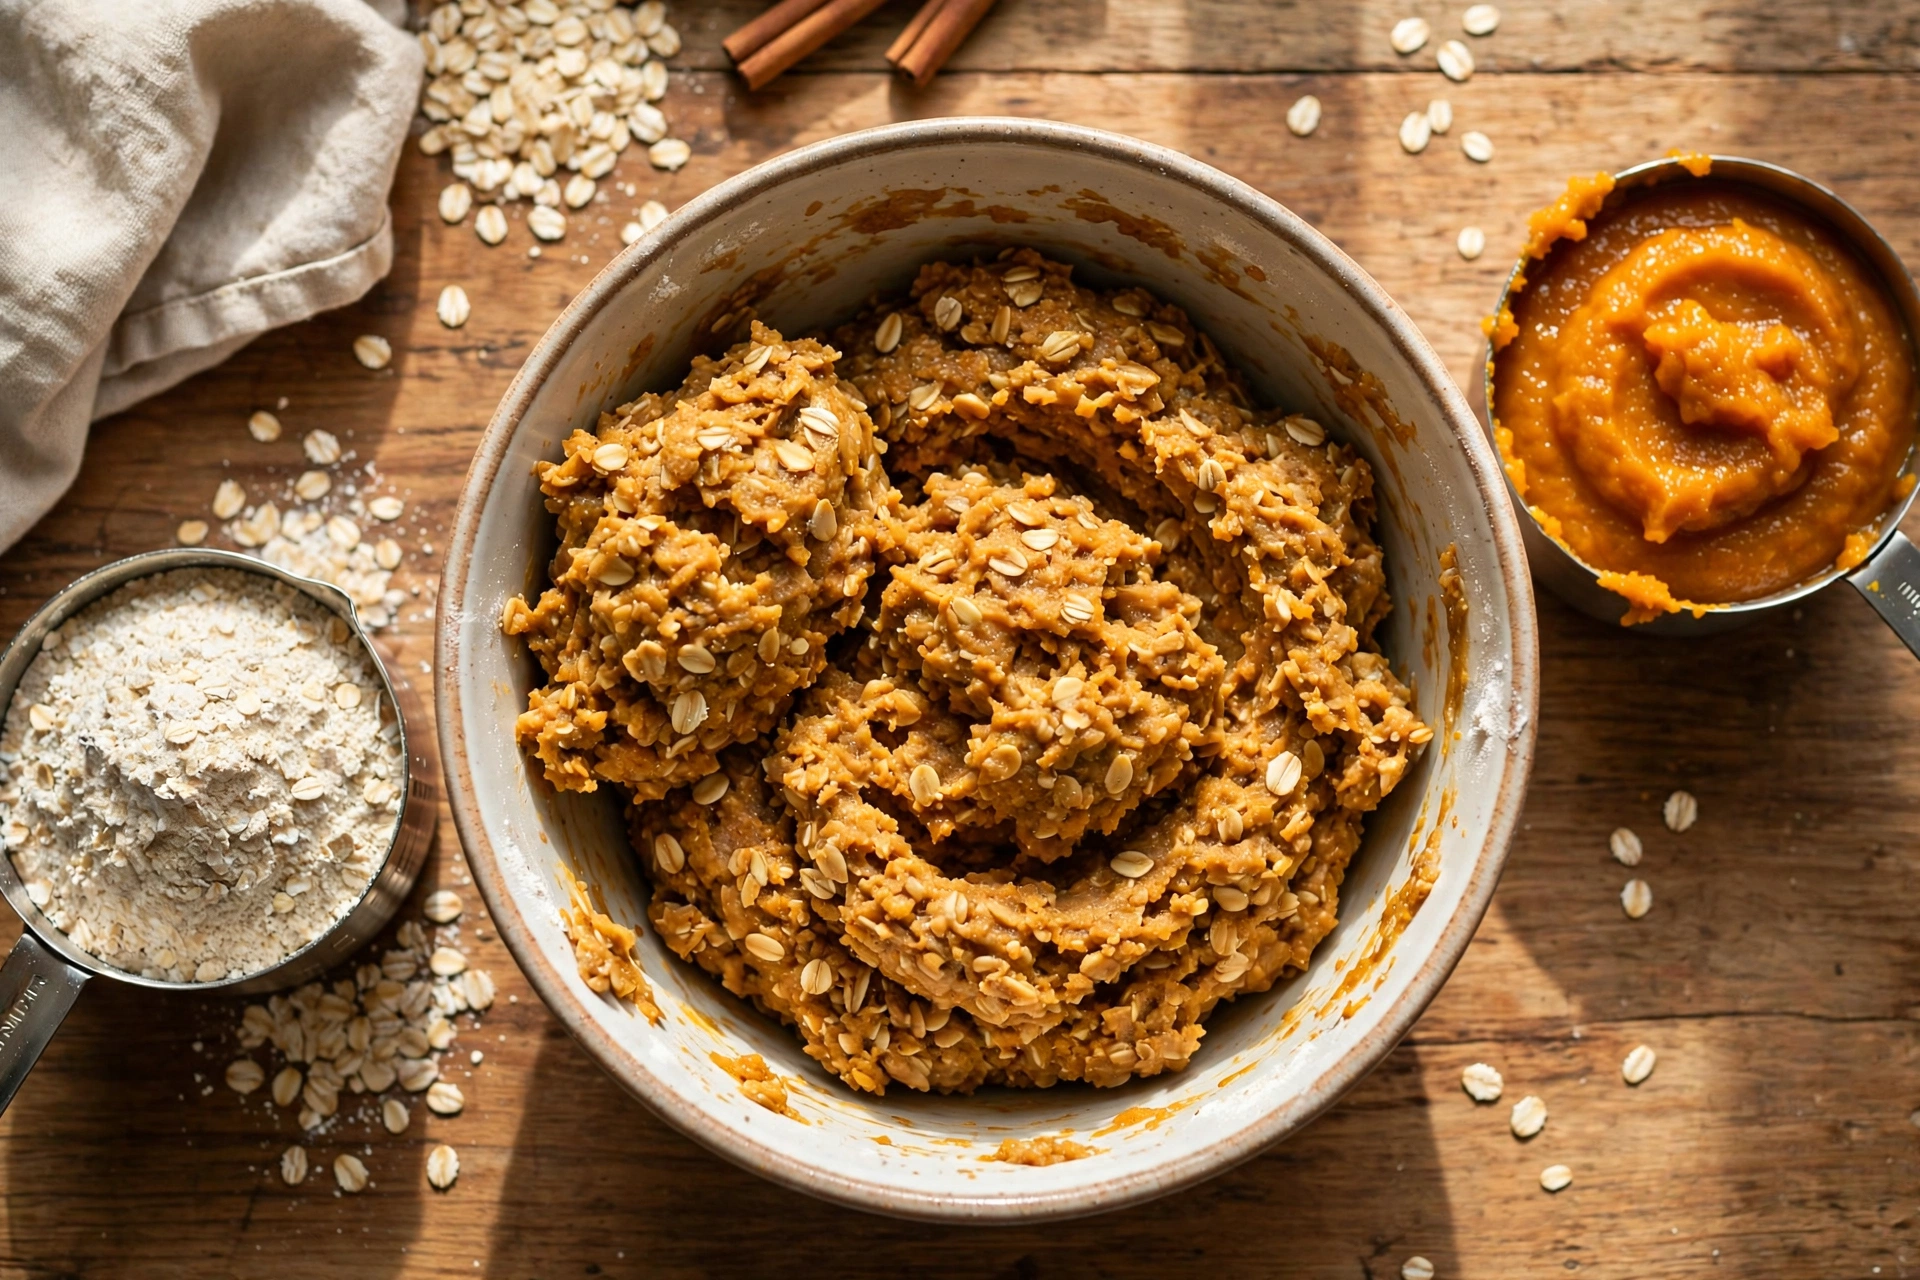
Yields: about 18 small buttons | Prep: 5 minutes | Bake: 14–16 minutes
| Ingredient | Amount |
|---|---|
| Rolled oats | 1 cup |
| Plain canned pumpkin puree (not pie filling) | 1/2 cup |
| Egg | 1 large |
| Water | As needed |
- Heat the oven. Set it to 350°F (180°C). While it warms up, line a baking sheet with parchment paper — this is when the 5-minute clock starts.
- Make quick oat flour. Toss the rolled oats into a blender or food processor and pulse for 10–15 seconds until they look like a coarse, sandy flour. No blender? A sturdy zip bag and a rolling pin works too.
- Whisk the wet ingredients. In a mixing bowl, crack in the egg and beat it lightly with a fork. Stir in the pumpkin puree until the mixture is smooth and rust-orange.
- Combine. Pour the oat flour over the pumpkin-egg mixture and stir until a soft dough comes together. It should feel like firm cookie dough — tacky but not sticky.
- Adjust the texture. If the dough crumbles and will not hold, add water one teaspoon at a time. If it feels wet and sloppy, sprinkle in another spoonful of oats.
- Shape fast. The quickest route: pinch off teaspoon-sized pieces, roll them between your palms into little balls, and set them on the baking sheet. Press each one flat with your thumb — these are the “buttons.”
- Bake. Slide the sheet into the oven and bake 14–16 minutes, until the buttons feel firm on top and look golden at the edges.
- Cool completely. Move them to a wire rack and let them cool fully before serving — at least 20 minutes. The centers firm up as they cool.
Easy Variations to Try
- Peanut butter swirl: Stir 1 tablespoon of xylitol-free peanut butter into the wet ingredients for a richer, nuttier bite.
- Apple-pumpkin: Swap half the pumpkin for unsweetened applesauce (1/4 cup) — a little sweeter and extra moist.
- Training minis: Roll the dough into pea-sized balls instead of buttons. Cut the bake time to 10–12 minutes and watch them closely.
- Microwave shortcut: Press dough into flat discs, place on a microwave-safe plate lined with parchment, and microwave on medium for 2–3 minutes, checking at 1-minute intervals. Let them rest 5 minutes — they firm up as they stand.
Tips for the Best Batch
A few small habits make the difference between good treats and great ones:
- Work fast while the oven heats. The five minutes of prep happen during preheat time — measure, mix, and shape while the oven warms, and nothing goes to waste.
- Don’t over-bake. These buttons keep firming up on the rack. If they feel rock-hard in the oven, they will be too hard once cool. Pull them when they are firm but still give slightly under your thumb.
- Size them for your dog. Buttons about the size of a thumbnail suit medium dogs; make them walnut-sized for large breeds and pea-sized for training sessions.
- Watch the pumpkin label. Only 100% pumpkin belongs in this dough. Pie filling is spiced and sweetened — a quick label check takes five seconds and keeps your dog safe.
- Double the batch. These freeze beautifully, so there is no reason to make just one tray. Double everything, bake two sheets (rotating halfway through), and bank the extras in the freezer.
- Introduce slowly. Even gentle recipes deserve a trial run: offer one treat the first day and confirm your dog’s stomach agrees before adding them to the routine.
Portion and Serving Sizes
Treats should stay within the 10% rule — no more than 10% of your dog’s daily calories should come from treats, no matter how wholesome the ingredients.
| Dog Size | Serving Per Day |
|---|---|
| Small (under 20 lbs) | 1–2 buttons |
| Medium (20–50 lbs) | 2–3 buttons |
| Large (over 50 lbs) | 3–4 buttons |
Storage Instructions
Because these treats contain fresh egg and moist pumpkin, they spoil at room temperature. Store them properly and they stay fresh for days:
- Refrigerator: Keep in an airtight container in the fridge for up to 5 days.
- Freezer: Freeze extras for up to 3 months. Thaw in the fridge overnight before serving.
- Not recommended: Do not store these on the counter — the moisture content is too high for room-temperature storage.
Frequently Asked Questions
Can I use pumpkin pie filling instead of plain pumpkin?
No — pie filling contains added sugar and spices that are not safe for dogs. Use 100% plain canned pumpkin, or plain cooked and mashed pumpkin.
Do I have to grind the oats into flour?
It is strongly recommended. Whole oats make a dough that crumbles after baking. A quick 15-second blend is all it takes, and it is the difference between a firm treat and a pile of crumbs.
Can I add honey or maple syrup for flavor?
Skip them. These add sugar your dog does not need. The pumpkin and egg give plenty of flavor and natural sweetness that dogs love.
Are these safe for puppies?
Yes — the ingredients are gentle and the soft centers are easy to chew. Introduce just one treat at a time and watch for any digestive reaction, as you would with any new food.
My dog has an egg allergy. Can I skip the egg?
You can replace the egg with 1/4 cup of unsweetened applesauce to help the dough bind, though the treats will be a bit more fragile. Always check with your veterinarian when adapting recipes for an allergy.


