
7 DIY Dog House Plans You Can Actually Build Yourself
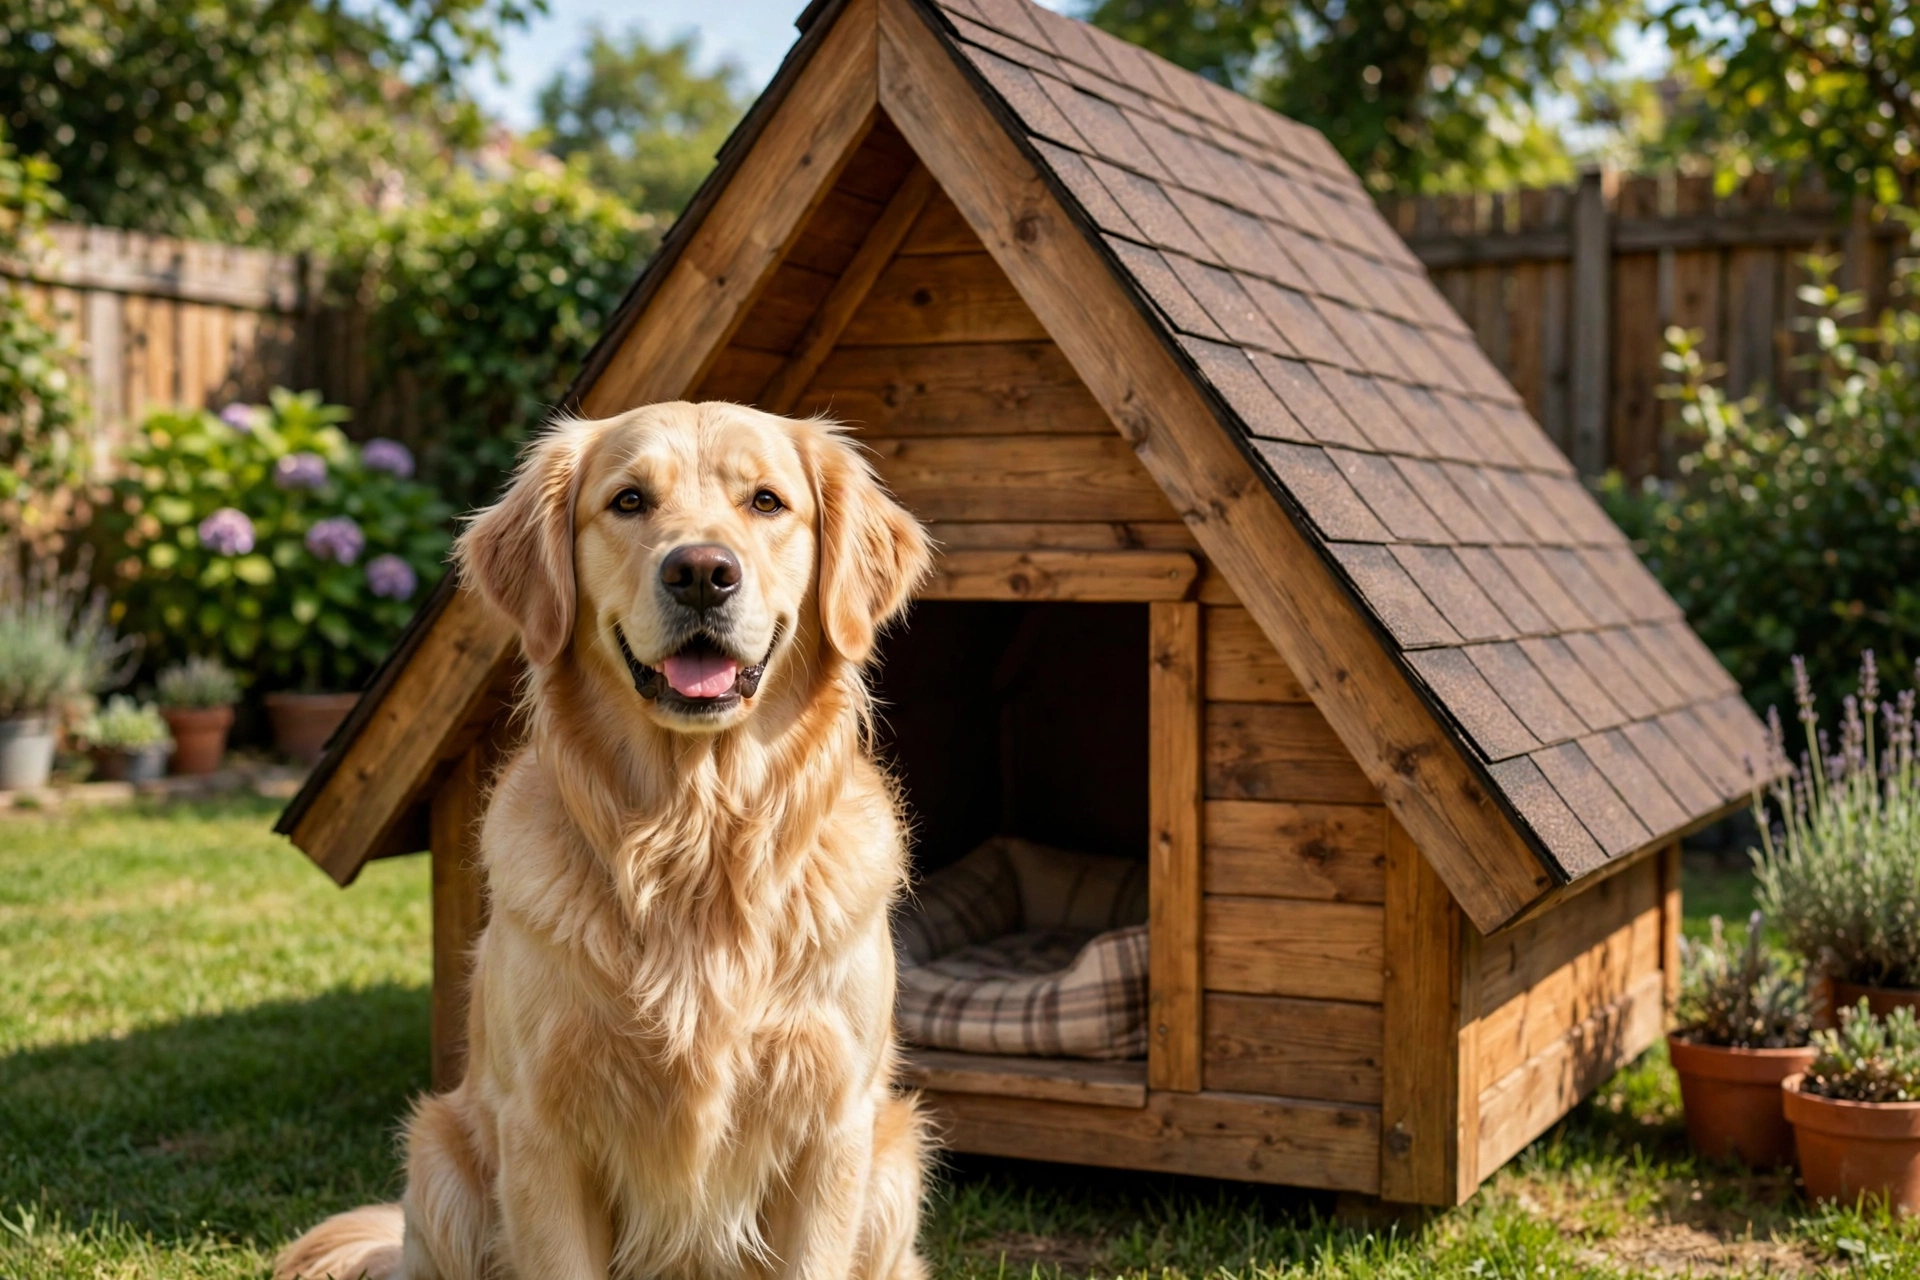
A good set of dog house DIY plans is the difference between a weekend project you are proud of and a wobbly box your dog refuses to enter. Below are seven plans you can actually build yourself, from a classic A-frame to an insulated winter chalet, each with a materials list and clear steps.
Table of Contents
- 1. The Classic A-Frame Cottage
- 2. The Raised Cabin on Stilts
- 3. The Front-Porch Bungalow
- 4. The Cozy Barrel Den
- 5. The Insulated Winter Chalet
- 6. The Duplex Dog House
- 7. The Shingle-Roof Ranch
- Sizing Your DIY Dog House Right
- Frequently Asked Questions
1. The Classic A-Frame Cottage
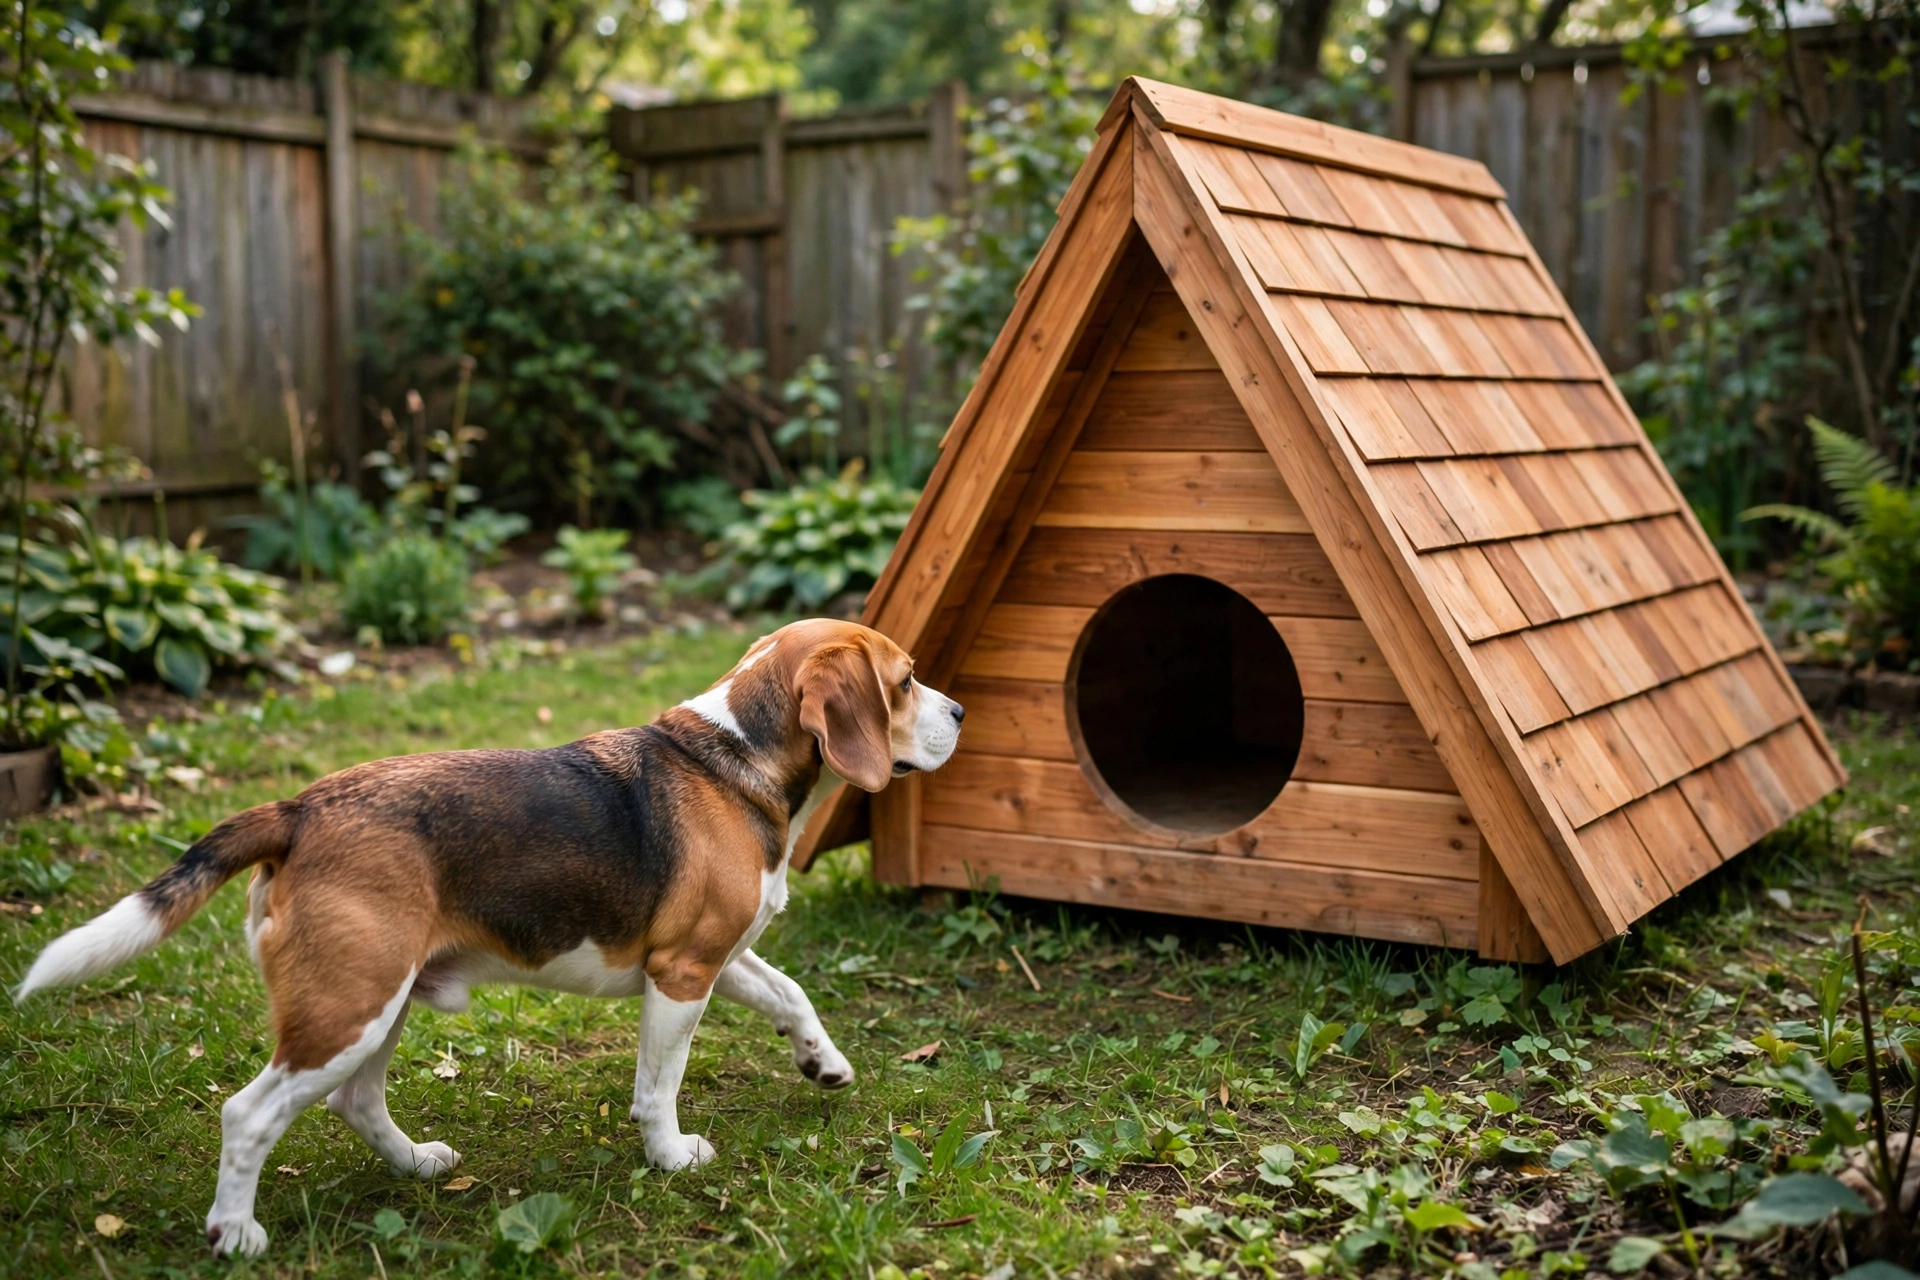
The A-frame is the friendliest first build on this list. Two slanted plywood panels form the roof and walls in one move, so there are fewer cuts and fewer joints to get wrong.
Materials: two 4×8 sheets of 1/2-inch exterior plywood, 2×2 lumber for corner battens, exterior wood glue, 1-1/4 inch exterior screws, hinges and a latch for a clean-out back panel, exterior primer and paint.
Steps: Cut the two side panels into tall triangles and screw 2×2 battens along their edges. Join them at the peak, screw on the floor panel, and cut the arched doorway before assembly. Hinge the rear panel for cleaning, prime, paint, and cure a full day.
Helpful pick: a compact jigsaw makes the curved doorway cut far easier than a handsaw. BLACK+DECKER Jig Saw — handy for arched entries and trim work on any of these plans.
2. The Raised Cabin on Stilts
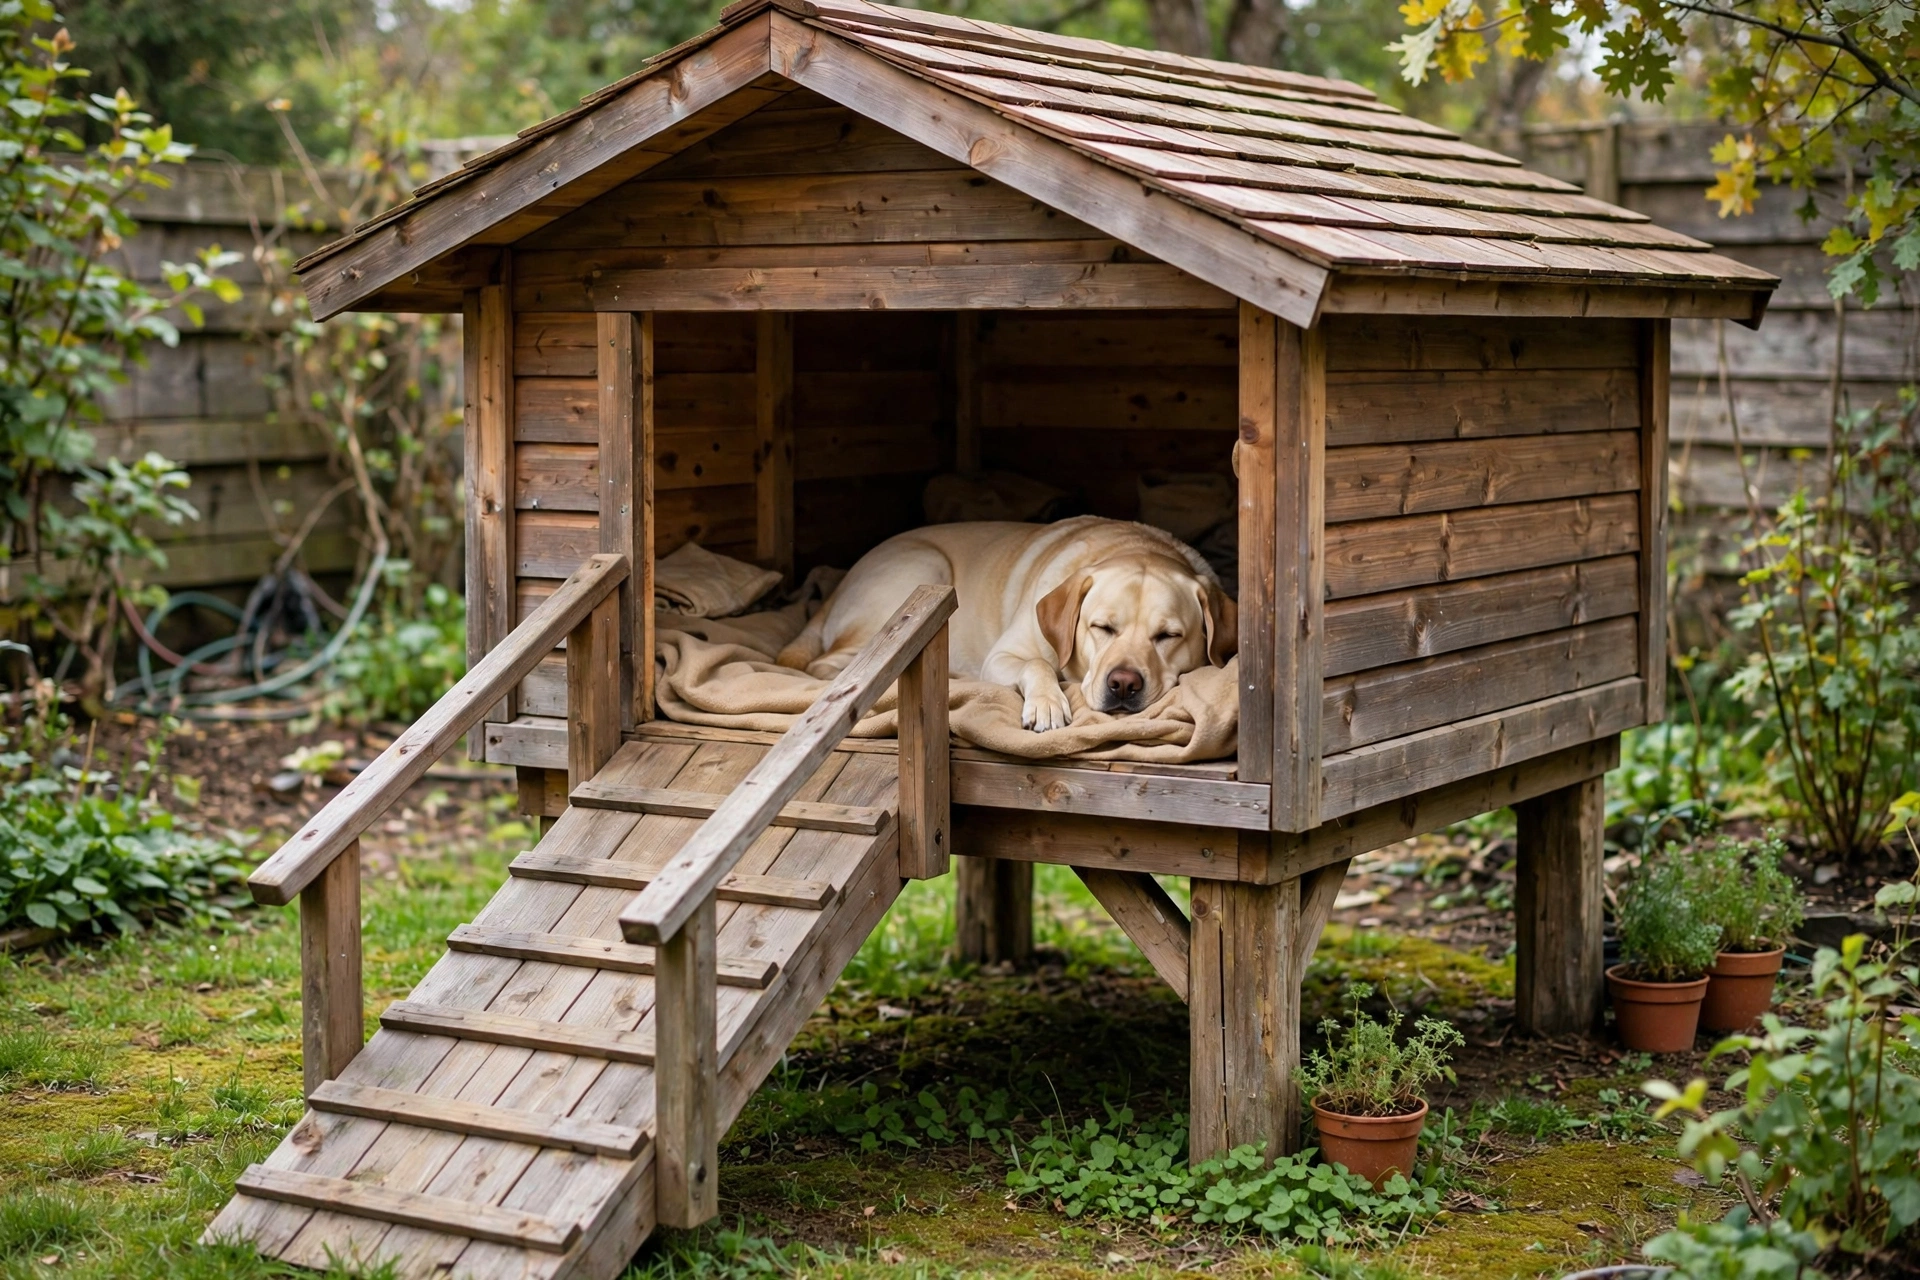
Lifting the house eight to ten inches off the ground keeps the floor dry after rain and blocks the cold that creeps up from soil in winter. This plan pairs a simple box cabin with four short legs and a gentle ramp.
Materials: 2×4 lumber for legs and frame, 3/4-inch plywood for floor and walls, 1×6 boards for the ramp with thin cleats for grip, exterior screws, galvanized L-brackets, and an exterior-grade wood finish.
Steps: Build a rectangular floor frame from 2x4s and screw on the plywood floor. Bolt the four legs to the corners with brackets, checking level. Frame four walls, clad them with plywood, and cut the doorway before standing the front wall. Add a sloped roof panel with a small overhang, build the ramp with cross cleats every six inches, and seal everything with two coats of exterior finish.
Helpful pick: seal every surface, especially the legs, against rot. KILZ Exterior Wood Stain — a durable finish that stands up to sun and rain season after season.
3. The Front-Porch Bungalow
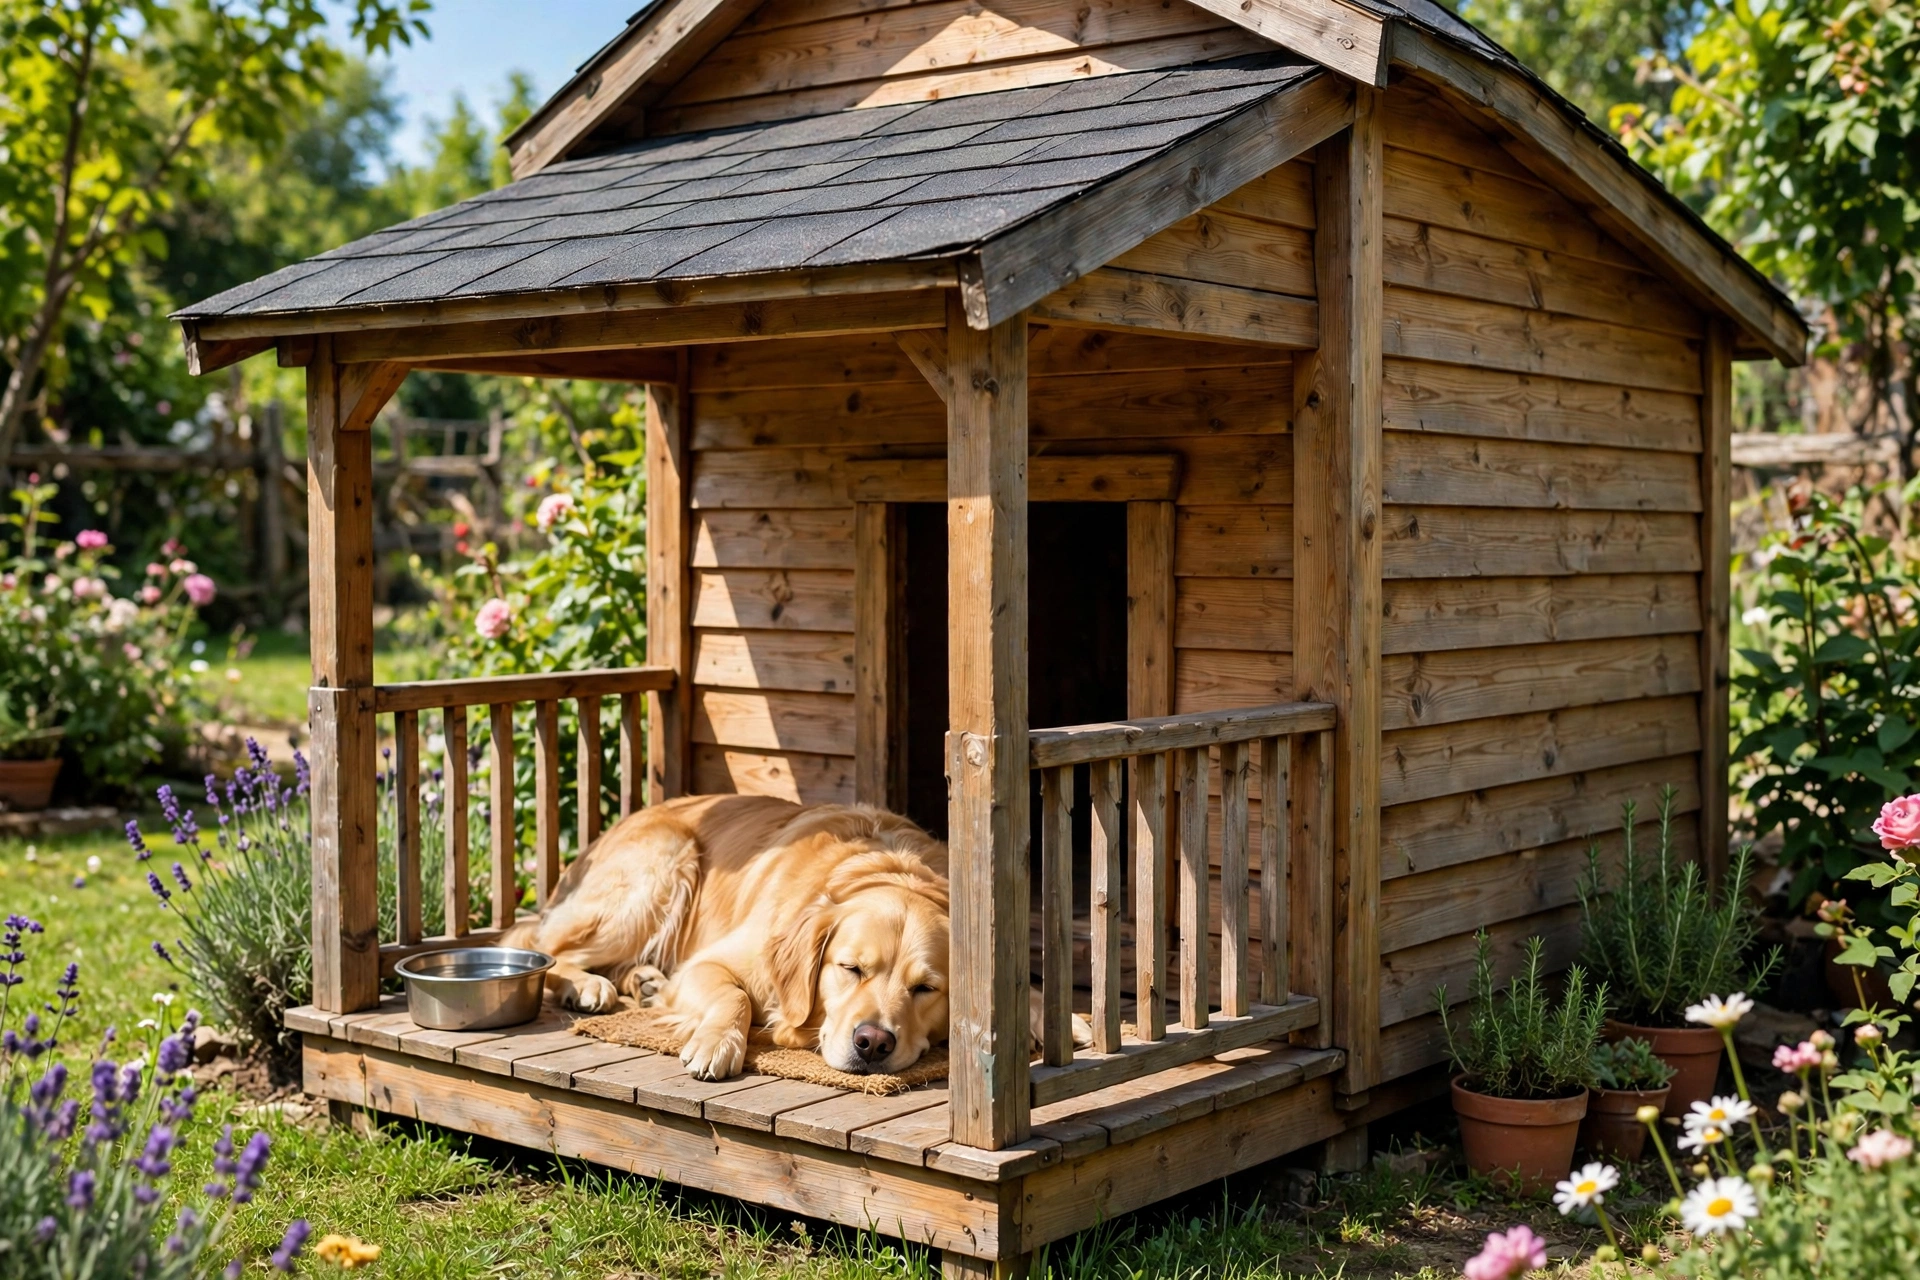
Dogs love having a lookout spot, and a covered porch turns a plain box into a little bungalow. The porch roof shades the entrance so the interior stays cooler.
Materials: 2×4 lumber, 1/2-inch plywood walls, 1×6 decking boards for the porch floor, four 2×2 porch posts, a corrugated or plywood porch roof panel, exterior screws, wood glue, and exterior paint.
Steps: Build the main sleeping box first, sized for your dog. Extend the floor frame forward 18 inches for the porch deck and lay decking boards with small drainage gaps. Screw four posts at the porch corners and lay the roof panel with a slight forward slope. Add a low railing if you like, sand smooth, and paint to match your house.
Helpful pick: square joints matter most on porch framing. LSK Corner Brackets — heavy-duty brackets that keep posts and rails rock solid.
4. The Cozy Barrel Den
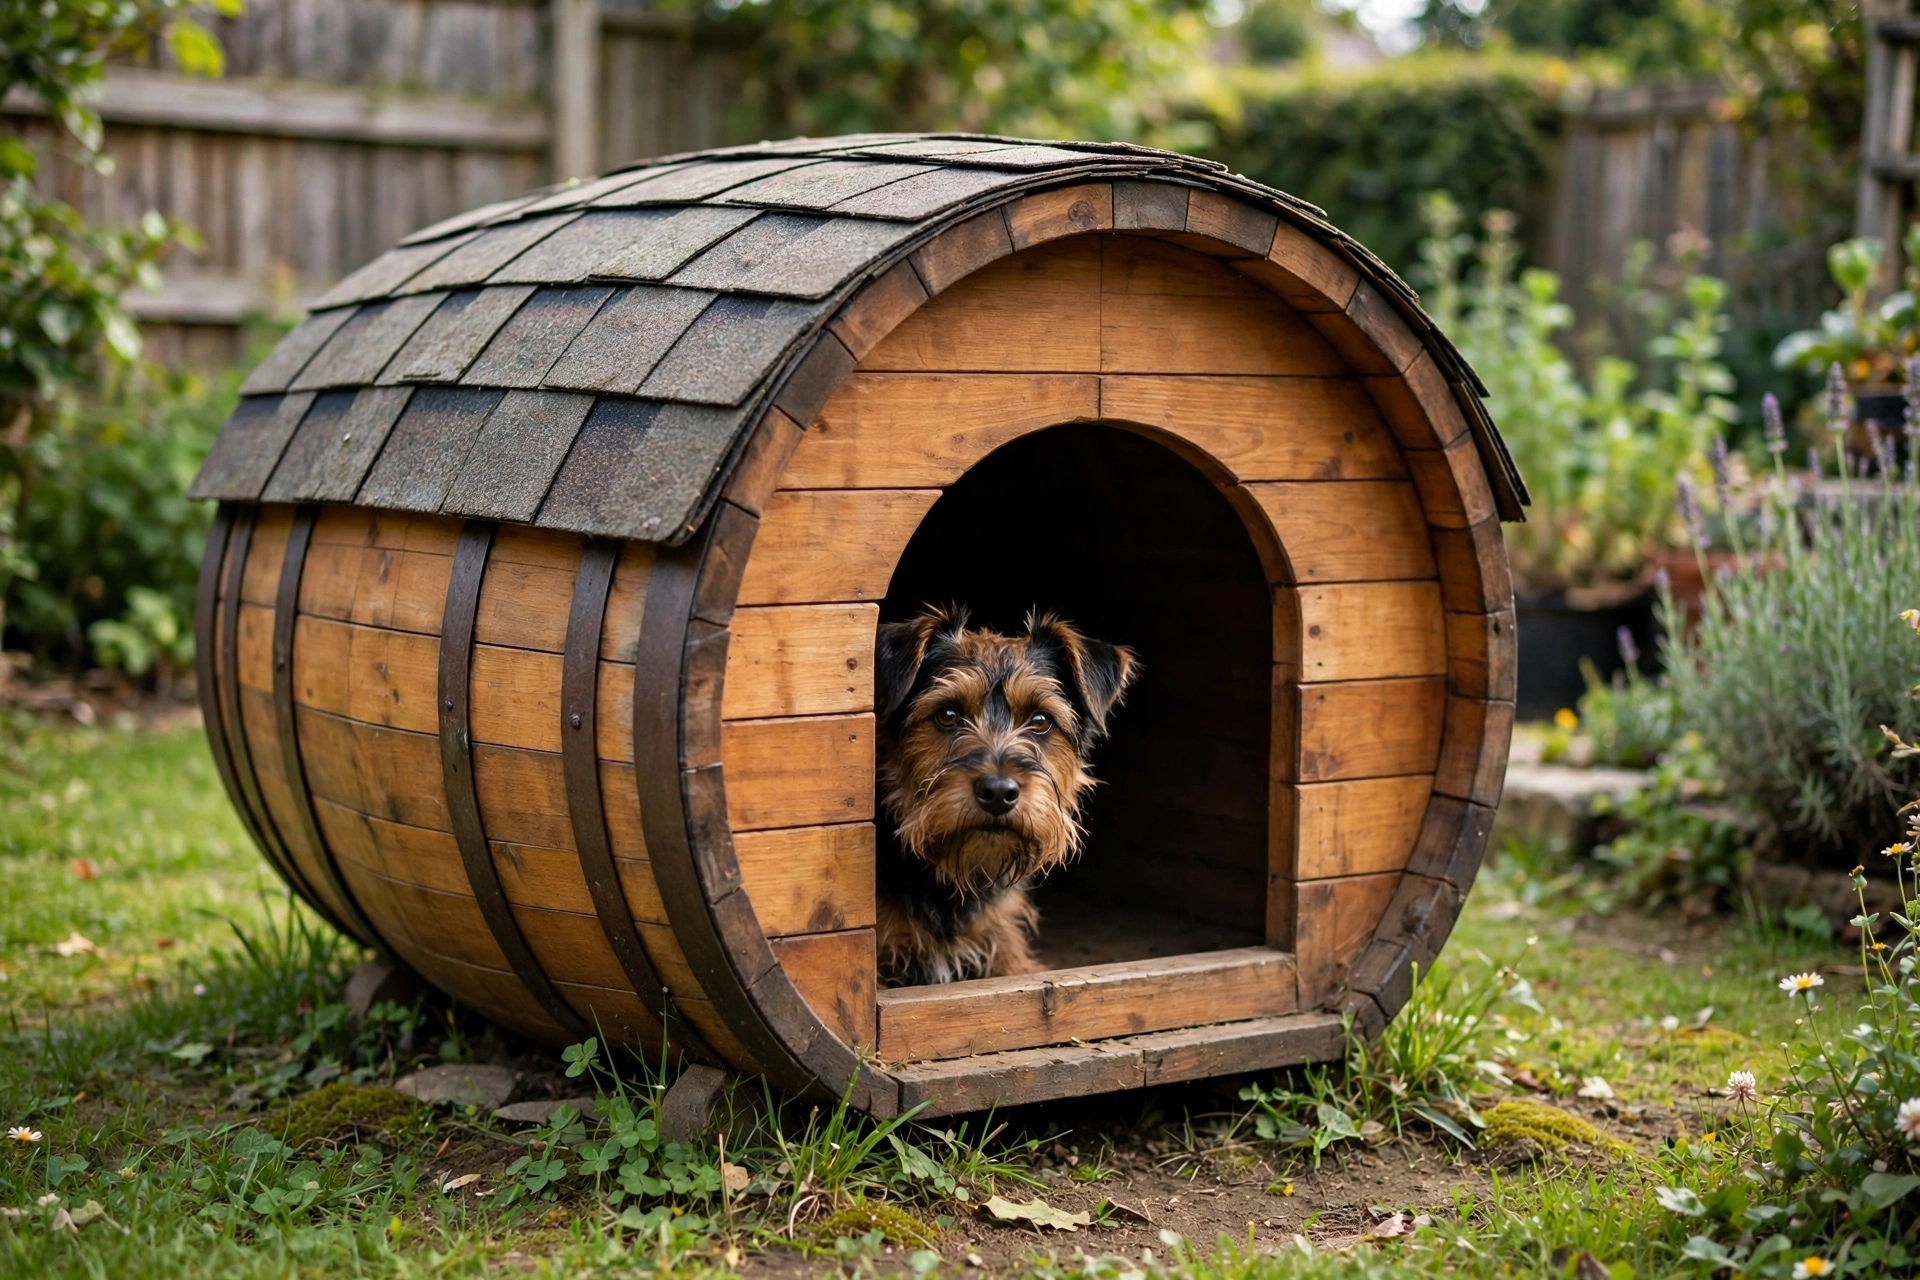
Some dogs prefer a den that wraps around them, and a rounded house delivers that cave feeling. This plan uses curved plywood ribs over a ribcage frame to form a naturally strong barrel shape.
Materials: 1/4-inch bendable plywood for the shell, 3/4-inch plywood for the two end walls, 2×2 lumber for internal ribs, exterior screws, waterproof wood glue, and a flexible exterior sealant.
Steps: Cut two circular end walls from 3/4-inch plywood with the doorway arch in the front one. Space five or six 2×2 ribs between the ends and screw them in place. Soak the bendable plywood briefly, wrap it over the ribs, and screw down every rib line. Trim, seal the seams with exterior caulk, and coat the shell.
Helpful pick: the curved shape pairs best with a soft, washable bed. MidWest QuietTime Dog Bed — a comfy bolster bed that fits nicely inside a barrel den.
5. The Insulated Winter Chalet
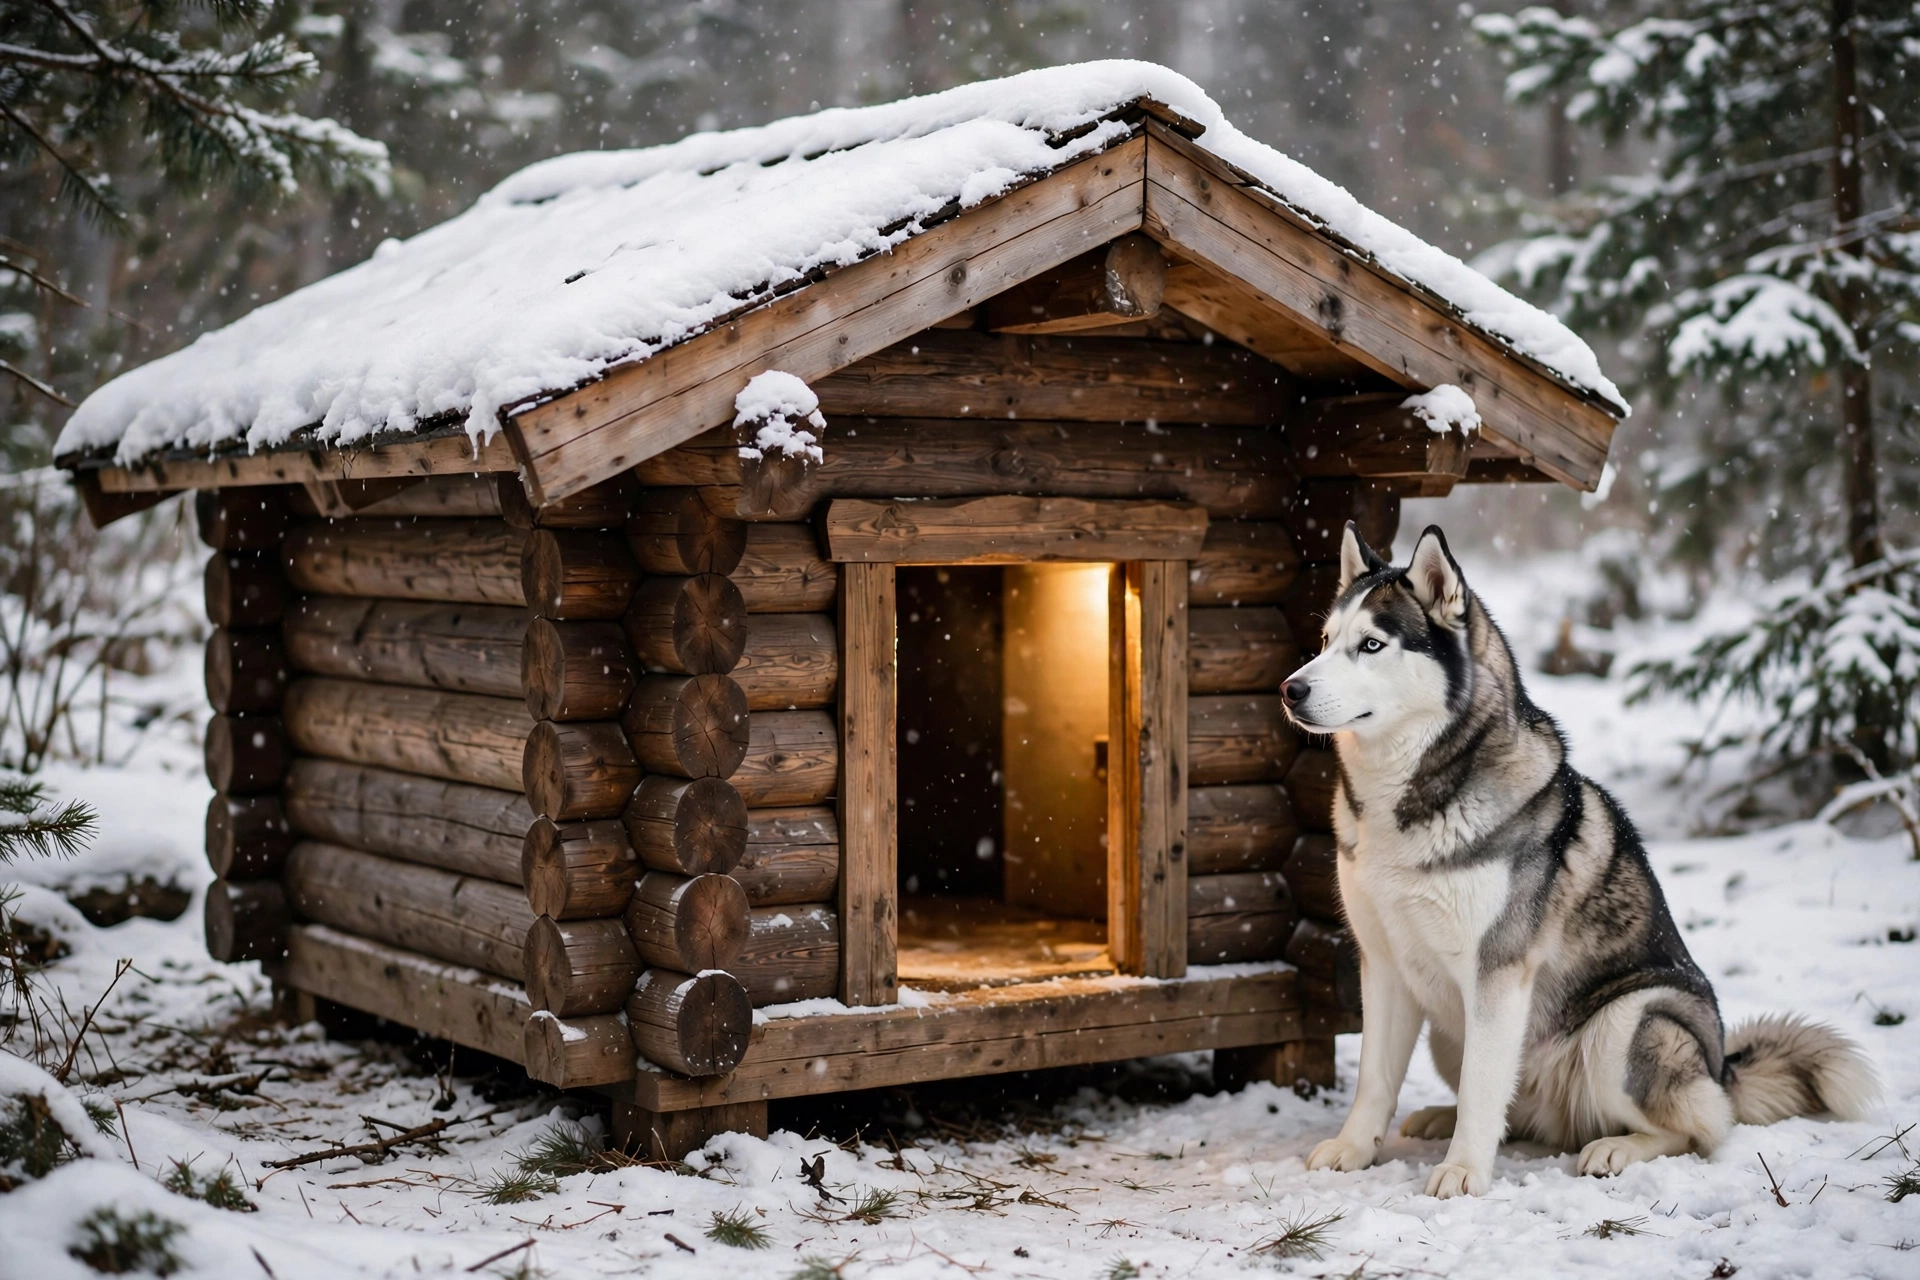
If your dog spends time outside in cold months, a double-wall build is worth the extra effort. Rigid foam insulation sandwiched between plywood skins keeps body heat in.
Materials: 1/2-inch plywood, 1-inch rigid foam insulation boards, 2×3 lumber for wall framing, a plastic door flap or heavy canvas curtain, exterior screws, foil tape, and exterior paint.
Steps: Frame the walls with 2x3s spaced to fit your foam board widths. Cut foam panels to fit each cavity and tape the seams. Skin both faces with plywood, sandwiching the foam. Build a raised floor with foam underneath, add a steep pitched roof so snow slides off, and hang a flap over the doorway.
Helpful pick: add gentle warmth on the coldest nights. K&H Lectro-Soft Outdoor Heated Bed — a low-wattage warming pad made for outdoor shelters.
6. The Duplex Dog House
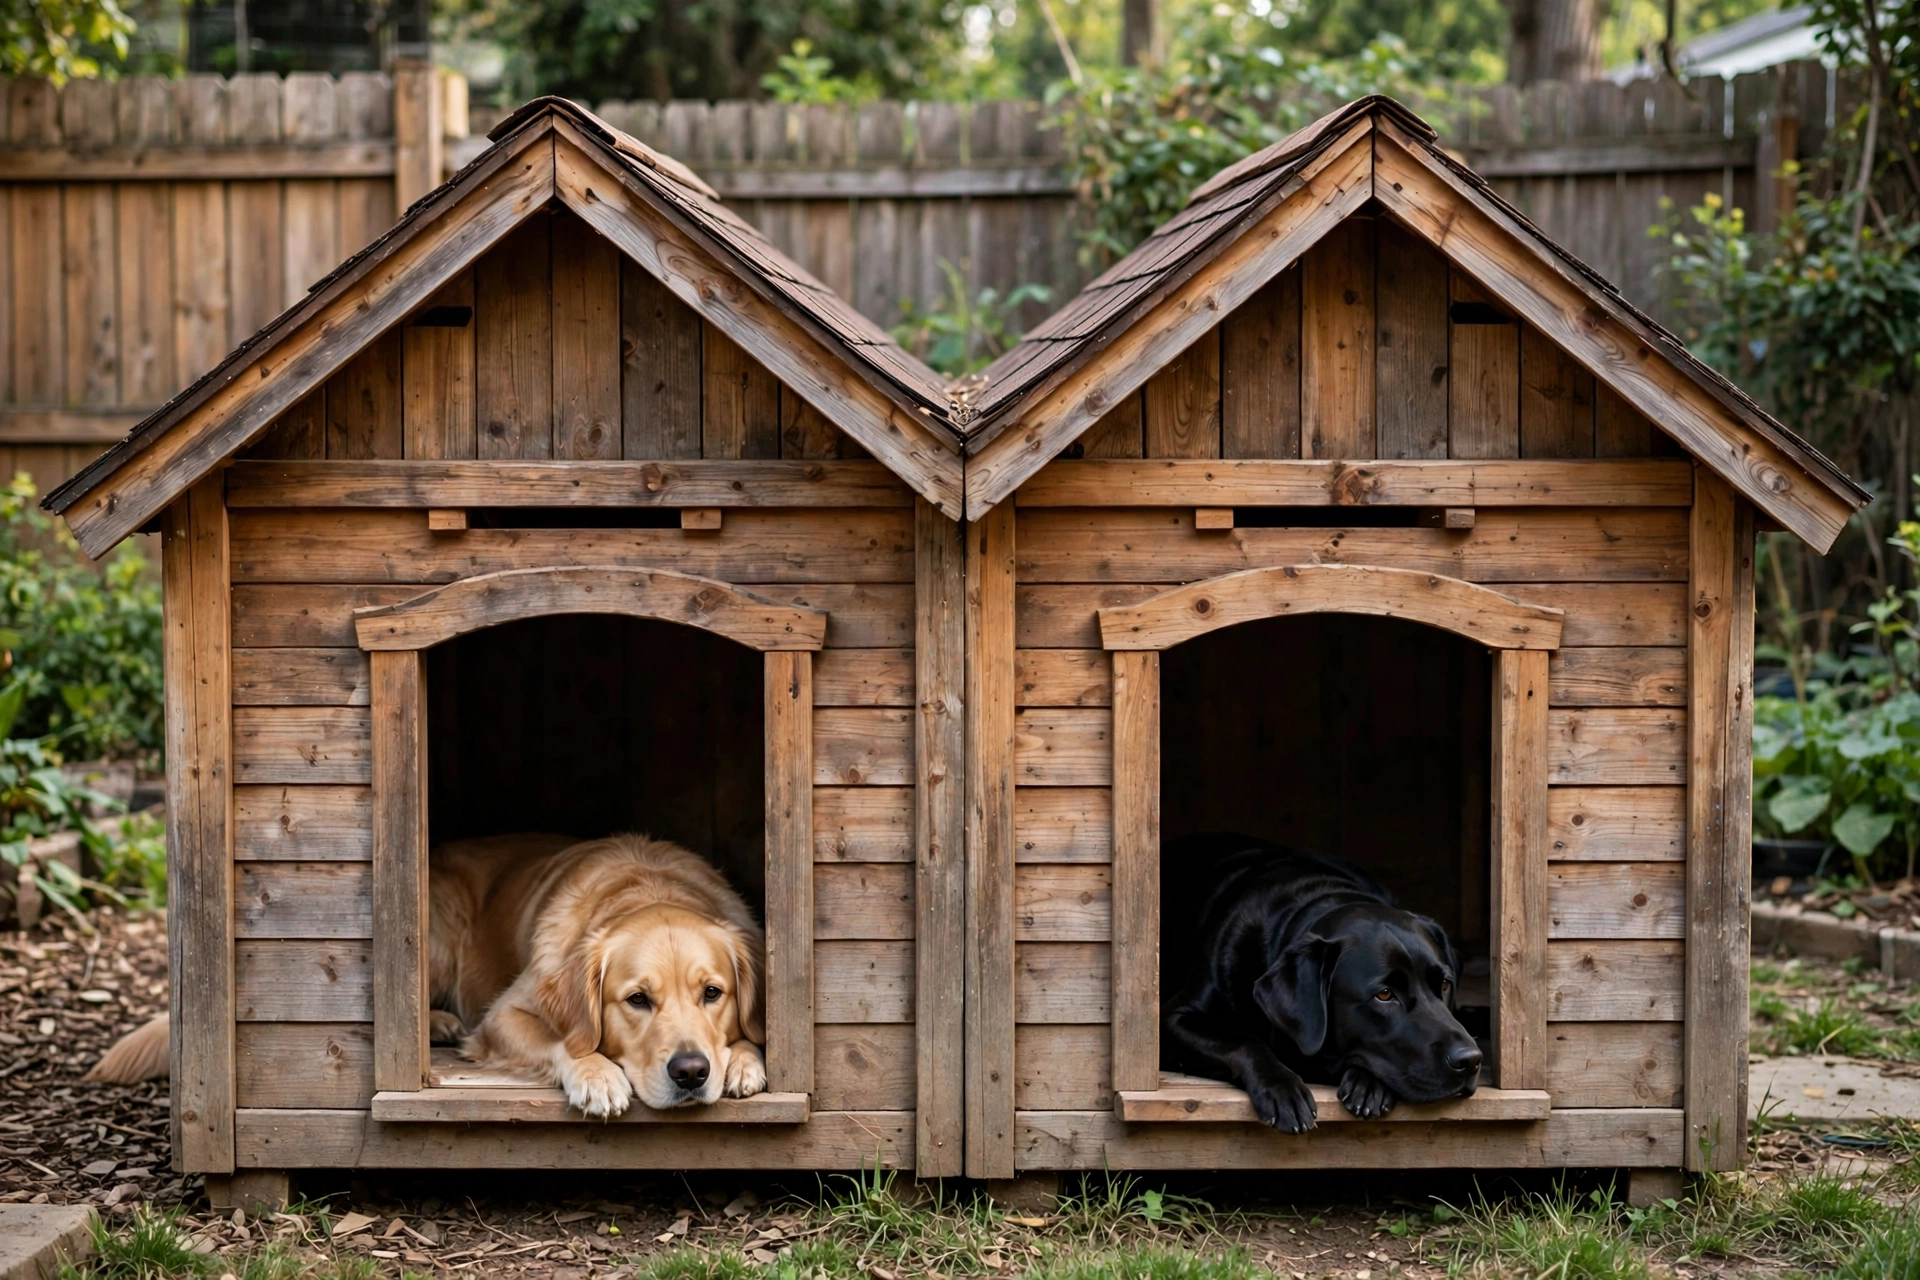
Two-dog households often end up with one dog hogging the single house. A duplex plan splits one wide structure down the middle with a solid divider, giving each dog a private entrance.
Materials: 2×4 lumber, 1/2-inch plywood, a full interior divider panel of 3/4-inch plywood, wooden dowels for a removable divider option, exterior screws, and exterior paint.
Steps: Build one wide floor frame, roughly double a single-house width. Frame the outer walls and the center divider, screwing the divider into the floor and roof frame. Cut a doorway in each end wall so the dogs enter from opposite sides. Roof the whole structure with one continuous sloped panel.
Helpful pick: dowels make a sturdy removable divider. ONUPGO Wooden Dowels — smooth hardwood dowels for joinery and peg-style divider panels.
7. The Shingle-Roof Ranch
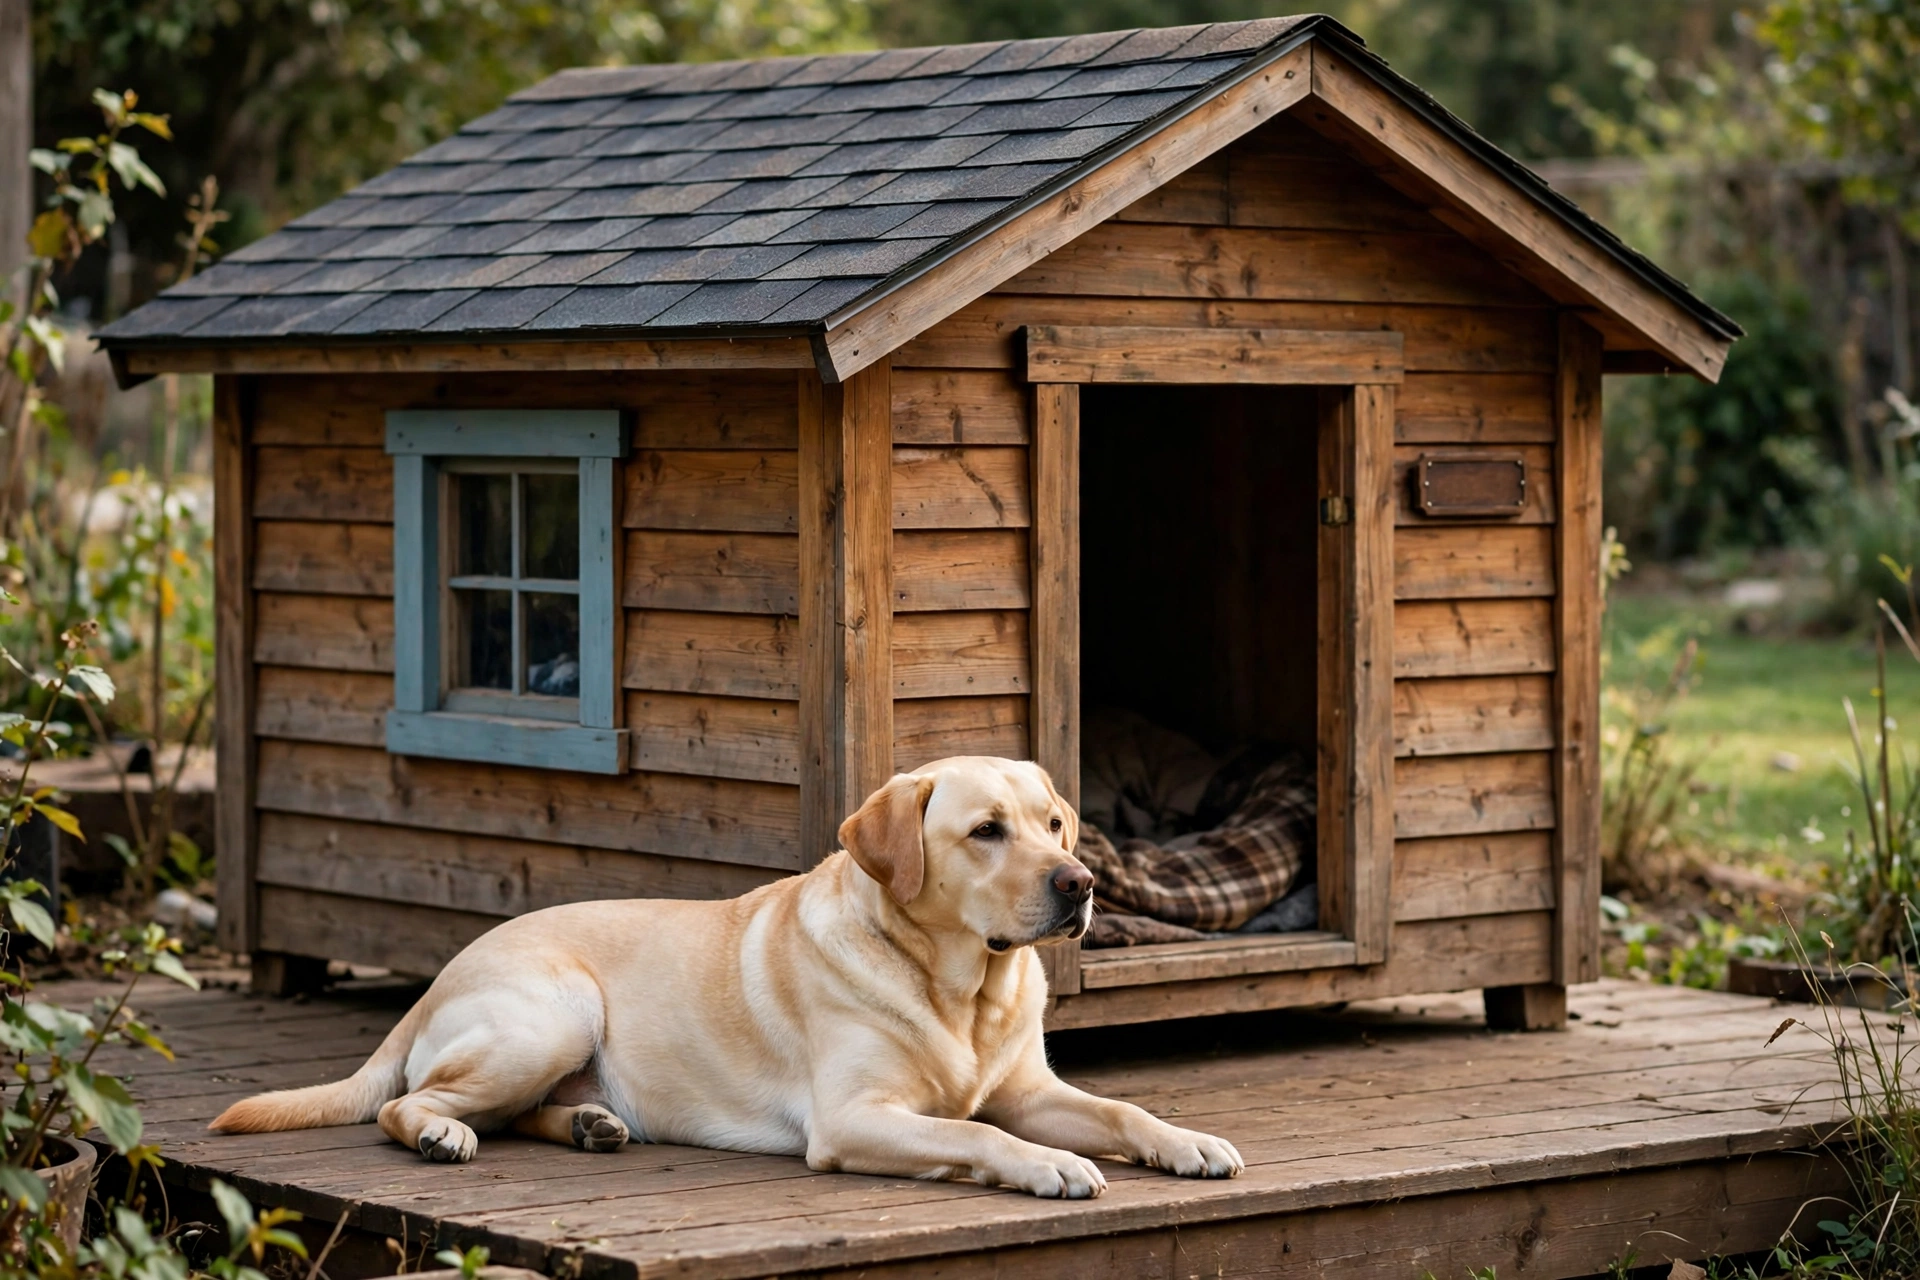
For the builder who wants a house that looks like a miniature version of their own home, the ranch plan finishes a long, low dog house with real asphalt shingles. The low profile resists wind beautifully.
Materials: 2×4 lumber, 1/2-inch plywood, a bundle of three-tab asphalt shingles, roofing felt, roofing nails, a drip edge, exterior screws, and exterior paint.
Steps: Build a long rectangular base with 2×4 framing and a plywood floor, keeping the height low. Frame low walls and cut the doorway in the long front wall. Cover the shallow pitched roof frame with plywood decking, roll out roofing felt, and shingle from the bottom edge up. Cap the ridge, attach the drip edge, and paint to match your house.
Helpful pick: give your dog shade beside the house too. Coolaroo Shade Sail — a breathable canopy that cools the whole area around the house.
Sizing Your DIY Dog House Right
Measure your dog lying down, nose to tail, then add six inches for interior floor length. The doorway should be about two inches taller than shoulder height and three-quarters of shoulder width, snug enough to hold warmth. Too big is a real problem: a cavernous house will not stay warm with body heat alone. Always raise the floor a few inches off the ground so air circulates underneath and moisture cannot rot your base.
Keep Reading
- 7 DIY Insulated Dog House Ideas for Cold Weather
- 7 DIY Dog Bunk Beds Your Pup Will Love
- 15 Indoor Dog Park Ideas for Rainy Days
- 10 Hotel for Dogs Ideas for a Cozy Stay
- 10 Dog Photo Ideas for Picture-Perfect Shots
Frequently Asked Questions
What is the best wood for a DIY dog house?
Cedar and pressure-treated pine are the most popular choices. Cedar resists rot and insects naturally, while pressure-treated pine is cheaper and widely available. Always sand every edge smooth.
How much does it cost to build a dog house?
Most of these plans cost between 60 and 150 dollars in lumber and hardware if you buy new materials. Reclaimed pallets or leftover lumber can cut that in half.
Should a dog house have a door flap?
A flap or heavy curtain helps in cold or windy weather by blocking drafts while still letting your dog push through. In hot climates you can leave the doorway open for airflow.
How do I keep a dog house warm in winter?
Use the insulated chalet plan above, raise the floor off the ground, add a door flap, and put a thick straw or foam bed inside. A self-warming pad adds comfort without electrical risk.
Can I build a dog house with no power tools?
Yes, though it takes longer. A handsaw, drill, tape measure, and sandpaper cover every cut in these plans. Power tools mainly save time on curved doorways and shingle cuts.
As an Amazon Associate, PetPostHub earns from qualifying purchases.