7 DIY Dog Cone Ideas That Beat the Cone of Shame

When your dog comes home from the vet wearing that giant plastic cone of shame, recovery can turn into a comedy of errors: rammed walls, flipped water bowls, and those heartbroken puppy eyes. A diy dog cone offers a kinder fix — a soft, quiet, homemade alternative that still keeps teeth and tongues away from stitches, hot spots, and healing wounds. Here are seven original builds you can make from household items, each with a materials list and numbered steps.
1. Pool-Noodle Neck Guard

Cut a foam pool noodle into 3 to 4 inch segments, thread them onto paracord or ribbon, and tie the ring around your dog’s neck with a two-finger gap. The stacked segments limit neck bending without blocking vision.
What You Need
- One foam pool noodle
- Paracord or sturdy ribbon (about 30 inches)
- Scissors or a serrated kitchen knife
Steps
- Cut enough noodle segments to wrap around your dog’s neck with slight overlap.
- Thread the segments onto the paracord until you have a full ring.
- For extra security, thread your dog’s collar through the cord loop before tying.
- Check the two-finger fit and watch your dog for ten minutes to confirm they cannot reach the wound.
Helpful pick: WOW Sports Foam Pool Noodle — dense, easy-to-cut foam that holds its shape through weeks of wear.
2. Rolled-Towel Neck Roll

Roll a large towel lengthwise into a tight cylinder and secure it with wide rubber bands or soft hair ties. Slip it over your dog’s head to rest at the base of the neck, then anchor it to the collar with two short ties.
What You Need
- One large bath towel (beach towels work for big dogs)
- Wide rubber bands or soft fabric hair ties
- Two short strips of fabric to anchor it to the collar
Steps
- Fold the towel in half lengthwise for a thicker roll, then roll it tightly into a firm cylinder.
- Secure the roll at three points with rubber bands, tucking the ends under.
- Slip it over your dog’s head and tie it to the collar.
- Confirm the two-finger fit and free, comfortable movement.
Helpful pick: Tuff Pupper Microfiber Dog Towel — extra-absorbent and machine-washable, perfect for rolling into a firm, odor-resistant neck guard.
3. Inflatable Travel Pillow Hack

Inflate a travel neck pillow to about three-quarters full, then thread your dog’s collar through its snap strap (or tie a ribbon through the pillow opening to the collar). It sits behind the jaw like a donut, blocking access to body wounds while your dog eats, drinks, and sleeps comfortably.
What You Need
- One inflatable travel neck pillow
- Your dog’s regular collar
- A short ribbon (if the pillow has no strap loop)
Steps
- Inflate the pillow to roughly 75 percent so it gives slightly when pressed.
- Thread the collar through the pillow’s fastening strap or tie a ribbon through the pillow opening.
- Buckle the collar on with the pillow centered under the chin.
- Test that your dog cannot twist around it to reach the incision.
Helpful pick: MoKo Inflatable Travel Pillow — soft flocked surface, adjustable firmness, and it packs flat when recovery is over.
4. No-Sew T-Shirt Recovery Suit
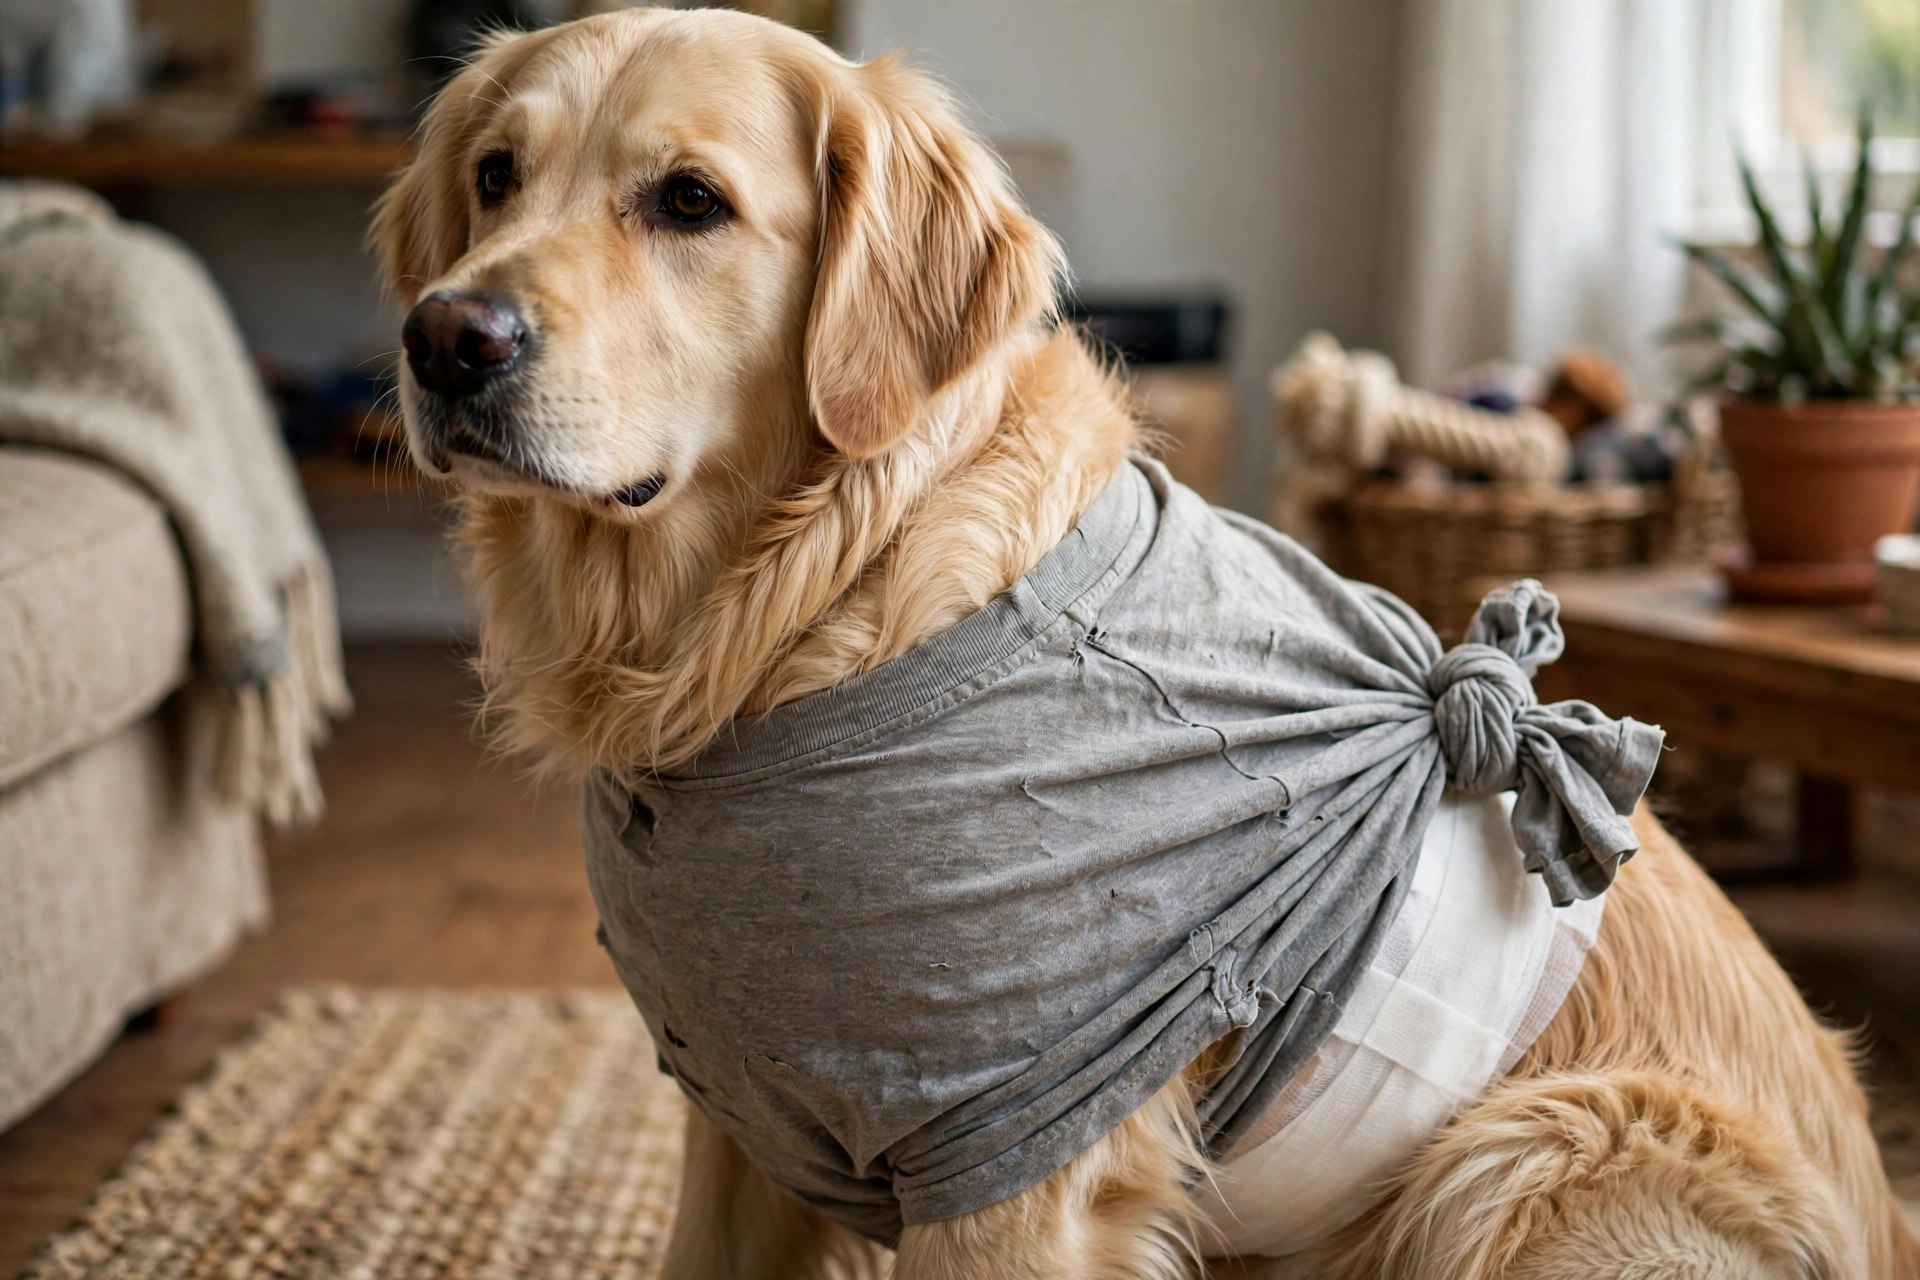
For belly or flank incisions, fabric beats a cone entirely. Take an old T-shirt or sweatshirt, cut four leg holes, and slit the back so it opens like a jacket. Slip the legs through, pull the fabric over the back, and tie the sides with hem strips or safety pins.
What You Need
- An old T-shirt or lightweight sweatshirt
- Scissors
- Safety pins or strips cut from the shirt hem
Steps
- Lay the shirt flat and mark where your dog’s four legs will go.
- Cut four leg holes, each about 3 inches across for a medium dog (scale up or down).
- Cut a slit down the back so the shirt opens flat.
- Dress your dog, pull the sides together over the spine, and tie or pin snugly.
- For male dogs, cut a U-shaped opening at the belly for free urination.
Helpful pick: Hanes EcoSmart Fleece Sweatshirt — soft, breathable cotton-blend fleece that makes a cozy, stretchy recovery suit for chilly-weather healing.
5. Paper-Plate Mini Cone

A heavy-duty paper plate is the perfect scale for a chihuahua or toy poodle. Cut a center hole for the head plus one slit to the edge, overlap the edges into a shallow cone, tape it, and thread a ribbon through two punched holes to tie it to the collar.
What You Need
- One heavy-duty paper plate
- Scissors and strong tape (packing or duct tape)
- Hole punch and a ribbon or shoelace
Steps
- Cut a center hole about the width of your dog’s head plus half an inch.
- Cut a straight slit from the hole to the outer edge.
- Overlap the slit edges by about an inch, form a shallow cone, and tape firmly.
- Punch two holes near the base, thread the ribbon through, and tie to the collar.
- Soften the inner edge with medical tape so it never chafes the neck.
Helpful pick: Dixie Ultra Paper Plates — extra-sturdy and soak-resistant, so the cone keeps its shape far longer than a flimsy plate.
6. Foam Play-Mat Cone
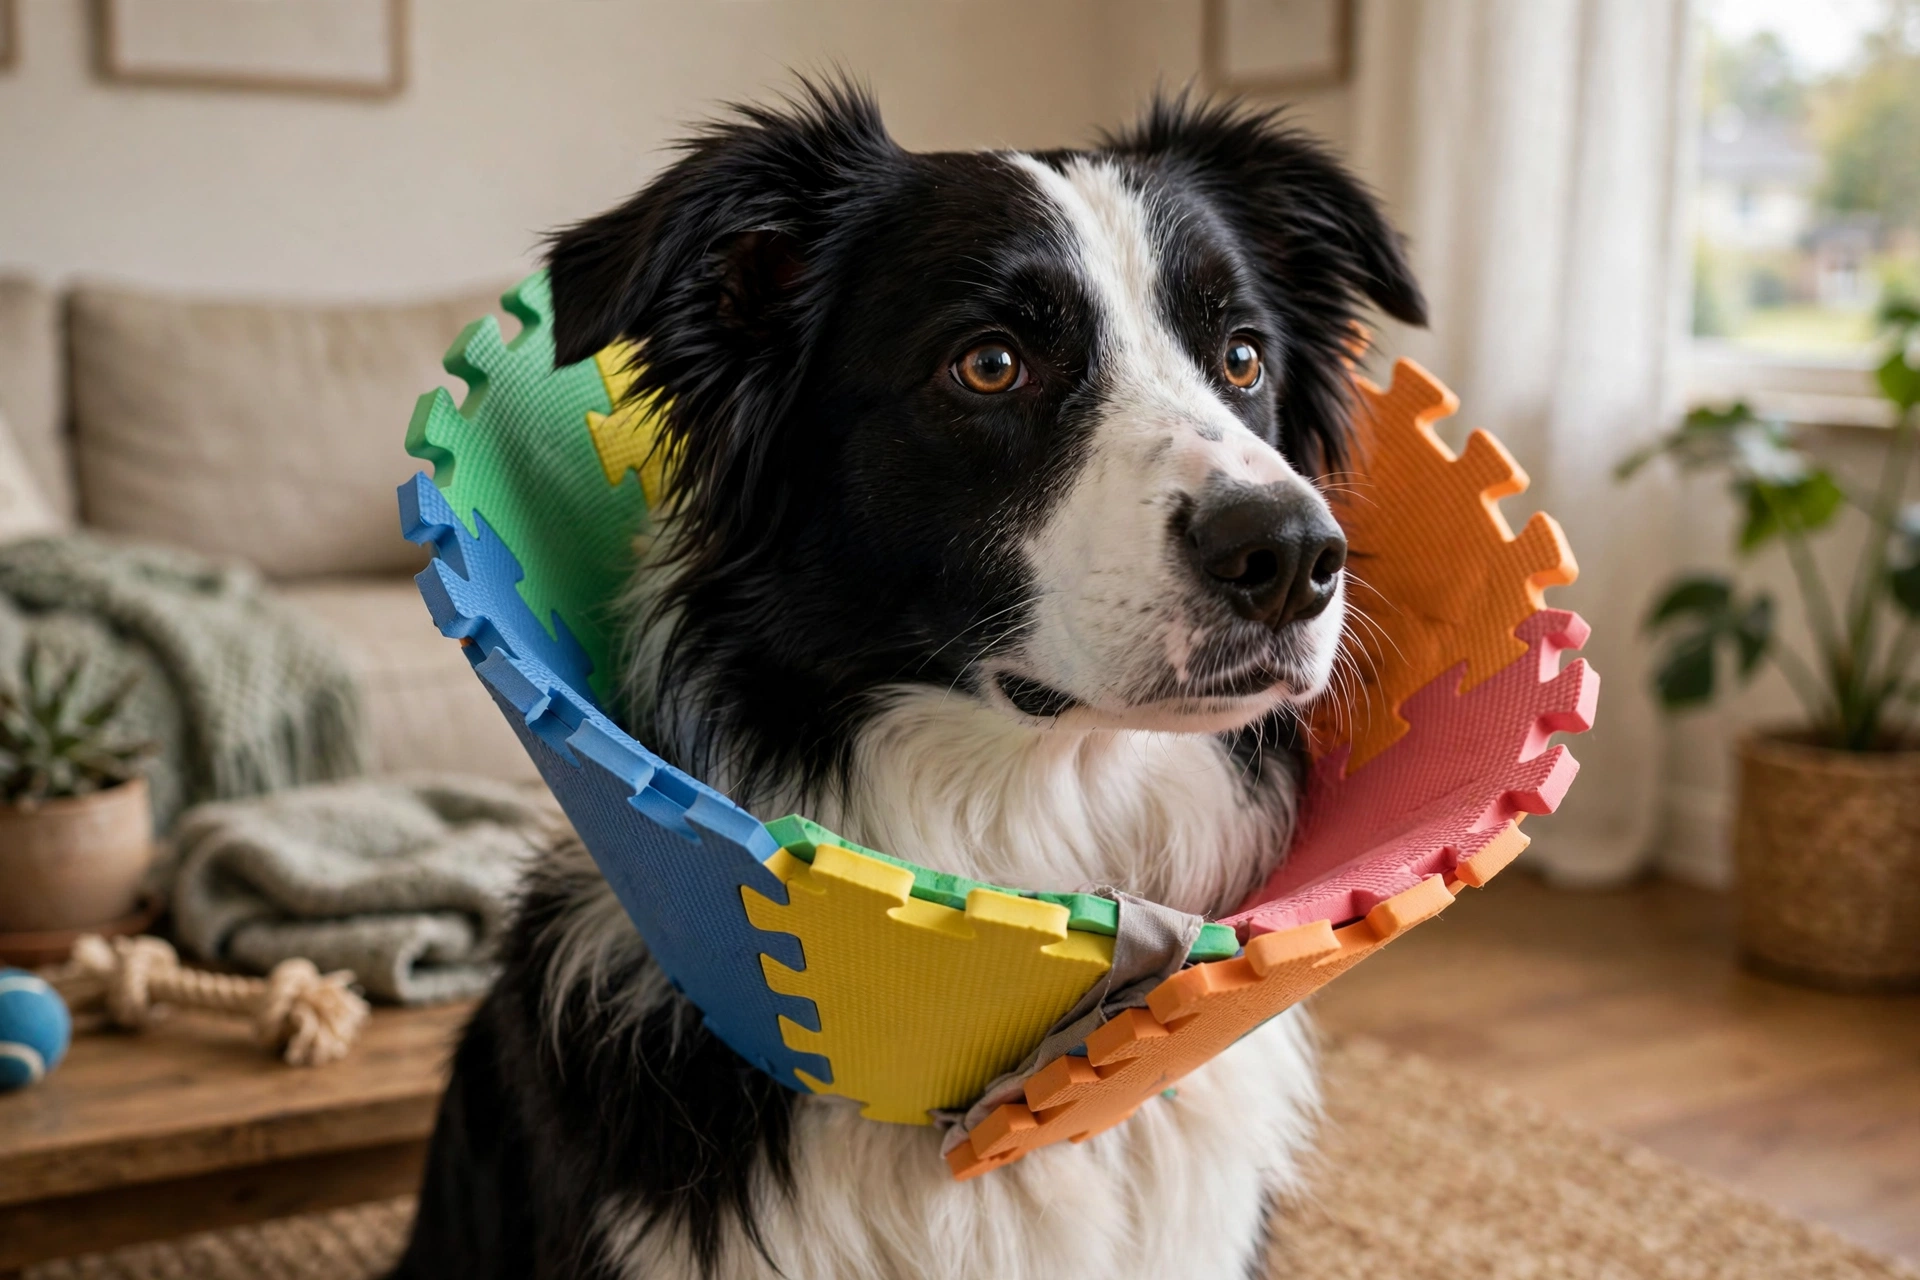
When your dog needs a full cone shape but hates hard plastic, a foam puzzle play mat is the soft upgrade. Trace a large circle on the foam, cut out a wedge, roll it into a cone, tape the seam, and thread the collar through punched holes at the base.
What You Need
- One interlocking foam play-mat tile
- Scissors or a craft knife (adults only)
- Wide fabric or athletic tape
- Hole punch and ribbon
Steps
- Trace a circle sized so the finished cone extends at least an inch past your dog’s nose.
- Cut a quarter wedge out of the circle and roll the foam into a cone.
- Tape the seam firmly with two strips of wide tape, inside and out.
- Punch holes around the base, thread a ribbon through, and tie to the collar.
- Line the neck edge with fleece or soft fabric to prevent rubbing.
Helpful pick: ProsourceFit Puzzle Exercise Mat — dense EVA foam tiles that cut cleanly, hold a cone shape, and wipe clean with a damp cloth.
7. No-Sew Fleece Body Tube
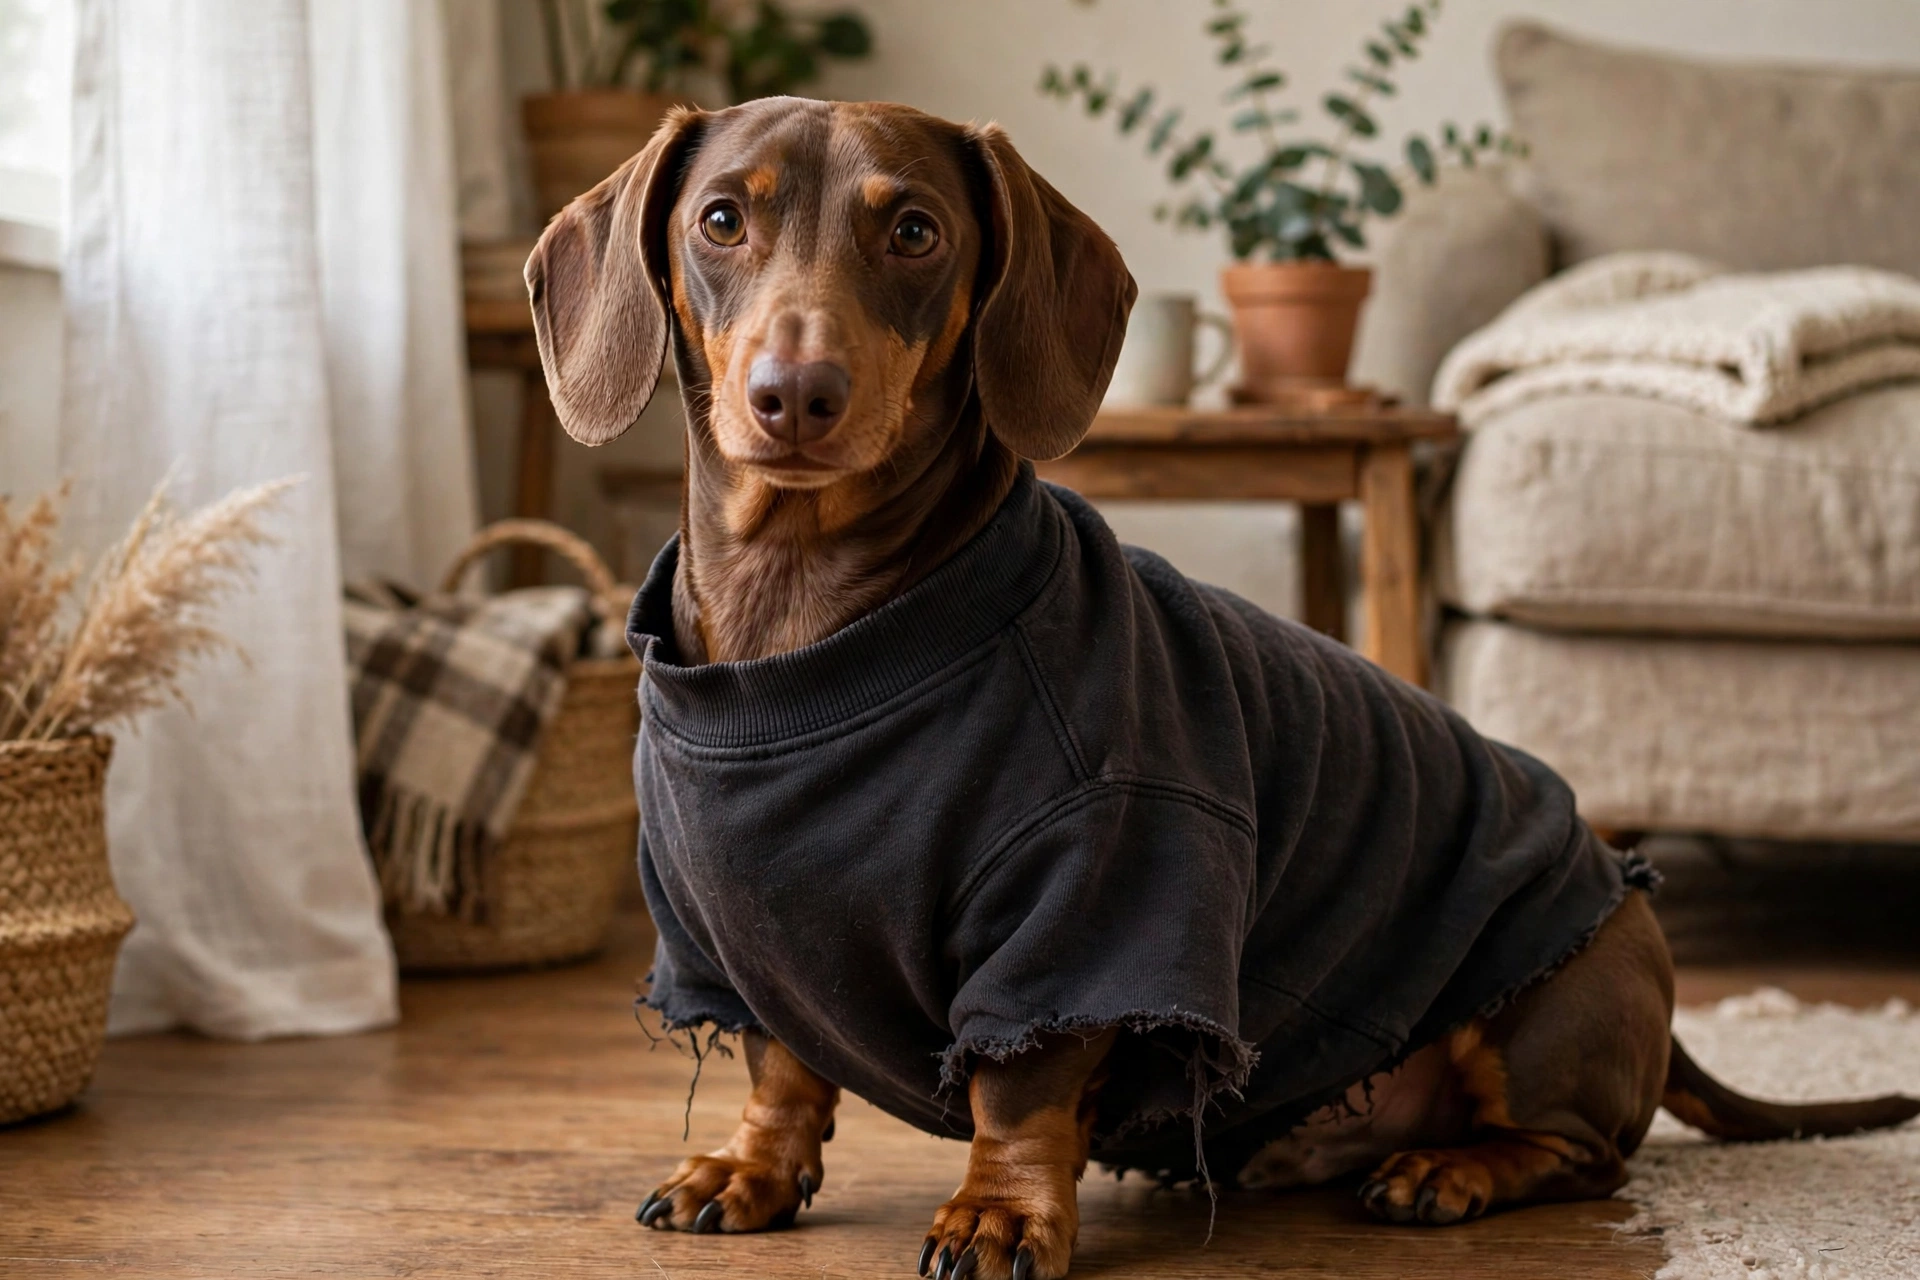
For torso wounds, a fleece tube is the fastest build here. Cut a polar fleece rectangle wide enough to wrap the chest and belly with overlap, long enough to cover the wound. Wrap it like a bandage and secure with safety pins or Velcro dots. Fleece stretches, breathes, and never frays.
What You Need
- Polar fleece fabric (about 1 yard)
- Scissors
- Large safety pins or adhesive Velcro dots
Steps
- Measure your dog’s chest and add 4 inches for overlap.
- Cut the fleece rectangle to that width and the length needed to cover the wound.
- Wrap it around the torso, overlapping at the top of the back.
- Pin or Velcro the overlap at three points: chest, mid-body, and behind the ribs.
- Confirm two fingers fit underneath everywhere and leg movement is free.
Helpful pick: EOVEA Polar Fleece Fabric — soft, stretchy, and machine-washable, ideal for cutting custom-sized body tubes.
Fitting and Safety Tips
No homemade cone replaces your vet’s judgment. The barrier must extend at least an inch past the nose, or a flexible dog will curl around it and reach the wound. Line every skin-touching edge with fleece or soft fabric, since a raw edge rubs skin raw within hours. Supervise the first hour and re-check fit twice daily. For head, ear, or eye wounds use a full cone shape, and call your vet if you see redness, swelling, discharge, or your dog reaching the site.
Keep Reading
- 7 DIY Dog Surgery Recovery Suit Ideas That Beat the Cone
- 10 No Sew Dog Sweater Ideas You Can Make at Home
- 10 DIY Dog Jackets That Actually Fit Your Pup
- 11 Dog Home Remedies for Everyday Ailments
- How to Bathe a Puppy: A Stress-Free Guide
Frequently Asked Questions
Can I use a DIY dog cone instead of the vet’s plastic cone?
Often yes, but confirm with your vet first. If your dog defeats the homemade build, go back to the vet-issued cone rather than risking infection.
How long does my dog need to wear a cone after surgery?
Most vets recommend 10 to 14 days, until stitches are removed or the incision closes. A comfortable DIY build makes the full period far easier.
How do I know if the DIY cone fits correctly?
Two fingers should fit between the barrier and the neck, and the cone must extend an inch past the nose. Check twice daily for rubbing.
What if my dog keeps getting past the homemade cone?
Try a bulkier build, like doubling the noodle rows, or switch to the T-shirt recovery suit. Persistent escape artists need a rigid vet cone.
Can my dog sleep, eat, and drink with a DIY cone on?
Soft builds suit sleeping, and most dogs eat and drink normally. Use wide, shallow dishes so the barrier does not knock bowls over.
As an Amazon Associate, PetPostHub earns from qualifying purchases.