10 DIY Dog Shoes That Actually Stay On (2026)
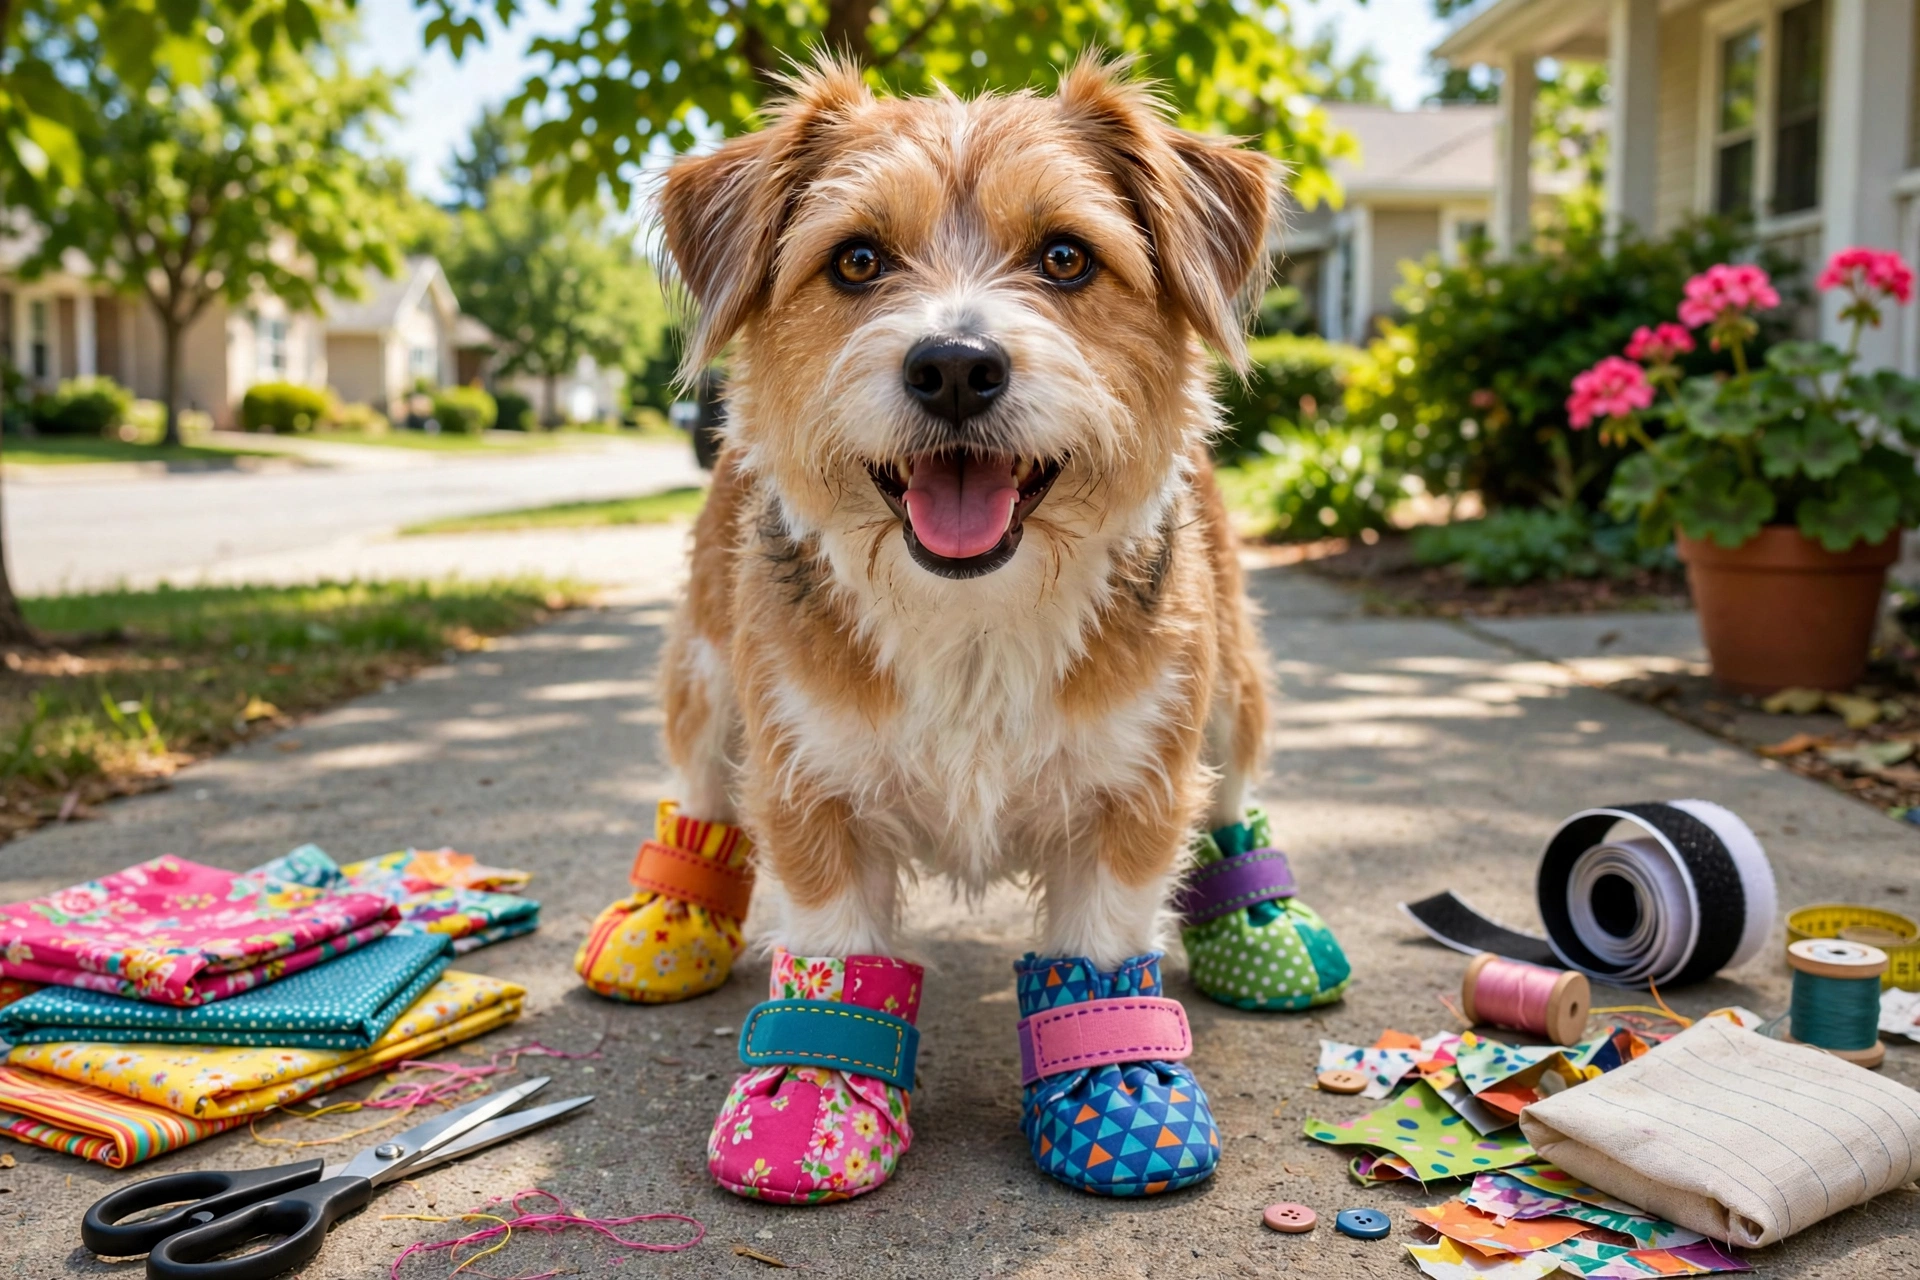
Making your own DIY dog shoes is one of the smartest weekend projects a pet owner can tackle. Store-bought booties slide off after one block, squeeze sensitive paws, or cost more than the walks they’re meant for. A custom pair you build at home fits your dog’s exact paw shape, stays put on tile and trails, and protects pads from scorching pavement, icy sidewalks, and road salt. Below are 10 fully original DIY dog shoe designs — from no-sew fleece booties to waterproof trail boots — each with its own build notes and a real supply pick to make the project easier.
1. Classic Fleece Boots with Velcro Straps
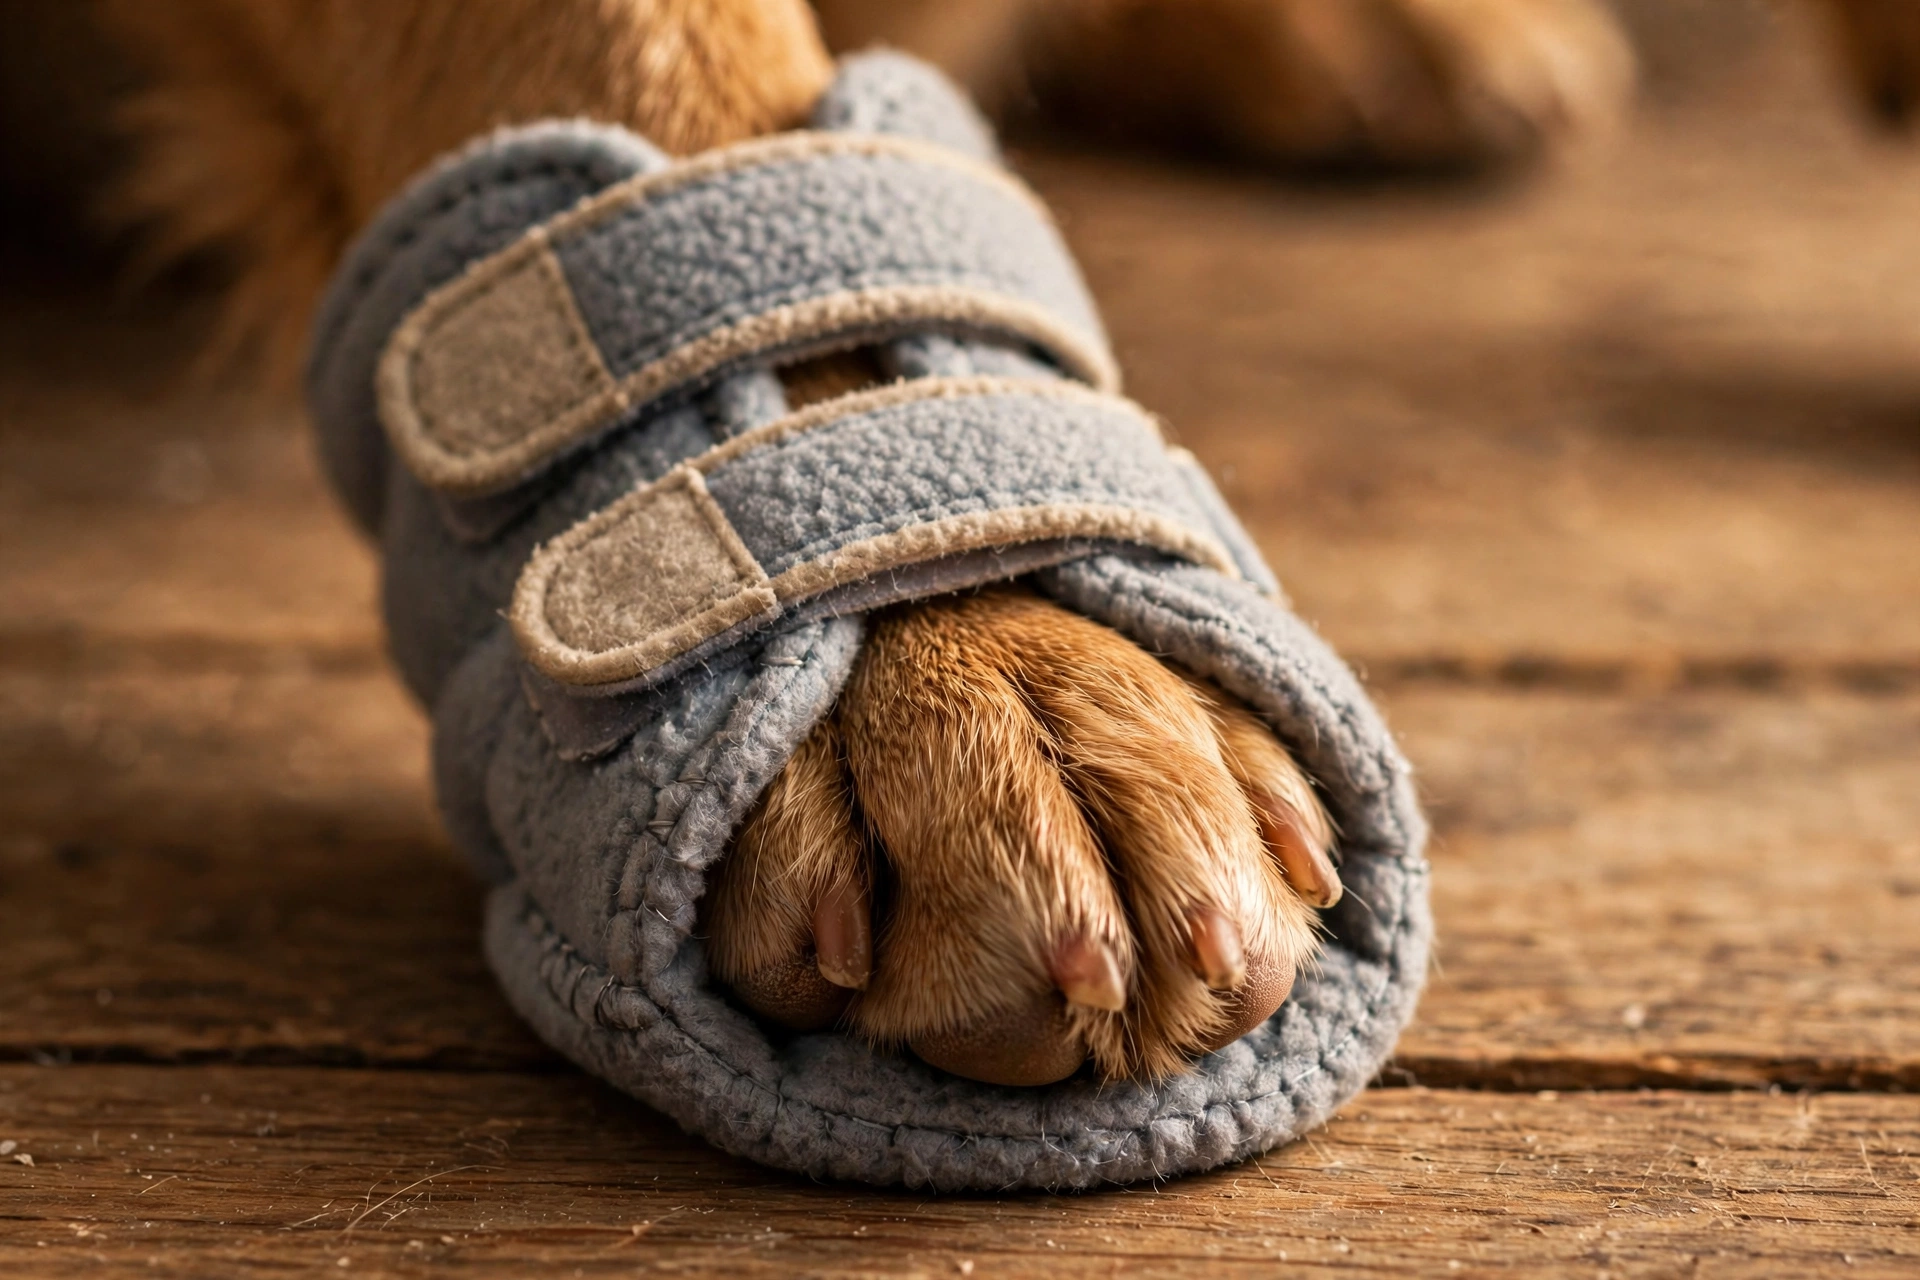
Trace your dog’s paw onto paper, add half an inch all around, and cut two fleece ovals per bootie. Wrap the fleece around the paw like a taco, glue the bottom edge shut, and fasten a velcro strap across the ankle. Fleece is soft enough that most dogs accept it within minutes, and the adjustable strap keeps the boot on through zoomies.
Handy for this project: EOVEA Polar Fleece Fabric — anti-pill fleece sold by the yard in one continuous piece, so one cut makes several pairs.
2. No-Sew Fleece Winter Booties with Grippy Soles
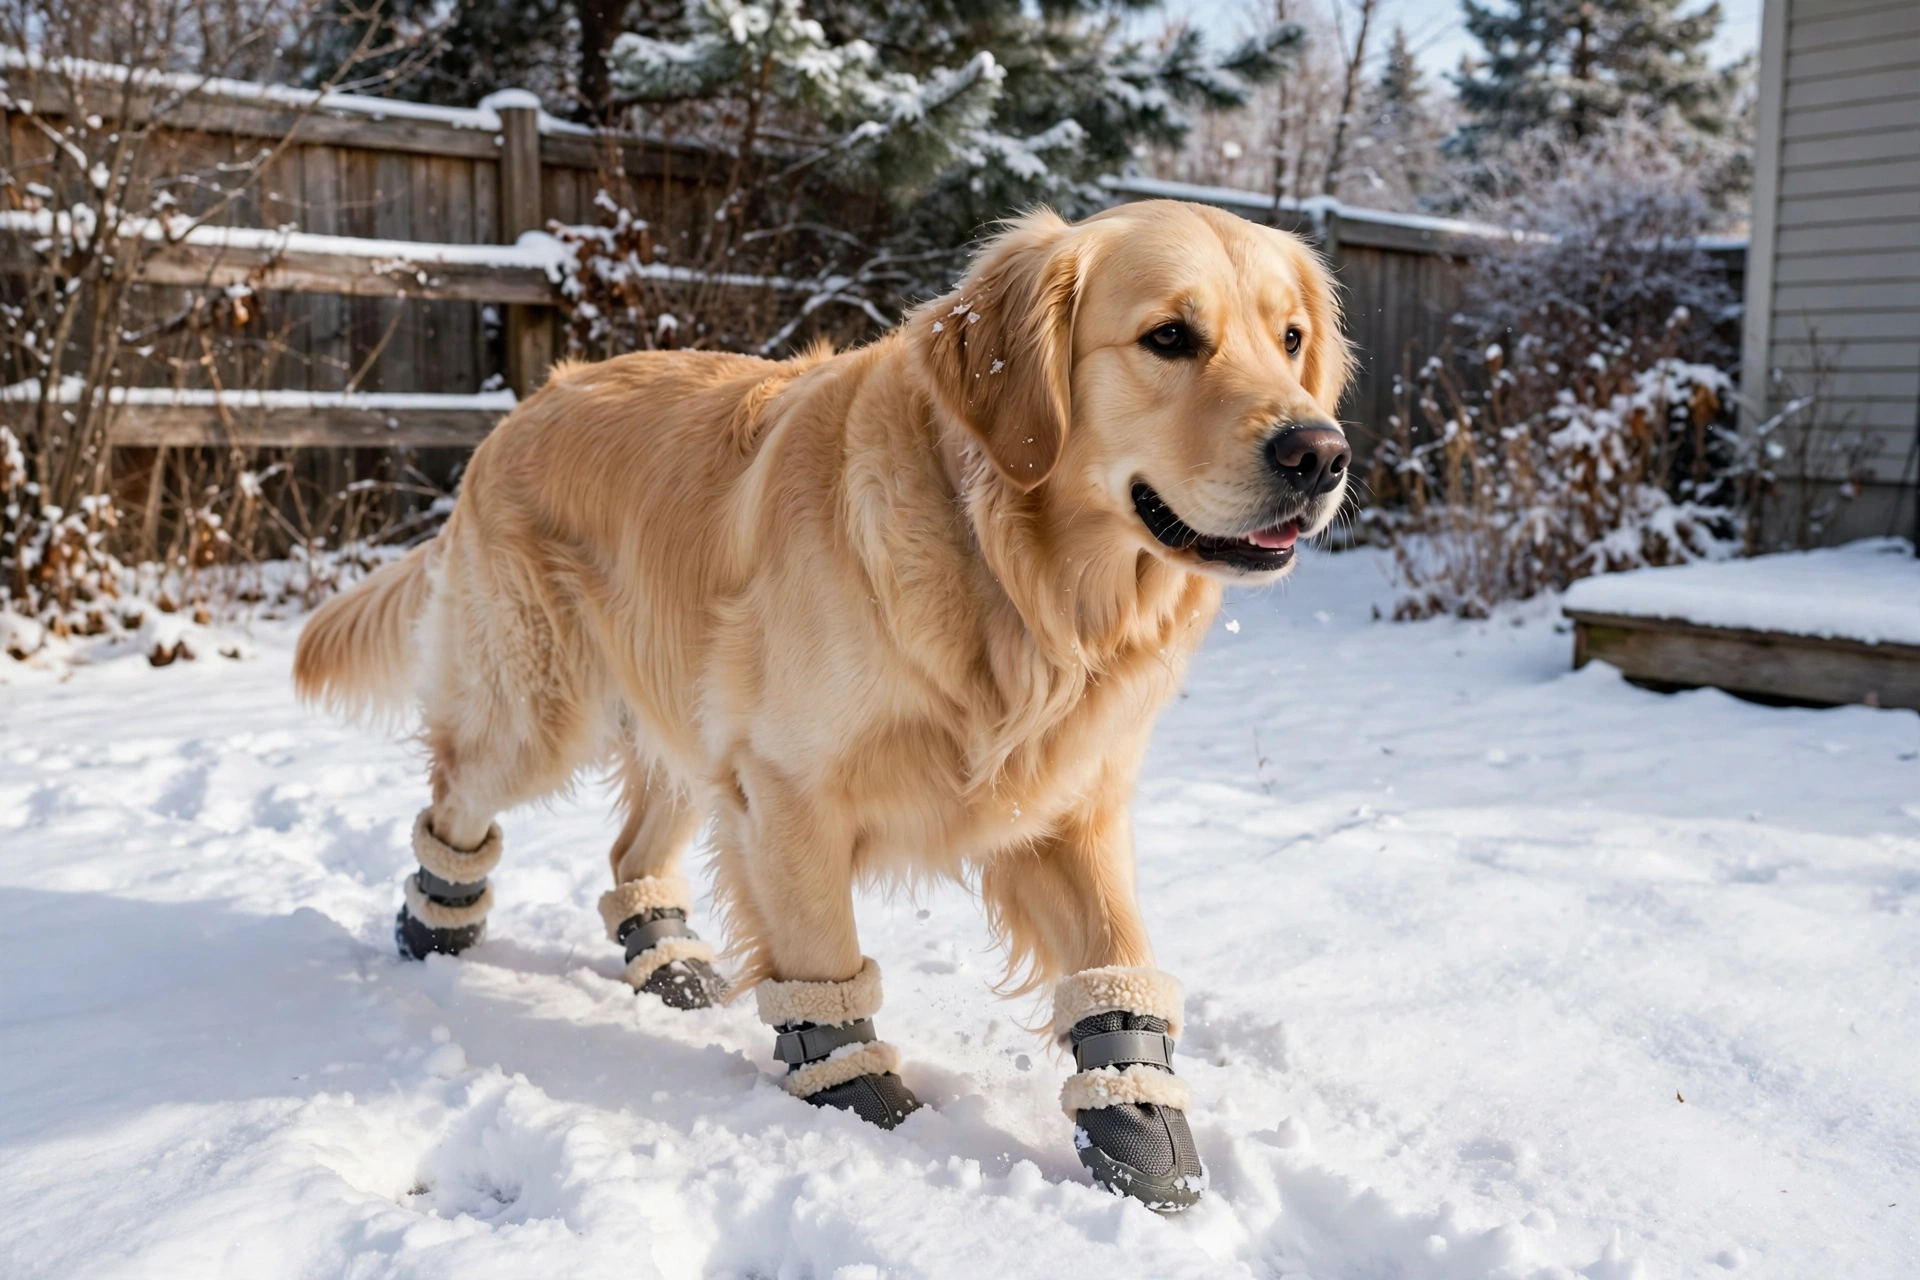
For icy sidewalks, pair fleece uppers with soles cut from a yoga mat. Cut four fleece squares and four mat squares slightly smaller than the paw print. Hot-glue the mat to the fleece bottom (textured side down), fold the fleece up around the paw, and attach velcro tabs. The textured mat grips snow and salted sidewalks far better than fabric alone.
Handy for this project: Gaiam Essentials 1/4-Inch Yoga Mat — a non-slip textured surface that cuts easily into small bootie soles.
3. Knit-Style Boots with Elastic Spiral Straps
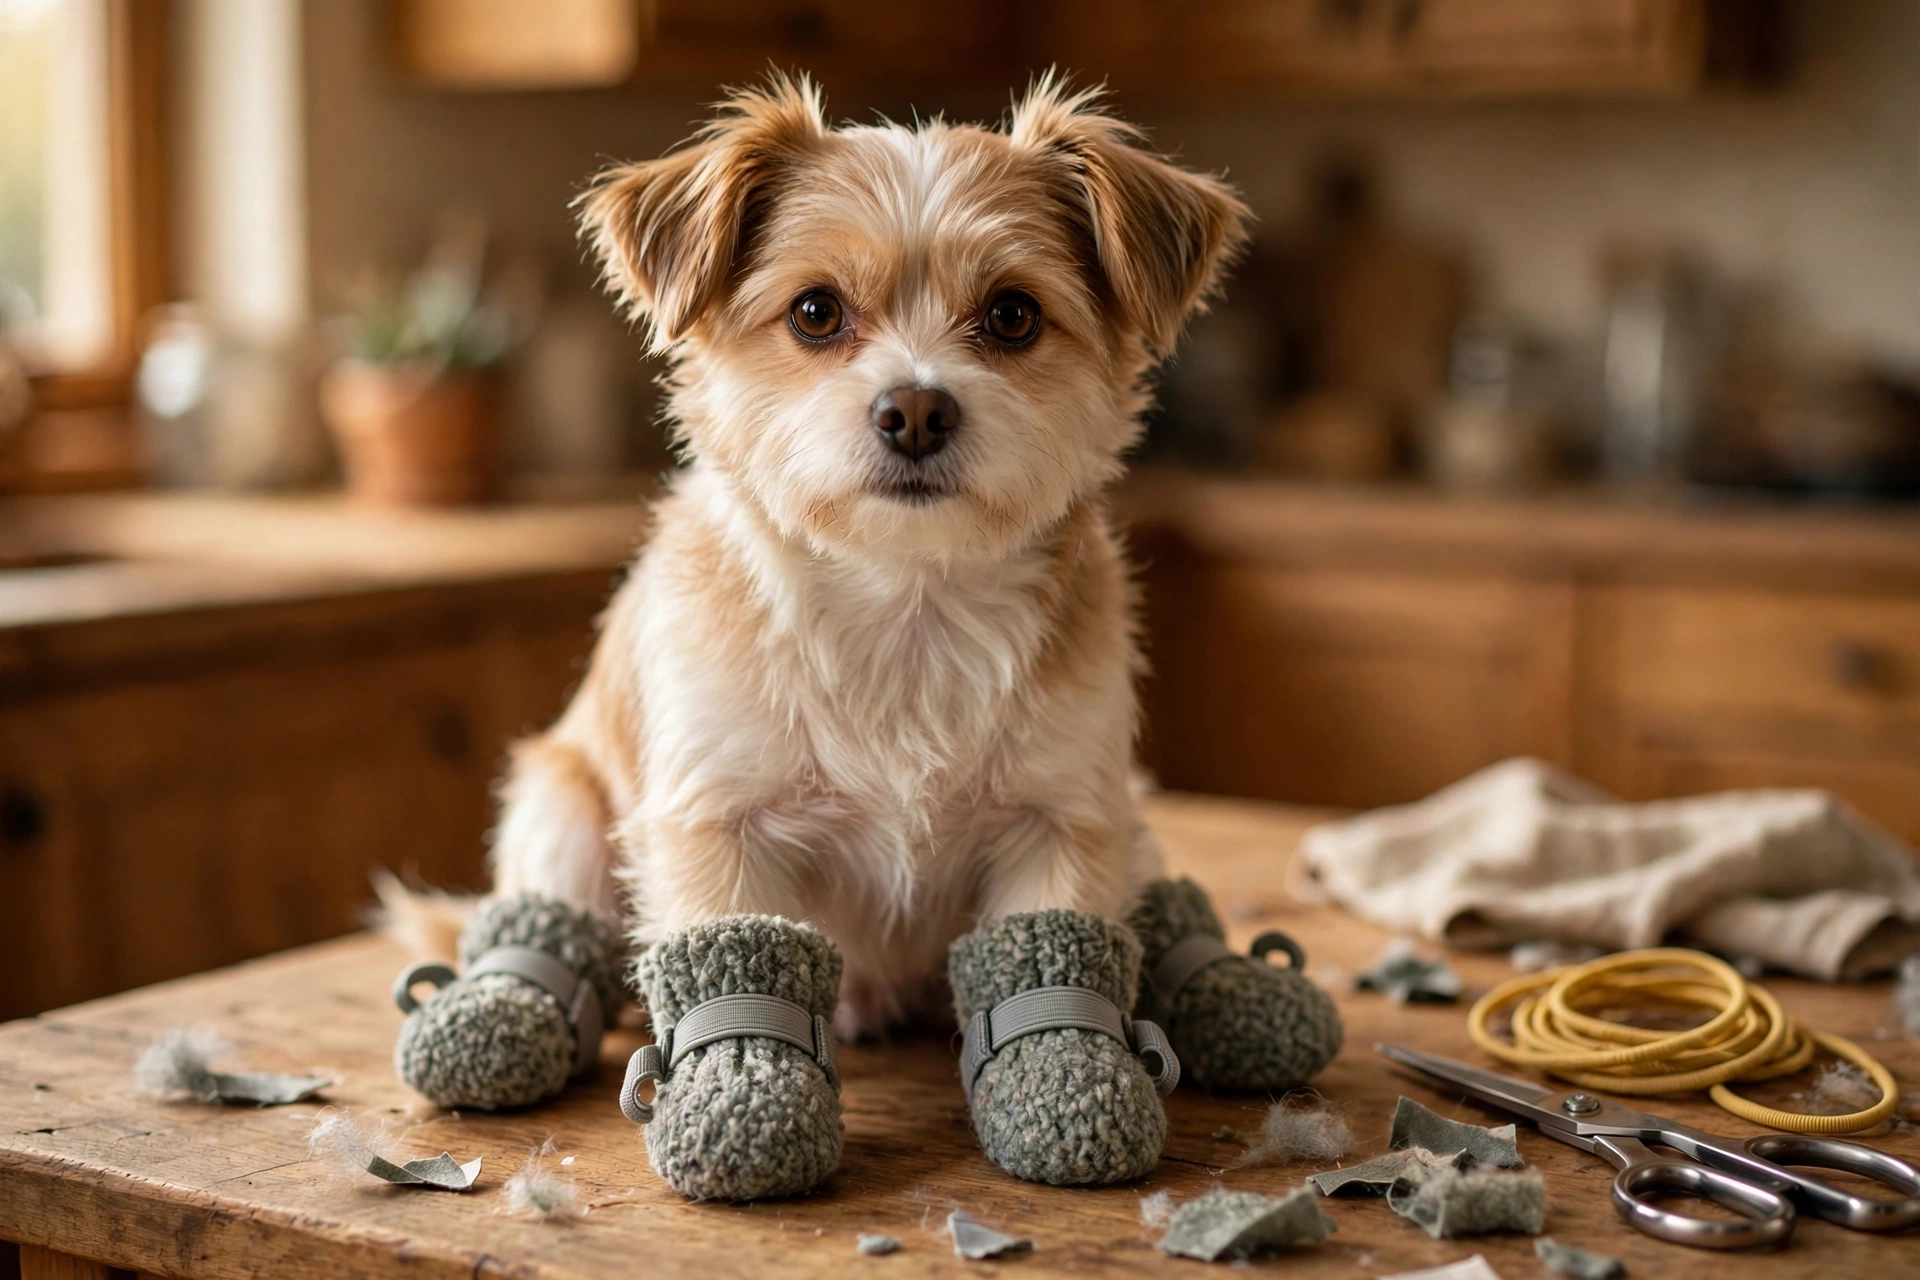
Cut fleece rectangles a few inches longer than the paw, wrap them around the foot, and sew or glue the seam. Then wrap thin elastic cord around the boot in a loose spiral from ankle to toe and tack the ends with fabric glue. The spiral distributes pressure evenly, so circulation stays comfortable on longer walks.
Handy for this project: ZHFMLY 1/8-Inch Elastic Cord — soft round elastic cord that ties and glues neatly around small boots.
4. Sweatshirt-Sleeve Athletic Booties
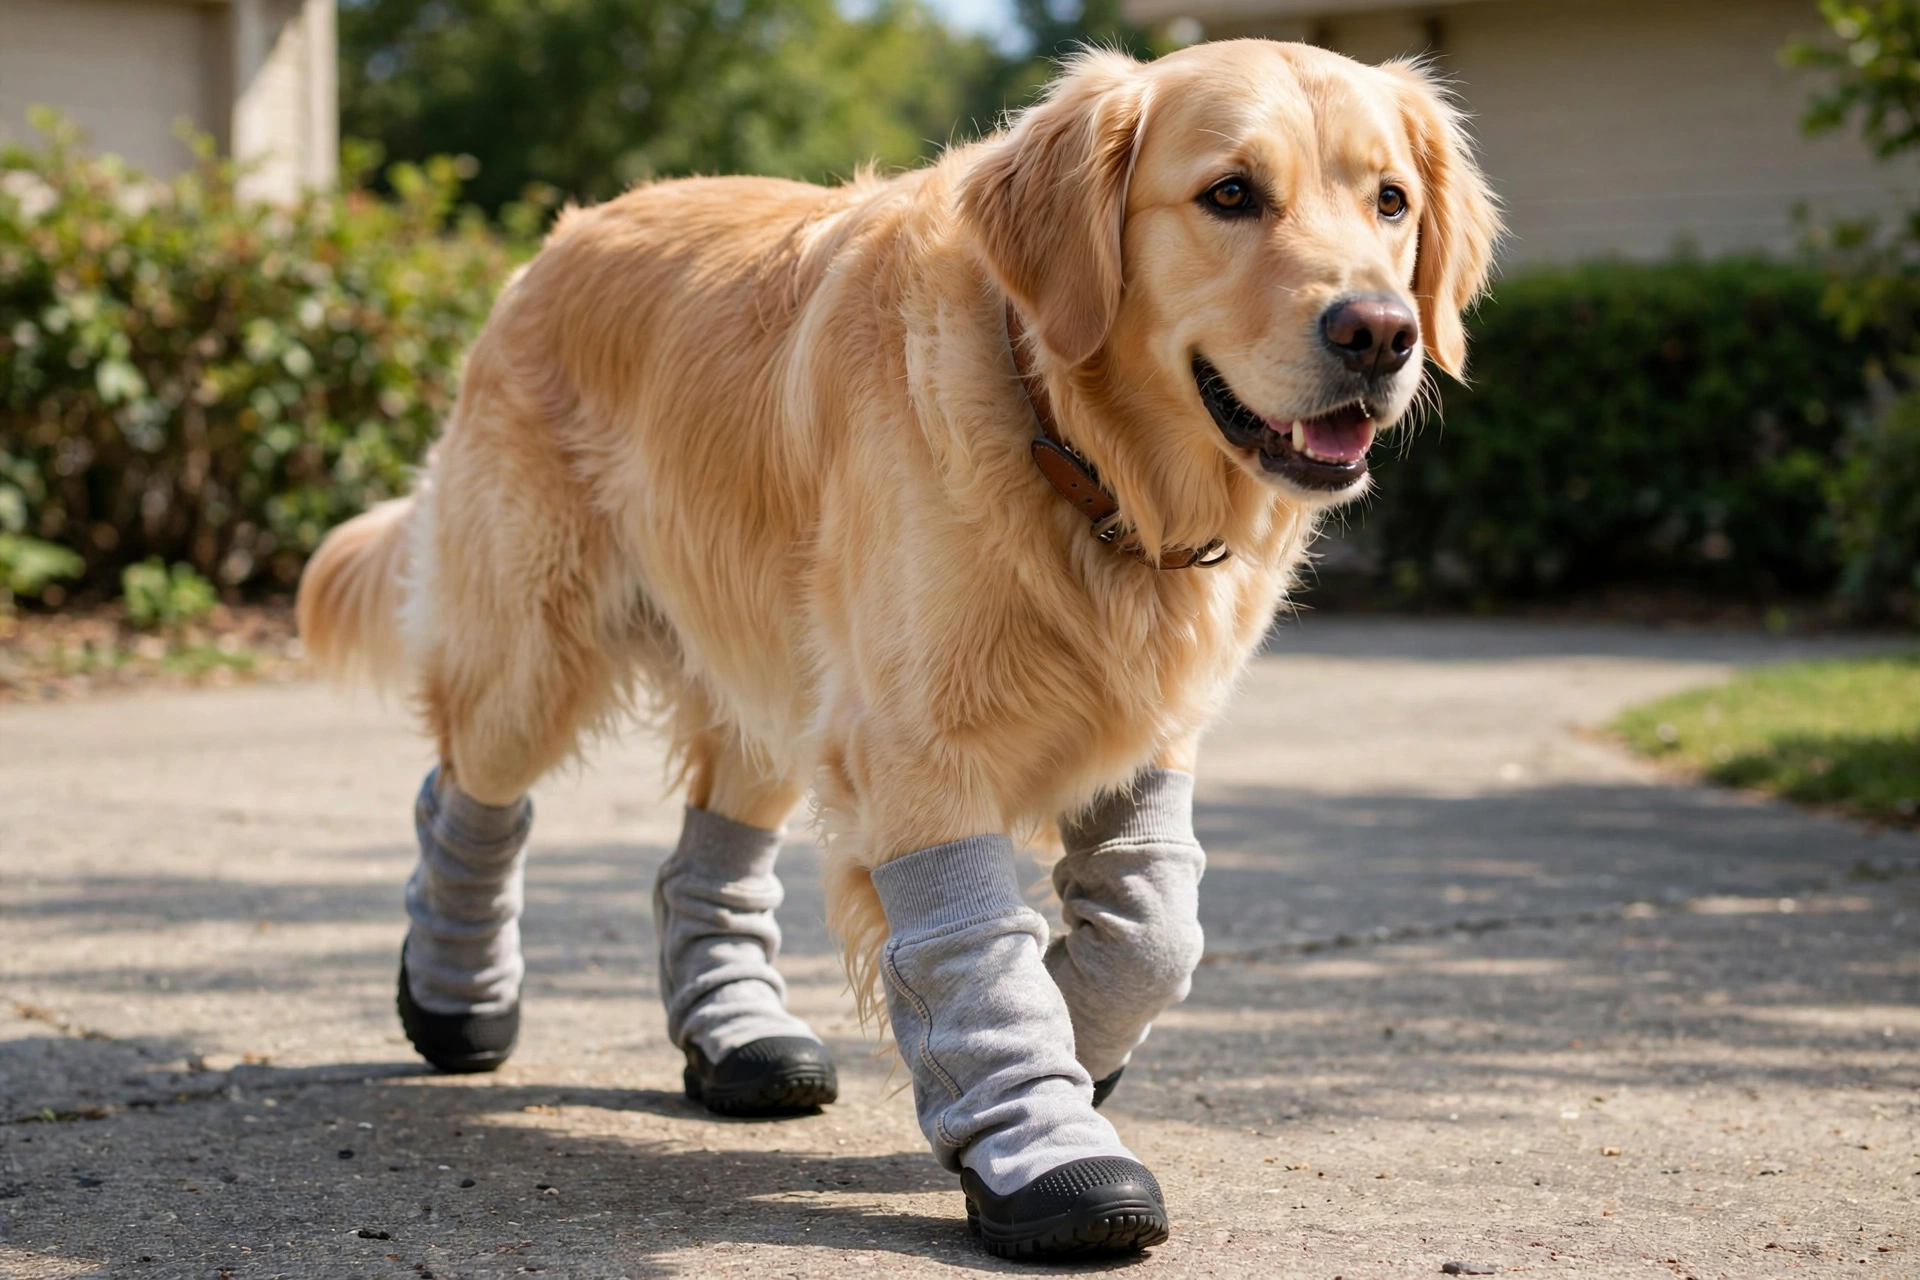
Cut the sleeves off an old sweatshirt into tubes a little longer than the paw. Glue a textured mat circle to one end of each tube, fold it shut, and add a short velcro tab across the top. These take under an hour for a full set and hold up through wet spring walks — just toss them in the wash with your laundry.
Handy for this project: Hanes Double Tough Crew Socks 6-Pack — sturdy cotton socks to layer inside the sleeves for extra cushioning.
5. Grip-Sole Fleece Booties on a Budget
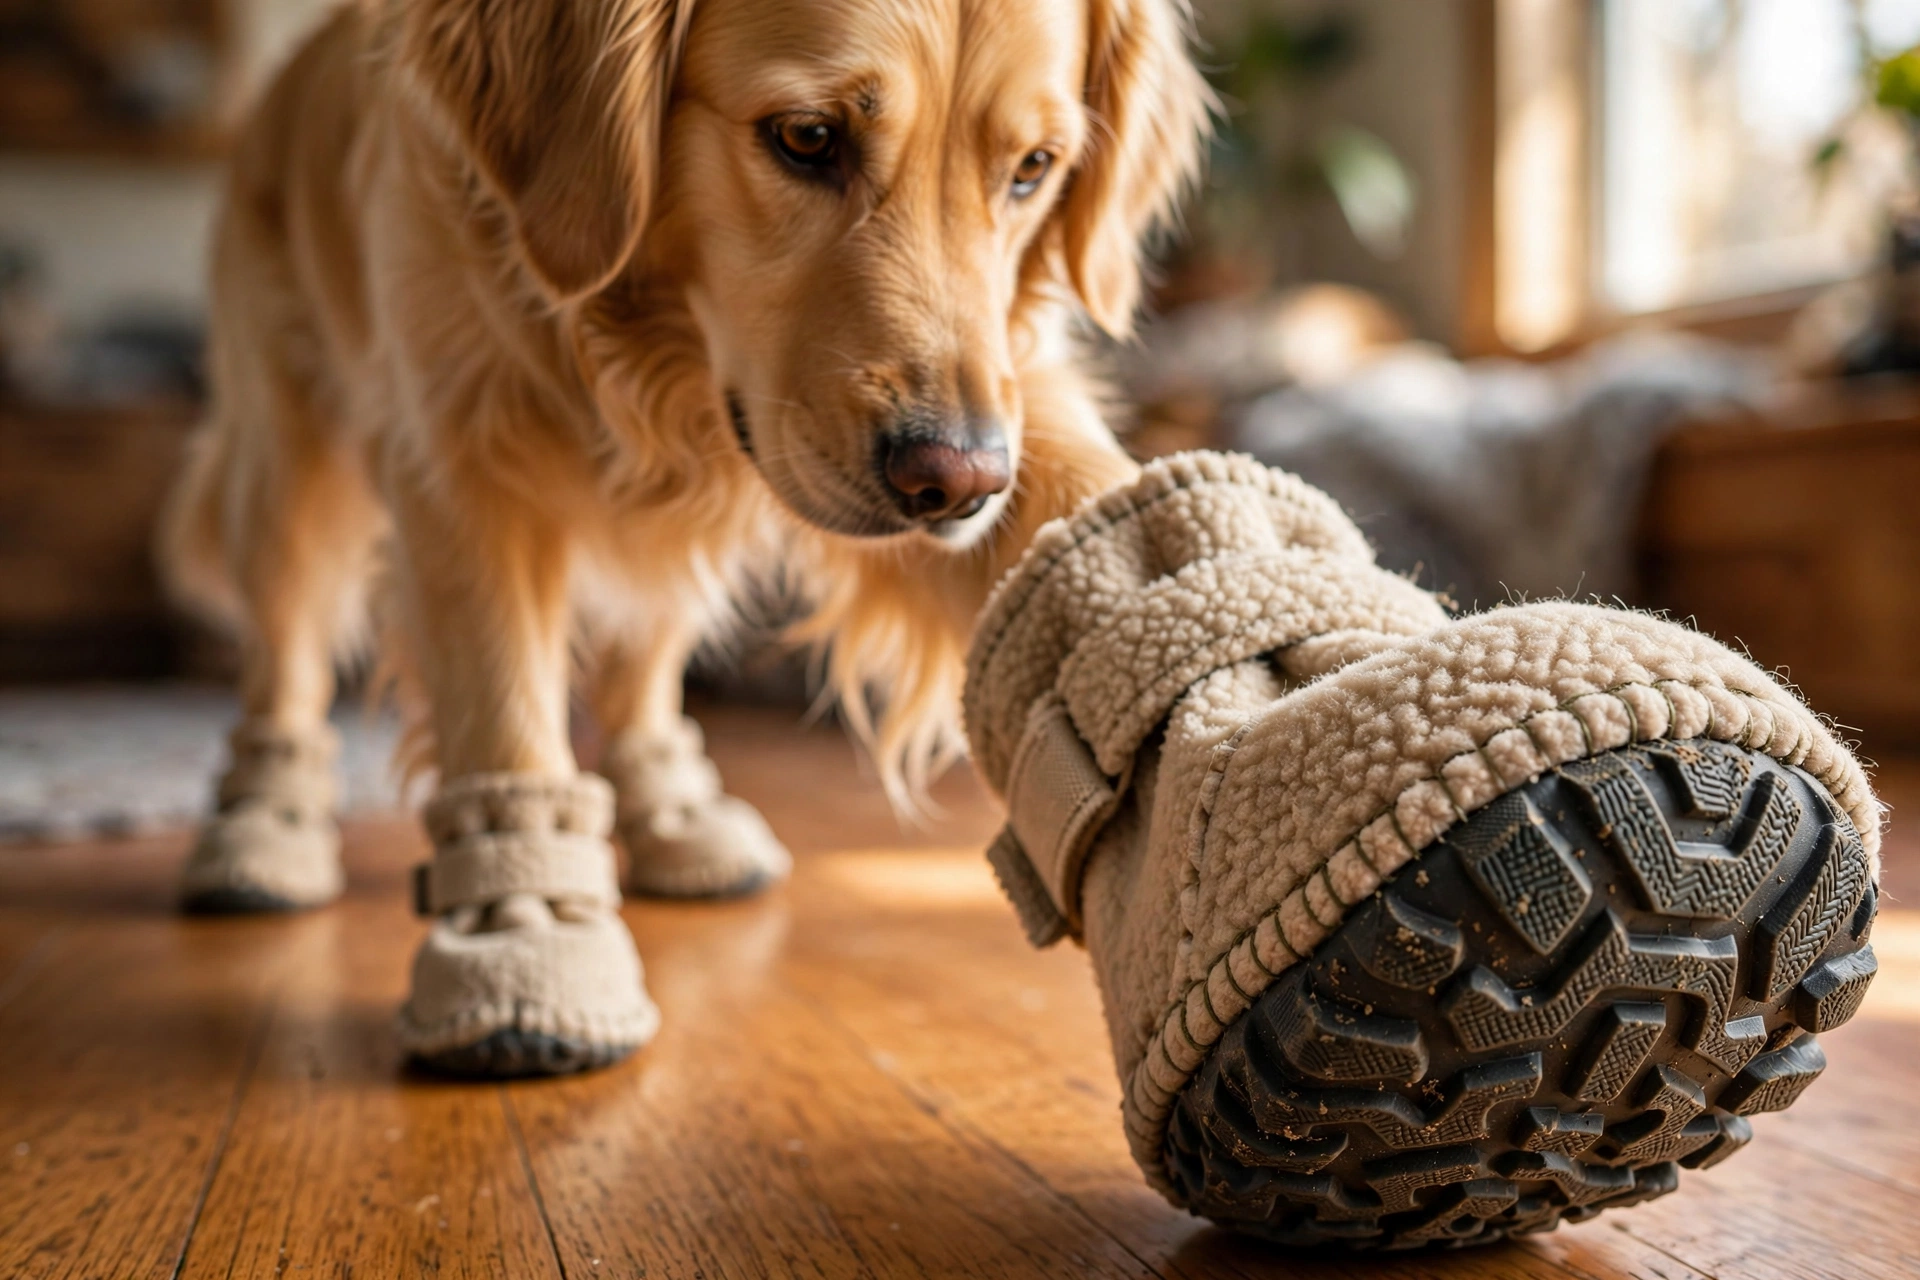
If a yoga mat feels like overkill, cut paw-sized ovals from rubber shelf liner instead. Glue the liner to the bottom of simple fleece booties for the same anti-slip effect indoors. This version costs almost nothing beyond fleece and is perfect for senior dogs that skid on hardwood floors.
Handy for this project: Smart Design Classic Grip Shelf Liner — non-adhesive rubber liner that cuts cleanly into paw-shaped grip pads.
6. 8-Minute Tube Sock Slip-Ons
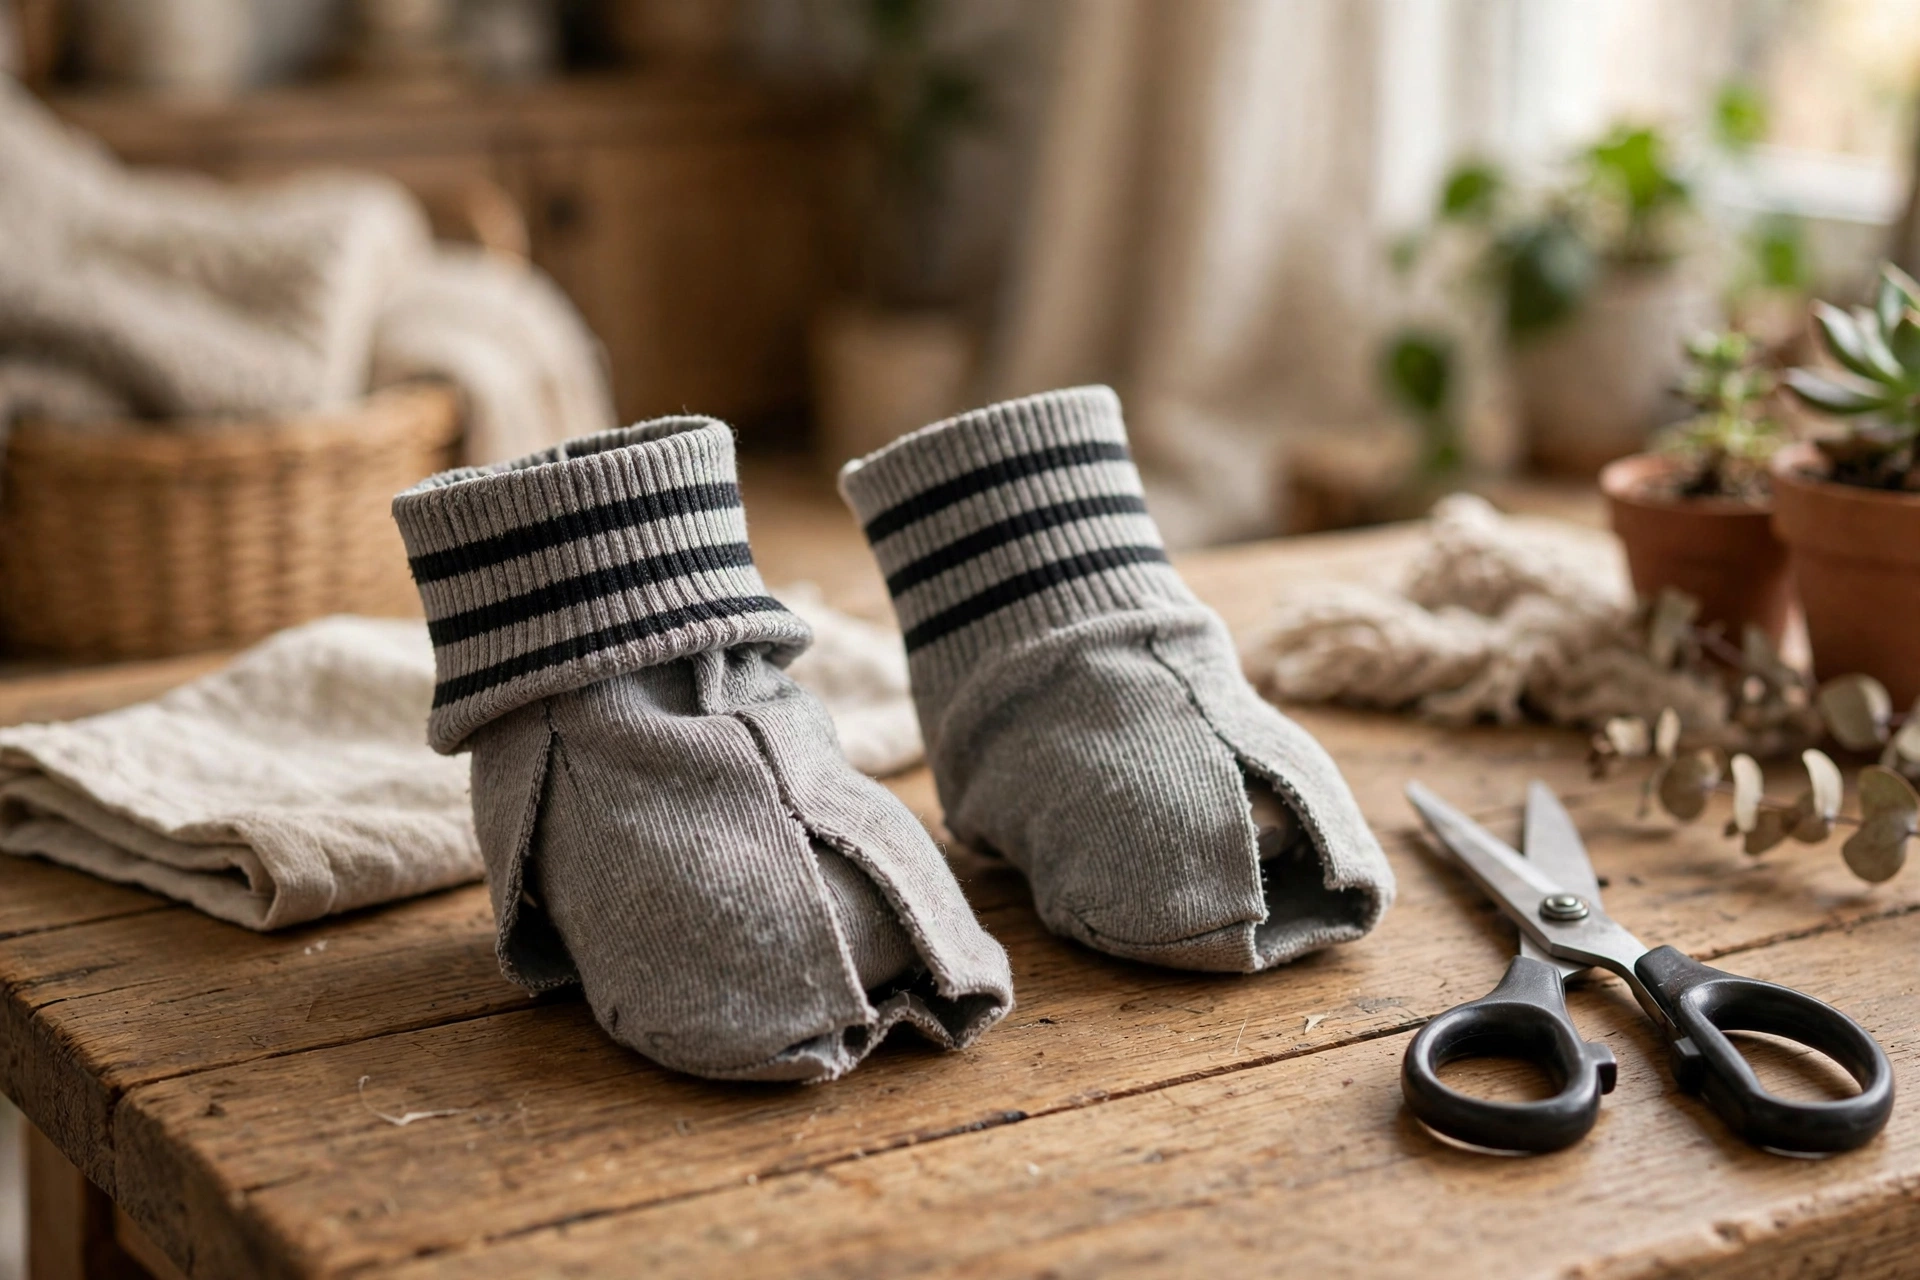
Cut the foot off an old tube sock just below the heel, leaving the tube and cuff. Fold the ribbed cuff down twice and slide it onto the paw — the ribbing holds it in place without any straps. It takes about two minutes per boot, so the whole set is done in eight. Choose darker colors to hide mud.
Handy for this project: Gorilla Mini Hot Glue Gun Kit — a dab of hot glue tacks the folded cuff in place so it doesn’t creep down mid-walk.
7. Fuzzy Sweatshirt Booties with Ankle Straps
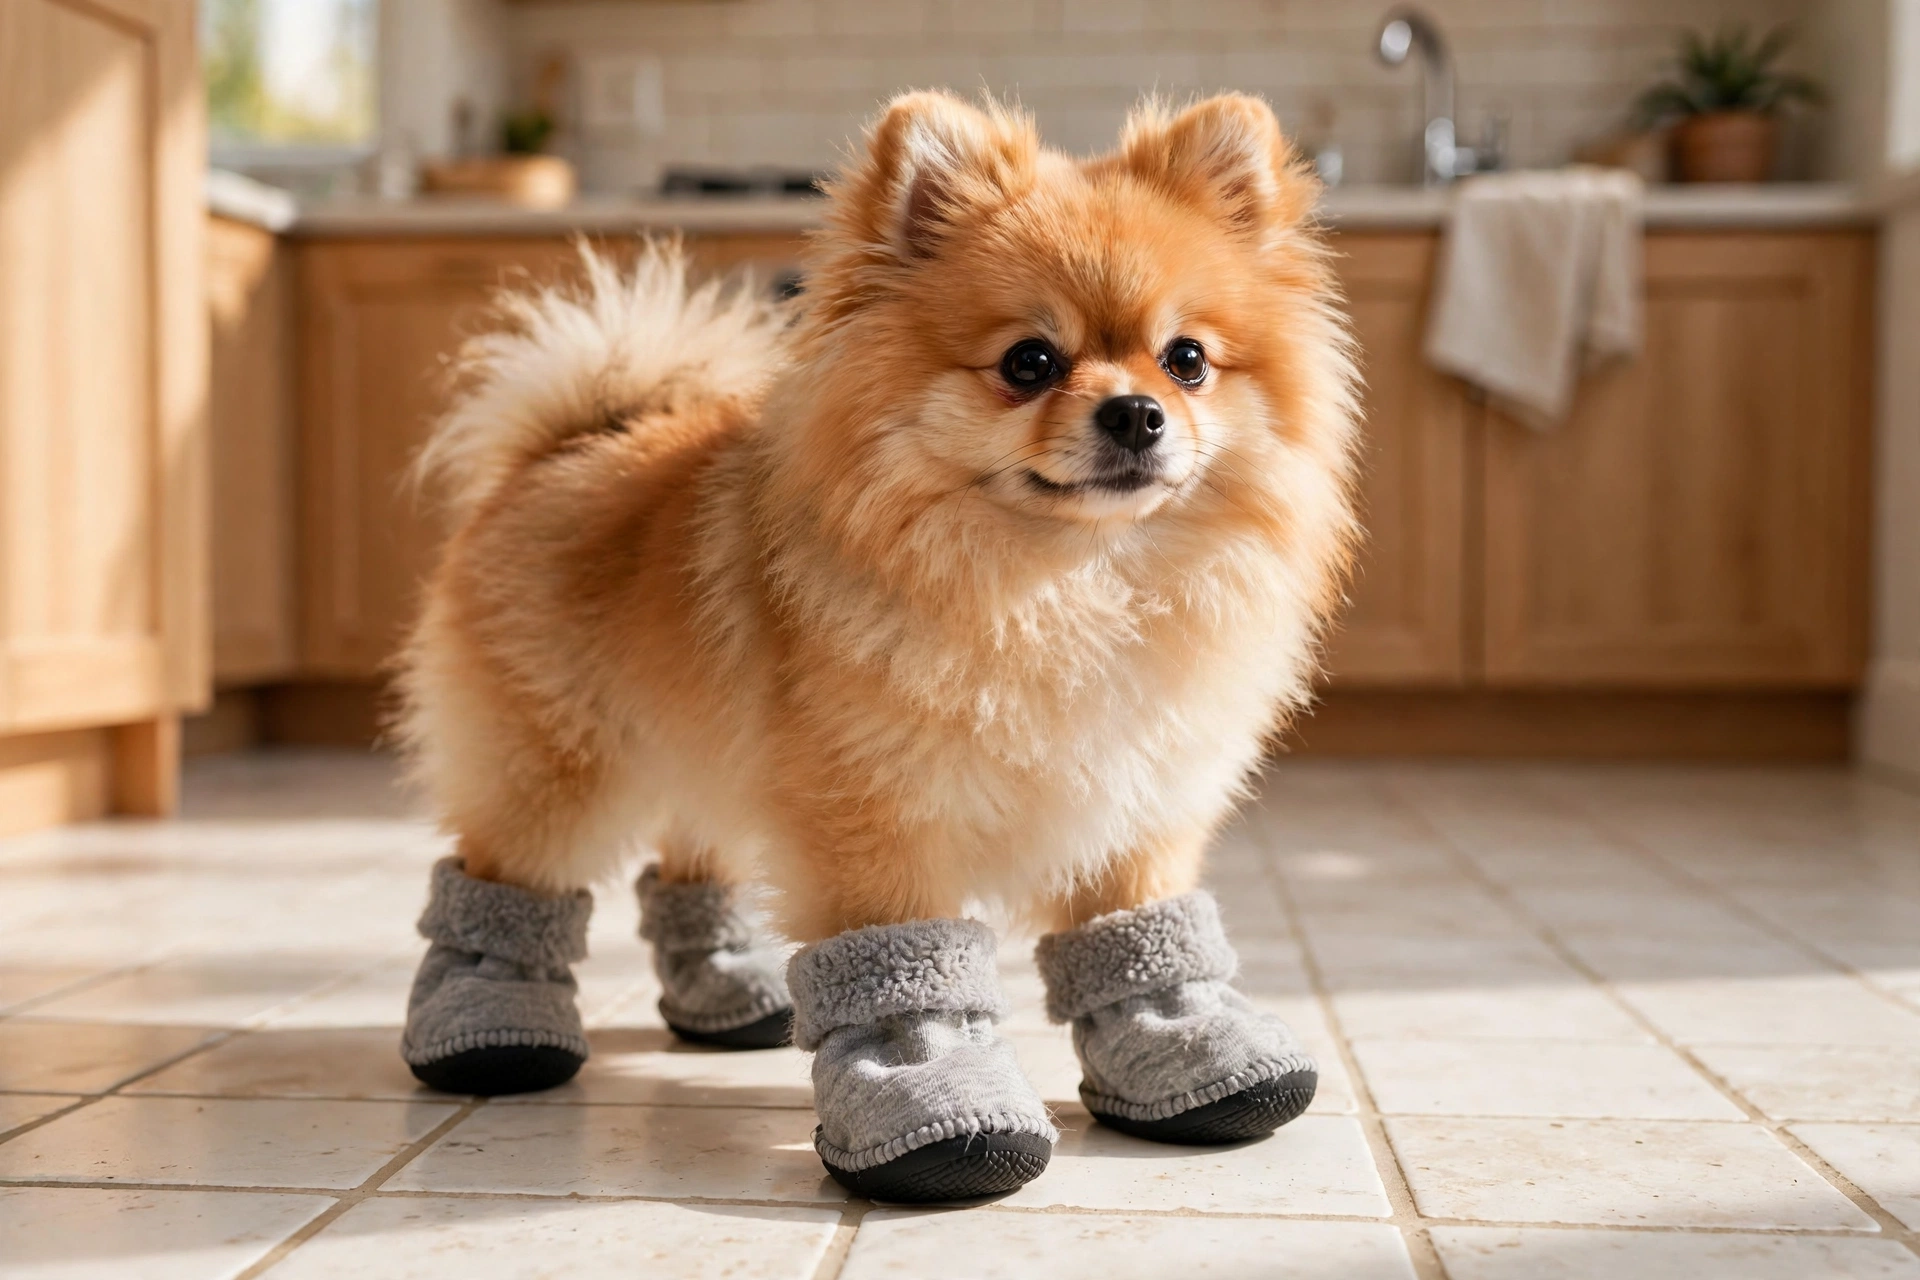
Small breeds lose store booties fastest, so custom-fit matters most for them. Trace the paw, cut two sweatshirt rectangles and one yoga mat sole, glue the sole on, fold the fabric over like a taco, and fasten a short velcro strap across the ankle. Snug the strap until you can fit one fingertip underneath.
Handy for this project: VELCRO Brand Heavy Duty Fasteners — industrial-strength strips that keep ankle straps fastened through long walks.
8. Rubber-Sole Trail Boots from Old Sandals
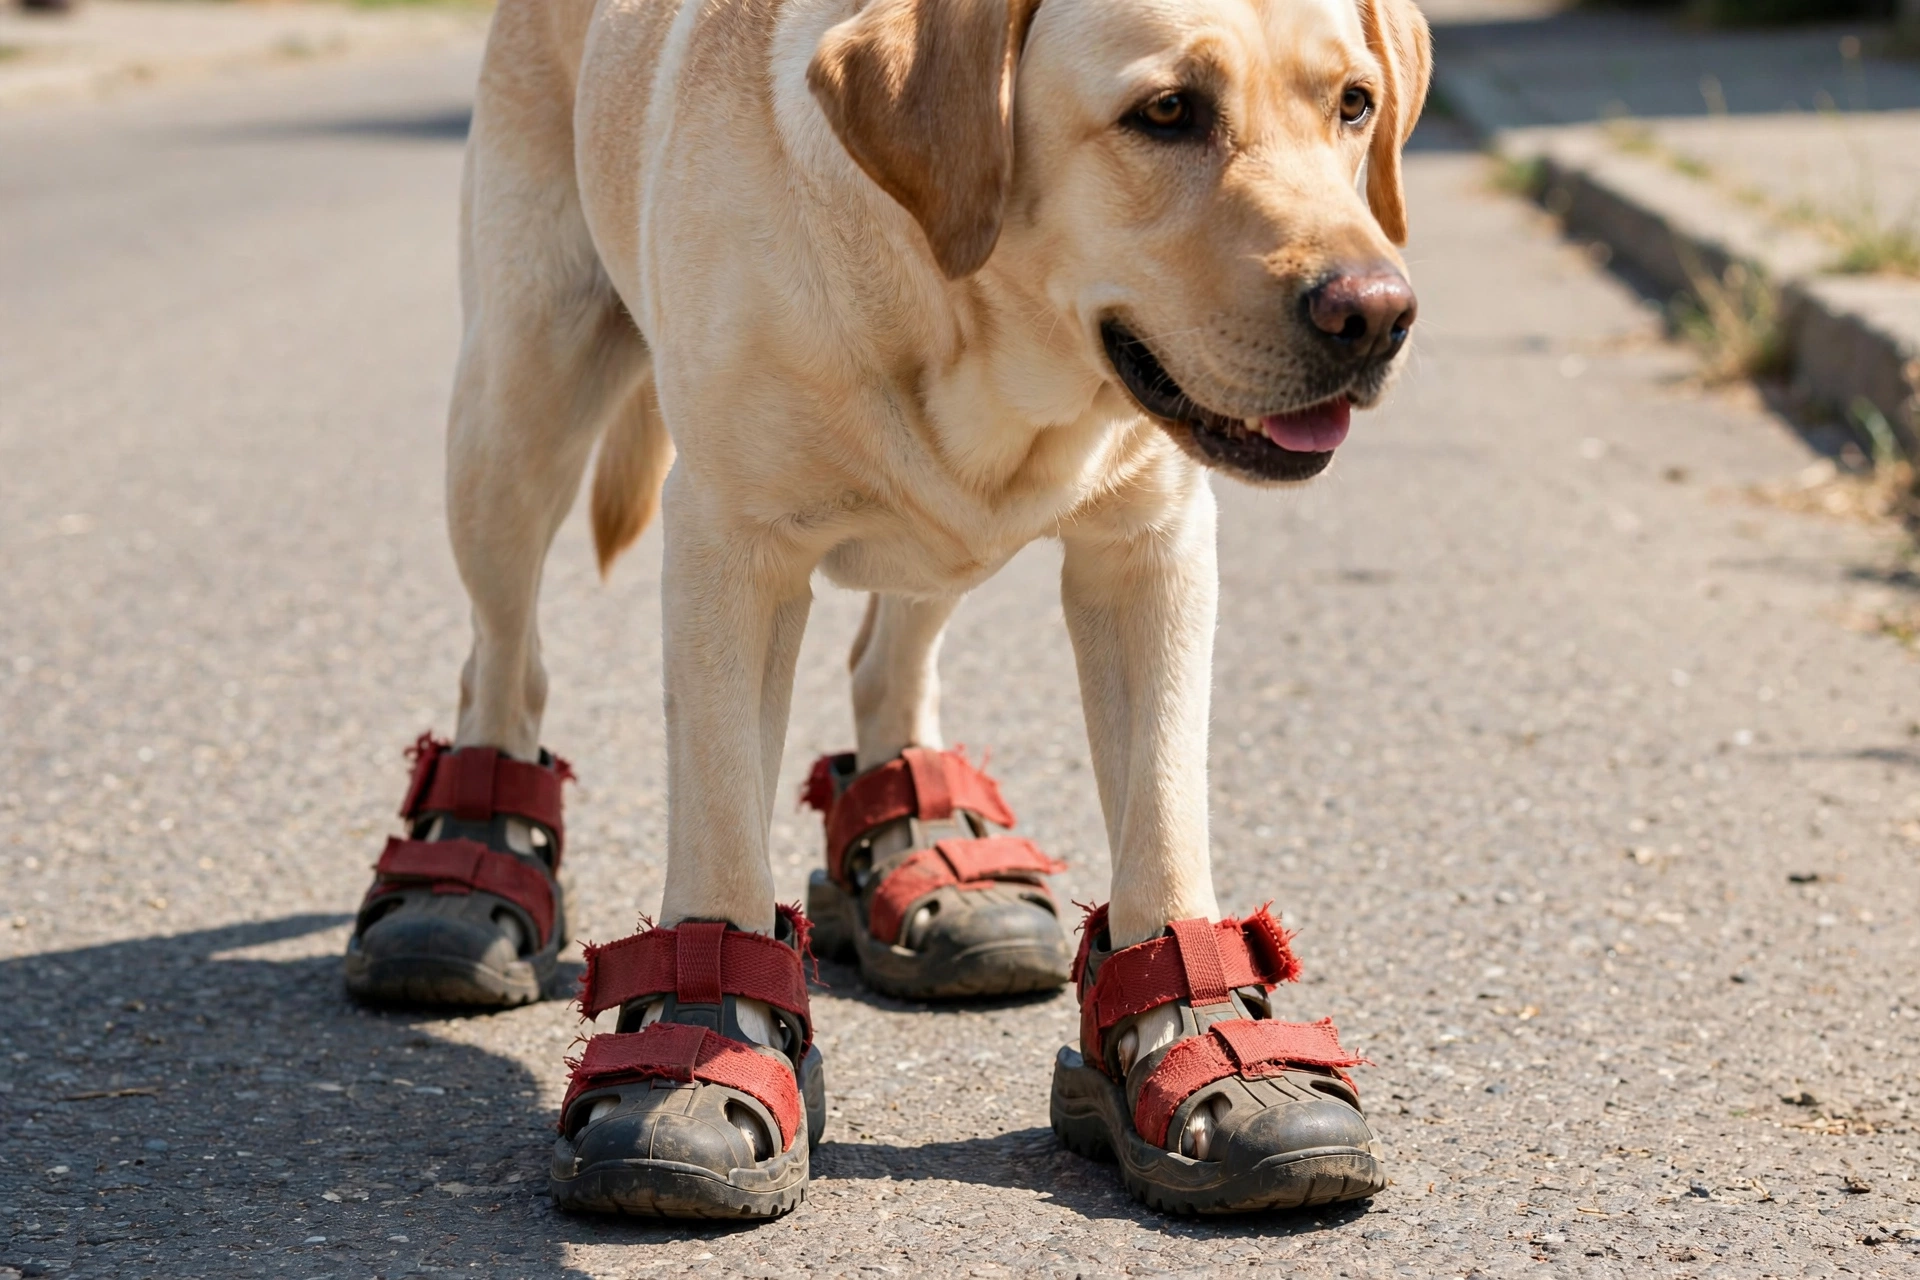
Trace the paw with the dog’s weight on it, add half an inch, and cut the outline from the soles of worn-out sandals or clogs. Cut fabric uppers to match, glue them around the rubber edge, and finish with a fabric strap. These handle gravel trails and hot summer pavement better than any fabric-only design.
Handy for this project: SCAIKTIG Sewing Scissors Bundle — heavy-duty shears that cut cleanly through rubber soles, denim, and layered fleece.
9. Waterproof Ripstop Rain Boots
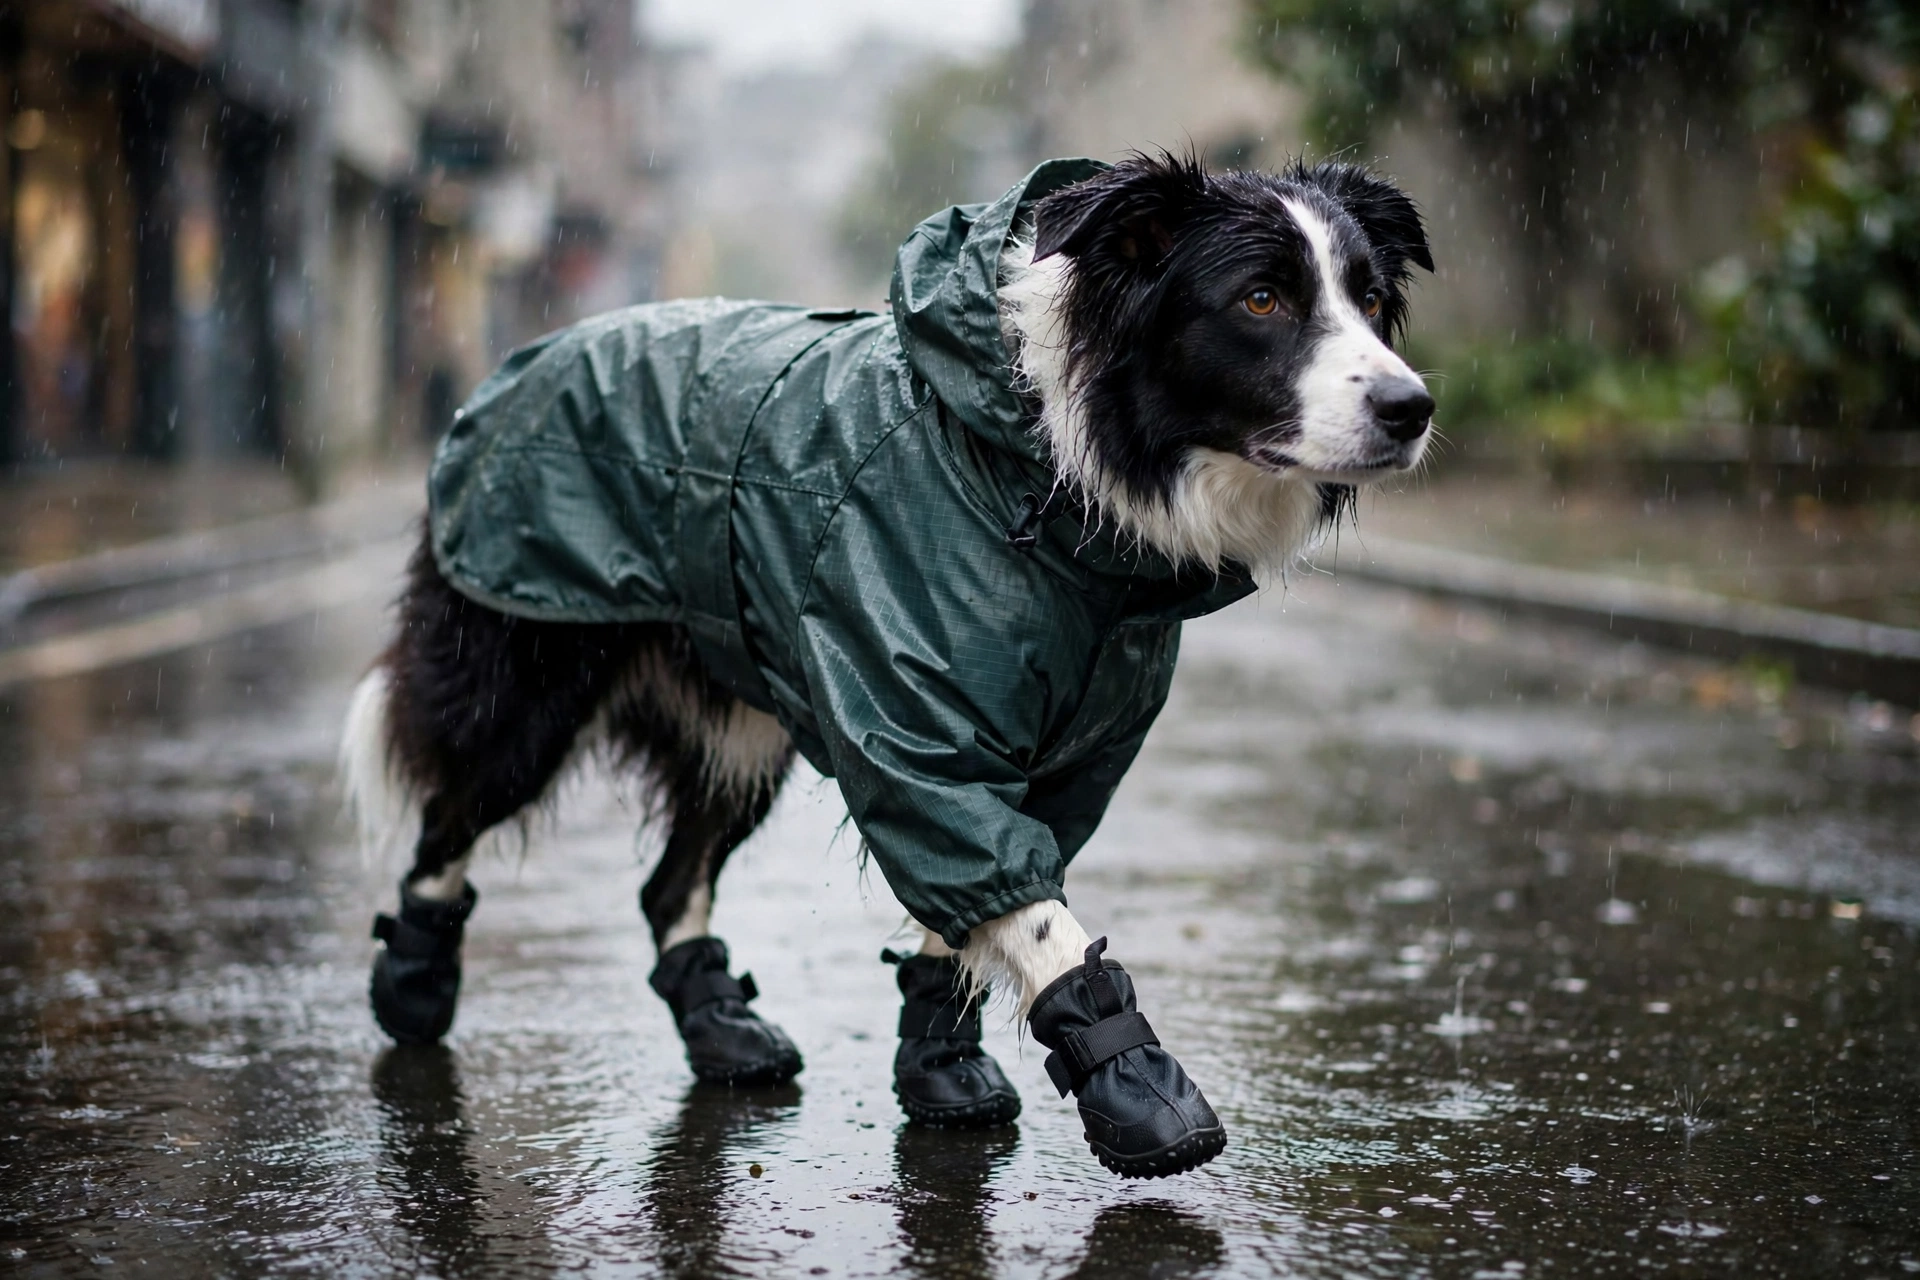
For rainy-season walks, sew or glue ripstop nylon uppers onto grippy soles. The coated fabric sheds water instead of soaking it up, and it’s light enough that dogs barely notice the extra layer. Add a simple drawstring or elastic cuff at the top to keep rain out.
Handy for this project: emma kites Ripstop Nylon Fabric — water-resistant 40D nylon by the yard, light enough for comfortable booties.
10. DWR-Refreshed Fleece Booties for Wet Walks
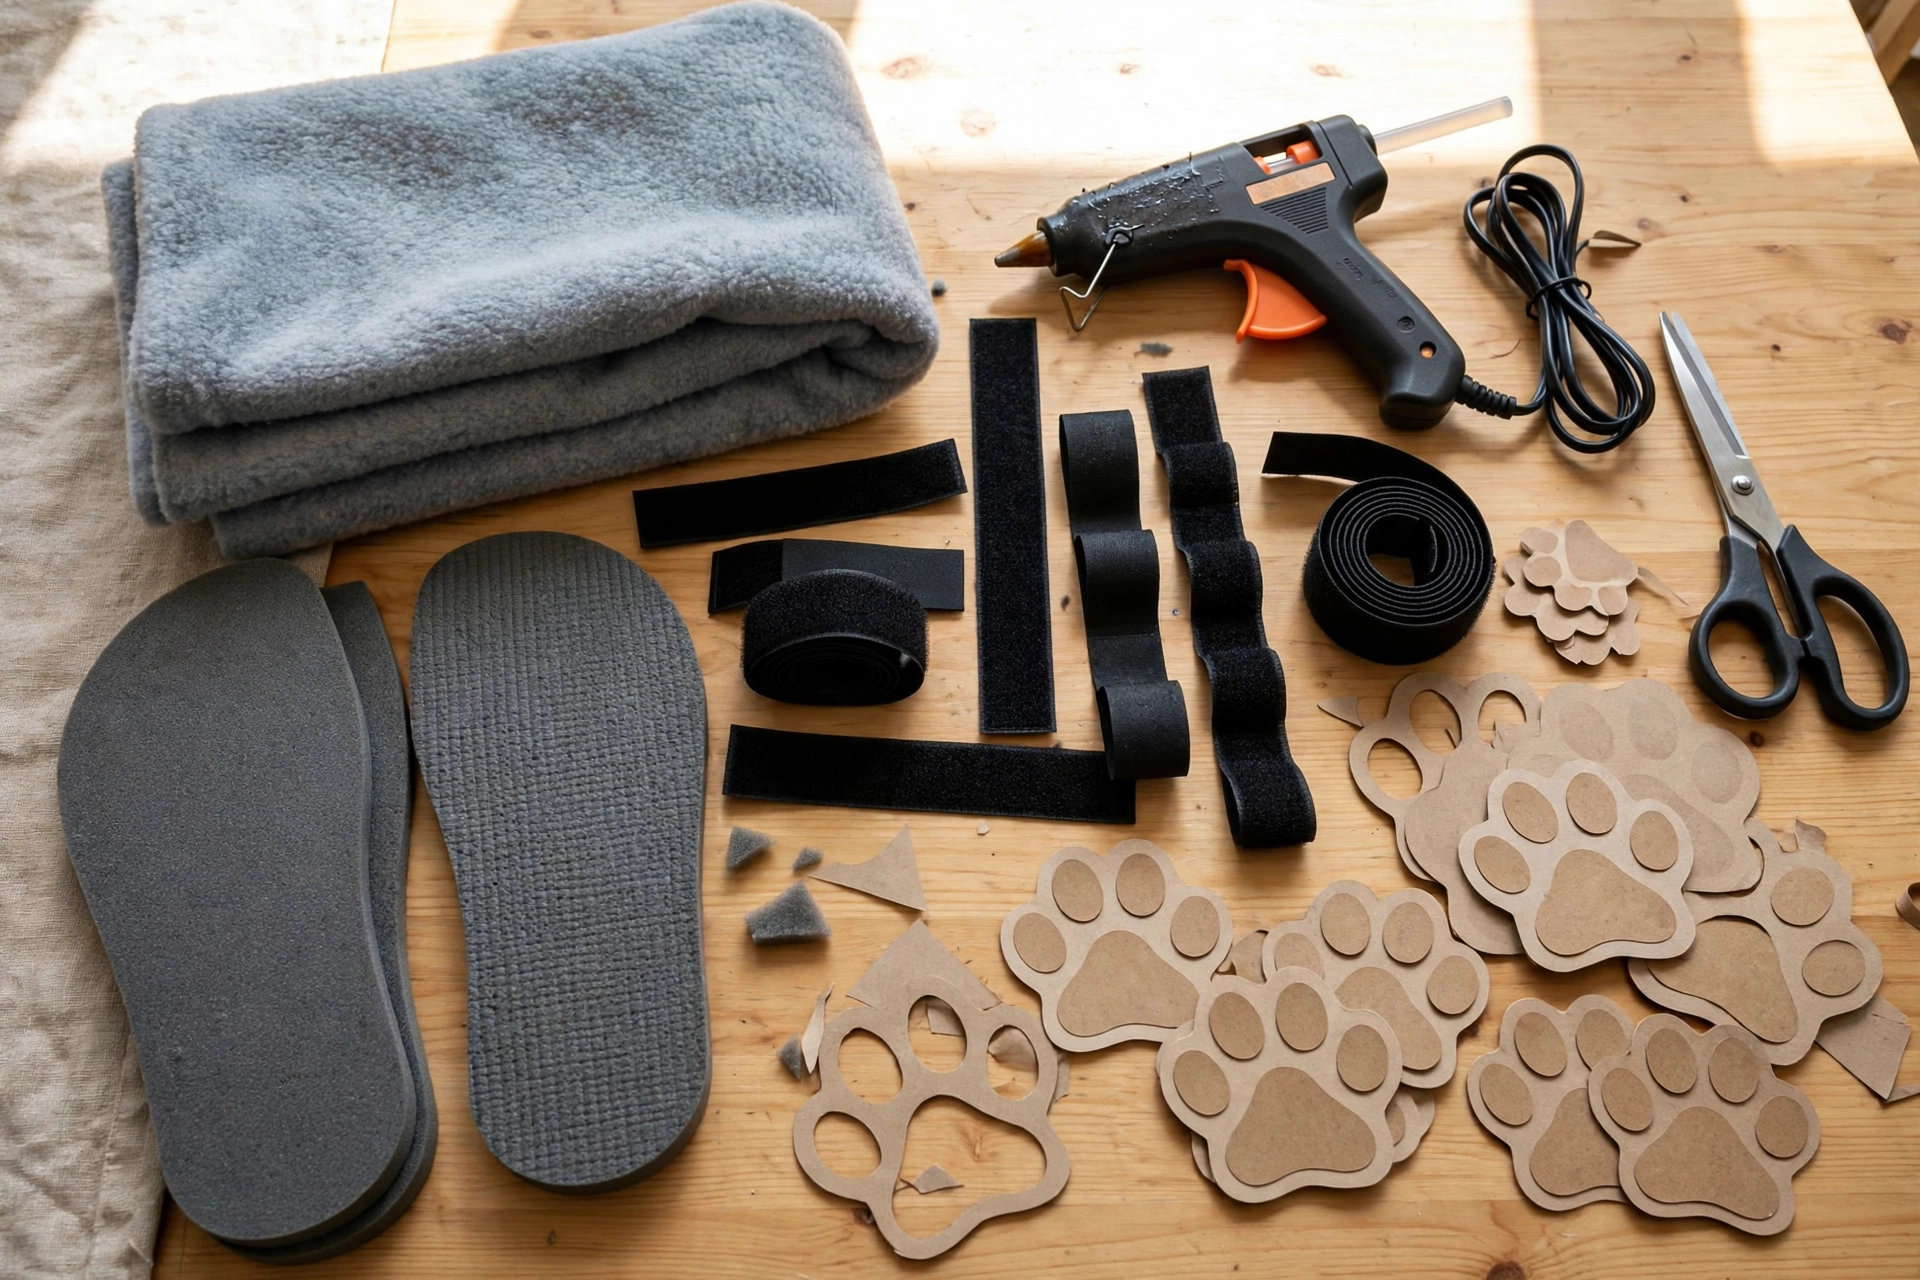
Already made a favorite pair? A waterproofing treatment extends their life for damp mornings and slushy streets. Clean the booties, apply a water-repellent treatment evenly, and let them dry completely. The fleece stays breathable while rain beads off the surface instead of soaking in.
Handy for this project: Nikwax TX.Direct Spray-On Waterproofing — aerosol-free spray that restores water repellency to fabric booties.
Fitting and Safety Tips
Always trace the paw with the dog standing and bearing weight, since paws spread wider than they look at rest. Add about half an inch around the outline for seam room. Straps should be snug enough that the boot doesn’t twist but loose enough to slide one fingertip underneath — anything tighter can restrict circulation. Let your dog wear the boots indoors for a few minutes before the first outdoor walk so they adjust to the feel. Remove booties after each walk and check paws for rubbing, and never leave boots on overnight.
Care and Maintenance
Hand wash fabric booties with a mild dog shampoo and air dry them overnight — heat can shrink fleece and loosen glued soles. Check the soles before each walk; replace worn grip pads before they go slick. Keep a spare pair by the door for muddy-season swaps, and store dry booties in a breathable bin rather than sealed plastic.
Keep Reading
- DIY Dog Bunk Beds for Small Spaces
- 15 Indoor Dog Park Ideas for Rainy Days
- 10 DIY Dog Jackets That Actually Fit Your Pup
- 10 DIY Cardboard Dog House Ideas
- Best DIY Dog Collars to Make at Home
Frequently Asked Questions
Do dogs actually need shoes?
Most dogs are fine barefoot, but shoes help on very hot pavement, icy or salted sidewalks, rough trails, and for senior dogs with weak grip indoors.
How do I measure my dog’s paw for booties?
Have your dog stand on paper, trace the full paw outline with the weight on it, and add about half an inch around the edge for seams and comfort.
How tight should DIY dog shoes be?
Snug enough that they don’t twist or slip off, but loose enough to fit one fingertip under any strap. If toes can’t wiggle, they’re too tight.
How do I get my dog used to wearing shoes?
Start indoors with short sessions, reward calm behavior with treats, and take the first outdoor walk only after your dog moves normally in them.
How long do homemade dog booties last?
Fleece and sock styles usually survive 15 to 30 walks before the soles wear thin. Rubber-soled versions can last a full season of regular use.
As an Amazon Associate, PetPostHub earns from qualifying purchases.