
2 Ingredient Pumpkin Dog Treats: Easy Recipe (2026)
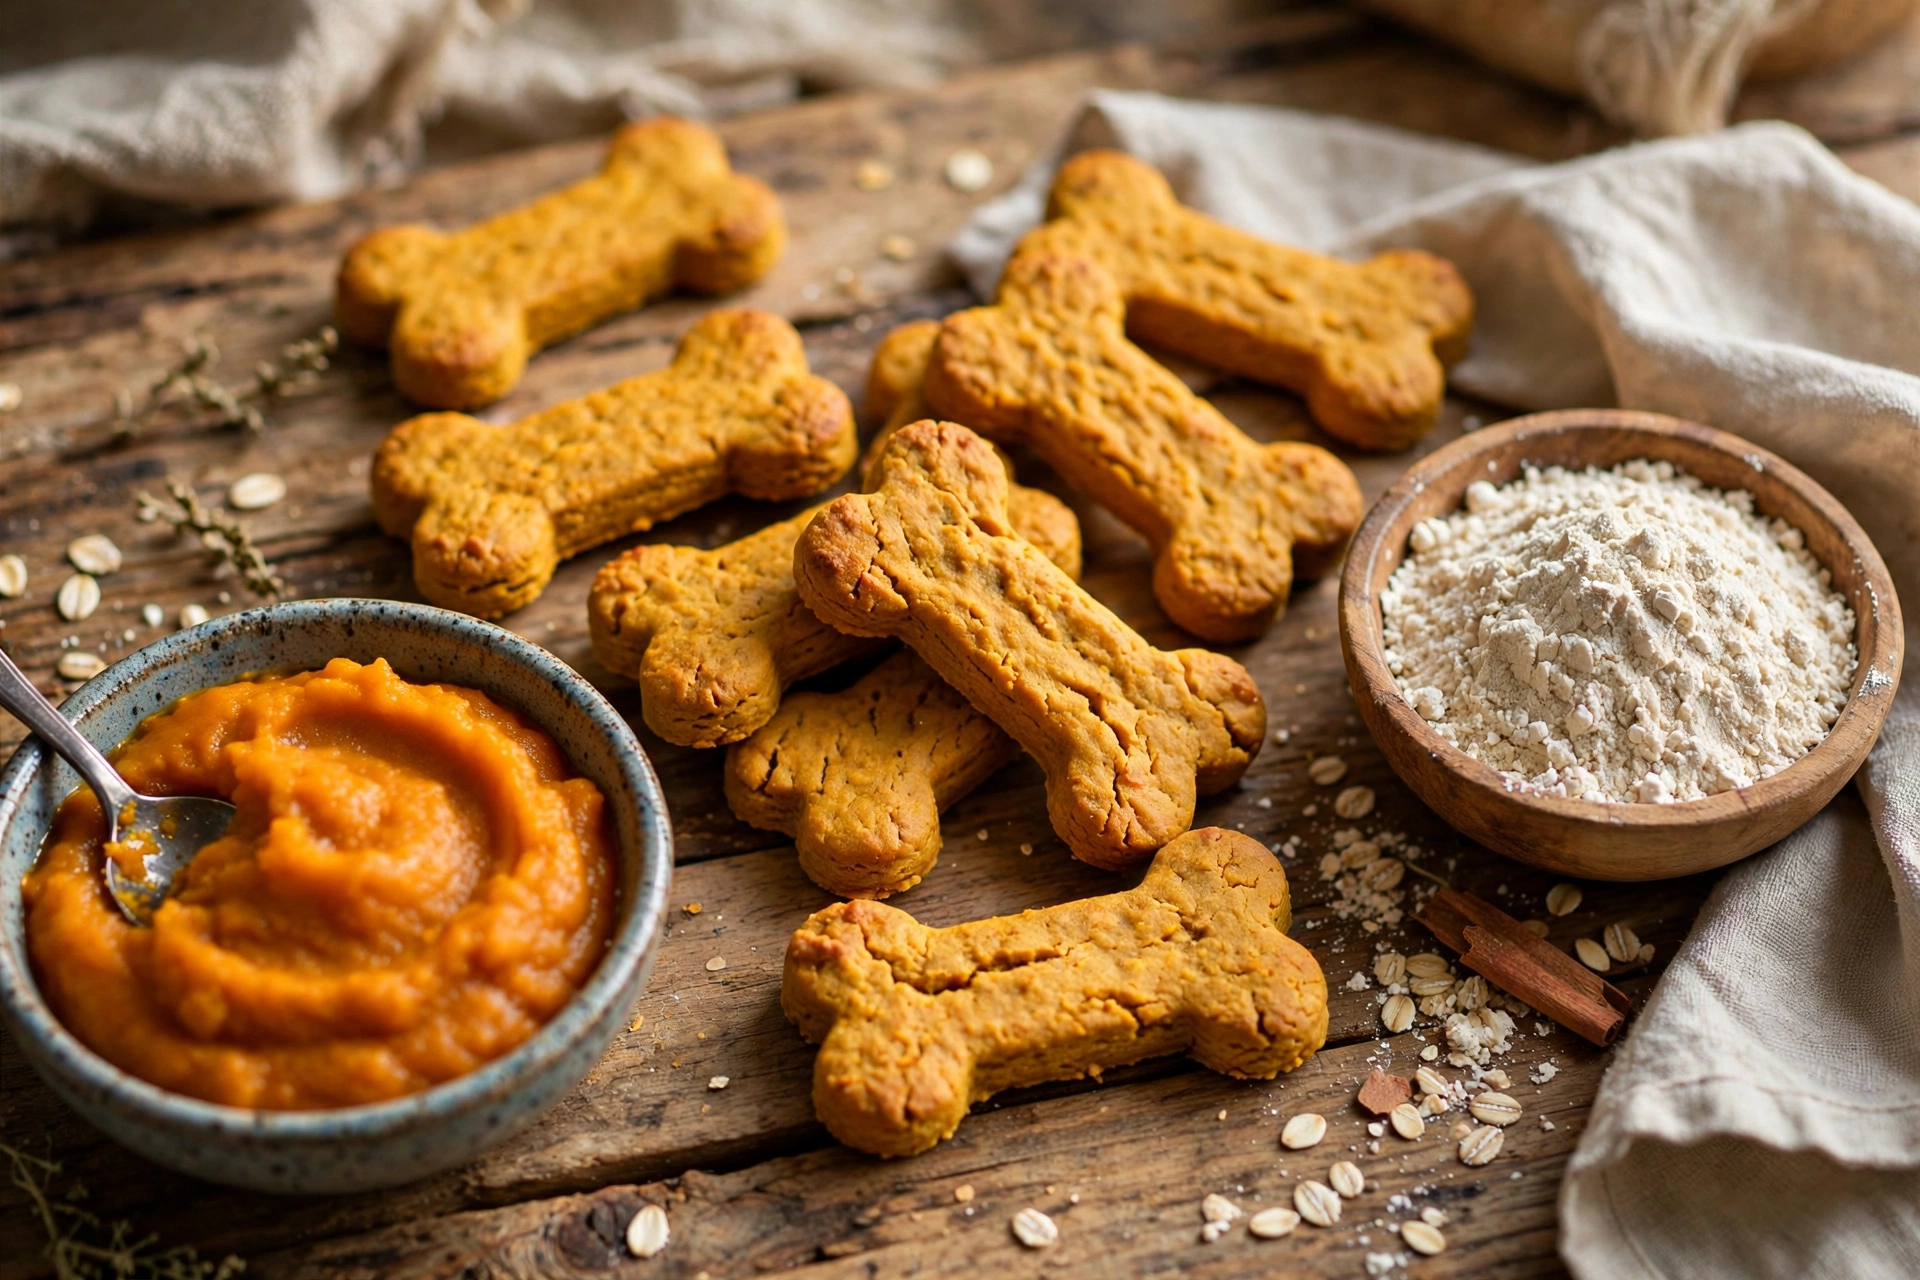
If you have ever stood in the dog treat aisle reading labels full of words you cannot pronounce, this recipe is going to feel like a breath of fresh air. These 2 ingredient pumpkin dog treats need nothing more than a can of pumpkin puree and a bag of flour, and they bake up into crunchy, wholesome biscuits your pup will lose their mind over. No preservatives, no artificial anything — just two honest ingredients and about 30 minutes of your time.
Pumpkin is one of those rare treats that is both a crowd-pleaser and genuinely good for dogs. It is packed with fiber that supports healthy digestion, and most dogs love its naturally sweet taste. Whether you are baking for a dog with a sensitive stomach or you just want a budget-friendly treat you can feel good about, this simple recipe belongs in your regular rotation.
On This Page
- Why Pumpkin Dog Treats Are Worth Baking
- Is Pumpkin Safe for Dogs?
- 2-Ingredient Pumpkin Dog Treats Recipe
- Recipe Tips for the Perfect Batch
- Portion and Serving Sizes
- Storage Instructions
- Frequently Asked Questions
Why Pumpkin Dog Treats Are Worth Baking
Store-bought treats can be expensive, and many of them are loaded with fillers, sugar, and ingredients that add nothing to your dog’s health. When you bake at home, you control exactly what goes into each biscuit. With just two ingredients, there is nothing to hide behind — what you see is what your dog gets.
These treats are also incredibly budget-friendly. A single batch costs a fraction of what a bag of premium pumpkin dog treats sells for, and the ingredients are pantry staples you probably already have. Best of all, the recipe is almost impossible to mess up, which makes it perfect for beginner bakers and busy dog owners alike.
Is Pumpkin Safe for Dogs?
Yes — plain pumpkin is one of the most dog-friendly ingredients you can cook with. It is rich in soluble fiber, which helps regulate digestion and can ease both loose stools and constipation. Pumpkin also delivers vitamins A, C, and E, plus potassium and iron, all of which support your dog’s immune system, skin, and overall vitality.
Important: Always use 100% plain pumpkin puree, not pumpkin pie filling. Pie filling contains added sugar, spices like nutmeg, and other ingredients that are not safe for dogs. Check the label — the ingredients list should say nothing but pumpkin. The same care applies to flour: choose a plain, unbleached variety, and if your dog has a wheat sensitivity, swap in oat flour or rice flour instead.
2-Ingredient Pumpkin Dog Treats Recipe
Simple Pumpkin Oat Biscuits
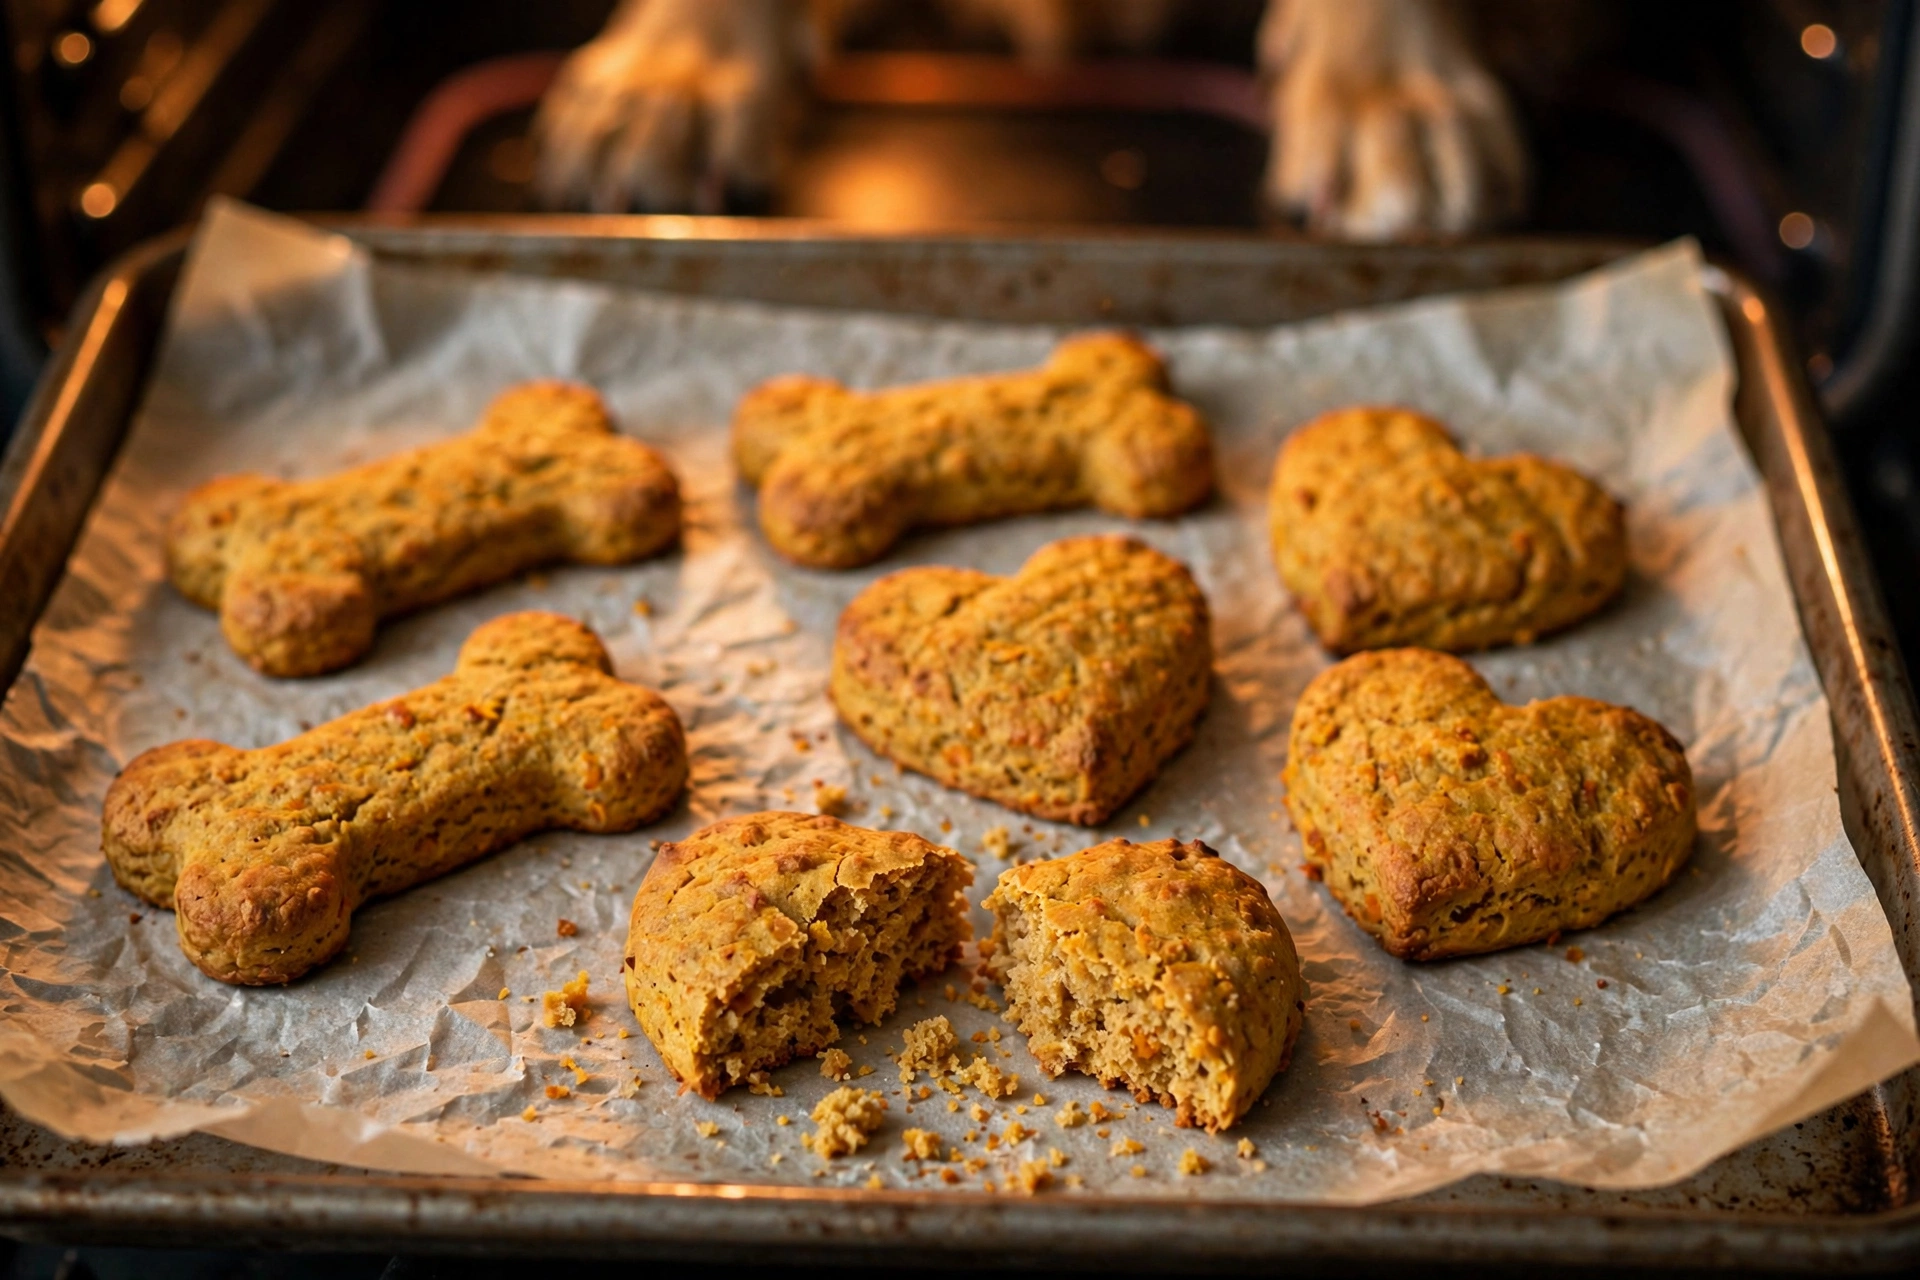
These crunchy, golden biscuits are my go-to recipe when the treat jar runs low. I use oat flour instead of wheat flour for a gentler option on sensitive stomachs, but the method works beautifully with any plain flour. The dough comes together in minutes and bakes into firm, break-apart treats perfect for training rewards or afternoon snacks.
| Ingredient | Amount |
|---|---|
| Plain pumpkin puree (100%, no additives) | 3/4 cup |
| Oat flour (or whole wheat flour) | 1 1/2 cups, plus extra for dusting |
- Preheat your oven to 350°F (175°C). Line a baking sheet with parchment paper.
- In a large mixing bowl, combine the pumpkin puree and oat flour. Stir with a sturdy spoon until a shaggy dough forms.
- Turn the dough onto a lightly floured surface and knead gently with your hands for 1-2 minutes until smooth. If the dough feels sticky, add flour one tablespoon at a time. If it feels dry and crumbly, add pumpkin one teaspoon at a time.
- Roll the dough out to about 1/4 inch thick. Thinner treats bake up crispier; thicker ones stay chewier.
- Cut shapes with a cookie cutter — bones, hearts, or circles all work. Gather and re-roll scraps until all the dough is used. You should get about 24 medium treats.
- Place the cutouts on your prepared baking sheet, spacing them about 1/2 inch apart.
- Bake for 22-25 minutes, until the edges turn lightly golden and the treats feel firm to the touch.
- Turn off the oven and leave the treats inside with the door closed for 20 minutes. This slow finish dries them out gently, giving you a longer-lasting crunch.
- Remove from the oven and let the treats cool completely on the baking sheet before offering them to your dog. Store any extras as described below.
Recipe Tips for the Perfect Batch
A few small adjustments can take these simple biscuits from good to great. First, measure your pumpkin carefully. If you scoop a heaping cup instead of a level one, the dough will be too wet, and the treats may spread or stay soft in the middle. Level measurements give you the most consistent results.
Second, do not skip the parchment paper. Pumpkin dough can stick to bare pans even with oil spray, and nothing ruins a baking session like biscuits that refuse to release. Parchment makes cleanup effortless too.
Third, consider thickness for your dog’s chewing style. Older dogs and aggressive chewers both do better with slightly thicker, sturdier biscuits that take longer to crunch through. For training treats, roll the dough thin and use a small cutter — you will get more pieces per batch and can reward generously without overfeeding.
Finally, if your kitchen runs humid, give the baked treats an extra 10 minutes in the cooling oven. Moisture is the enemy of crunch, and a well-dried biscuit stores longer and tastes better to your dog.
Portion and Serving Sizes
Treats should make up no more than 10% of your dog’s daily calories, no matter how healthy they are. Use this guide to keep portions sensible:
| Dog Size | Serving Per Day |
|---|---|
| Small dogs (under 25 lbs) | 1/2 to 1 treat |
| Medium dogs (25-60 lbs) | 1 to 2 treats |
| Large dogs (over 60 lbs) | 2 to 3 treats |
For tiny dogs or training sessions, break the biscuits into smaller pieces. They snap cleanly, which makes portioning easy.
Storage Instructions
- Room temperature: Keep in an airtight container for up to 3 days.
- Refrigerator: Store in an airtight container for up to 2 weeks.
- Freezer: Place in a freezer-safe bag with the air pressed out for up to 3 months. Thaw at room temperature for 15-20 minutes before serving.
Because these treats contain no preservatives, they will spoil faster than store-bought options. If a treat ever smells off or shows mold, discard it.
Frequently Asked Questions
Can I use fresh pumpkin instead of canned?
Yes. Roast a sugar pumpkin until soft, scoop out the flesh, and puree it smooth. Just make sure it has no added seasoning, and drain any excess liquid so your dough is not too wet.
What if my dog is allergic to oats or wheat?
Try rice flour or coconut flour as a substitute. Coconut flour absorbs much more liquid, so start with about 3/4 cup and add more only if the dough feels too sticky.
Can I add peanut butter to this recipe?
You can stir in 1-2 tablespoons of xylitol-free peanut butter for extra flavor, but it technically makes it a 3-ingredient treat. Always confirm the peanut butter contains no xylitol (birch sugar), which is toxic to dogs.
Why are my treats soft instead of crunchy?
They likely need more drying time. Leave them in the turned-off oven longer, or return them to a low oven (250°F) for another 10-15 minutes until firm.
Can puppies eat these pumpkin treats?
Yes, once your puppy is old enough to chew solid treats (usually around 8-10 weeks). Offer a small piece first and keep portions tiny for young pups.


One Comment