
Homemade Natural Dog Paw Balm: Easy DIY Recipe for Soft, Protected Paws
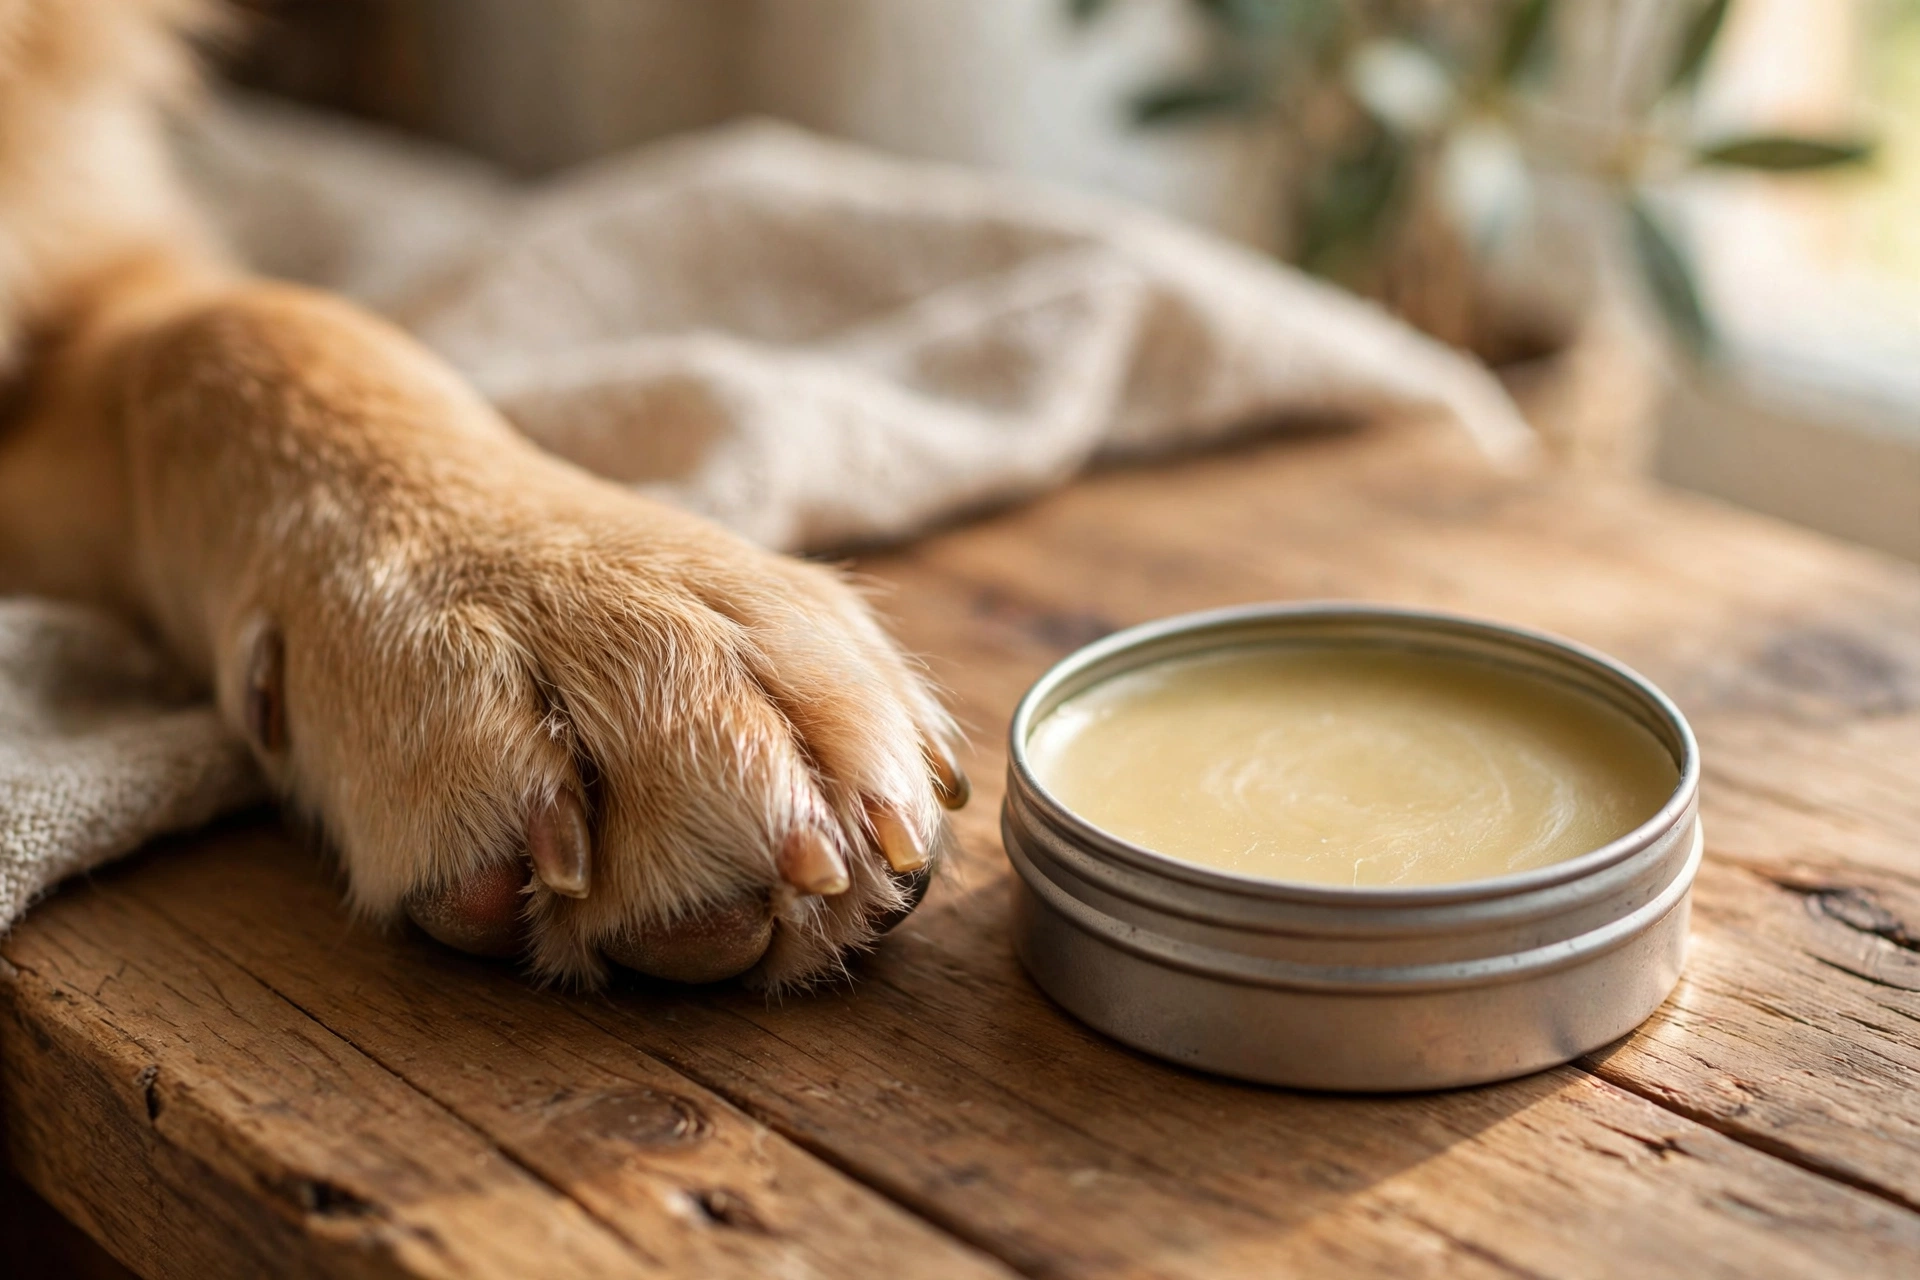
If your dog’s paw pads feel like sandpaper after a winter of road salt or a summer of scorching sidewalks, a homemade dog paw balm is one of the simplest, most satisfying things you can make for them. This easy DIY recipe uses just five natural, lick-safe ingredients to create a protective, moisturizing salve that soothes cracked pads and shields them from the elements. It takes about 15 minutes of active work, costs a fraction of store-bought paw waxes, and you control exactly what goes on your dog’s feet.
Think of it as lip balm for paws: the beeswax forms a breathable barrier against salt, ice, and hot pavement, while coconut oil, shea butter, olive oil, and vitamin E do the deep moisturizing and repair work underneath. Below you’ll find the full recipe, step-by-step instructions, how to apply it, storage tips, and answers to the most common questions.
Table of Contents
- Why Your Dog’s Paws Need Balm
- Ingredients You’ll Need
- How to Make Dog Paw Balm: Step by Step
- How to Apply Paw Balm
- Storage & Shelf Life
- Frequently Asked Questions
Why Your Dog’s Paws Need Balm
Dog paw pads are impressively tough — they’re built for walking, running, and digging. But tough doesn’t mean invincible. Two seasons are especially hard on them:
- Winter: Road salt and chemical de-icers dry out and irritate pads, while ice and snow can cause tiny cracks. Salt residue left between the toes stings and encourages constant licking, which makes everything worse.
- Summer: Asphalt and concrete absorb heat fast. On an 85°F day, pavement can reach 135°F — hot enough to burn paw pads within a minute. Sand and rough trails add abrasion on top of the heat.
Even in mild weather, dogs who walk daily on concrete or hike on rocky terrain gradually wear their pads down. Dry, rough pads are more than a cosmetic issue: cracks can deepen, bleed, and invite infection.
A good paw balm does two jobs at once. First, it moisturizes, softening rough, flaky pads so they stay supple instead of cracking. Second, it protects, laying down a thin wax barrier that keeps moisture in and salt, grit, and heat out. Used regularly — once or twice a week for maintenance, and before every walk in harsh conditions — it keeps paws in genuinely better shape. Pair it with a quick paw wipe after walks and regular nail trims and you’ve got a complete paw-care routine.
Ingredients You’ll Need
This recipe makes about 4–5 ounces of balm — enough to fill two or three 2-ounce tins. Every ingredient is plant-based, unscented, and safe if your dog licks a little off their paws (which, let’s be honest, they will). Here’s what each one does:
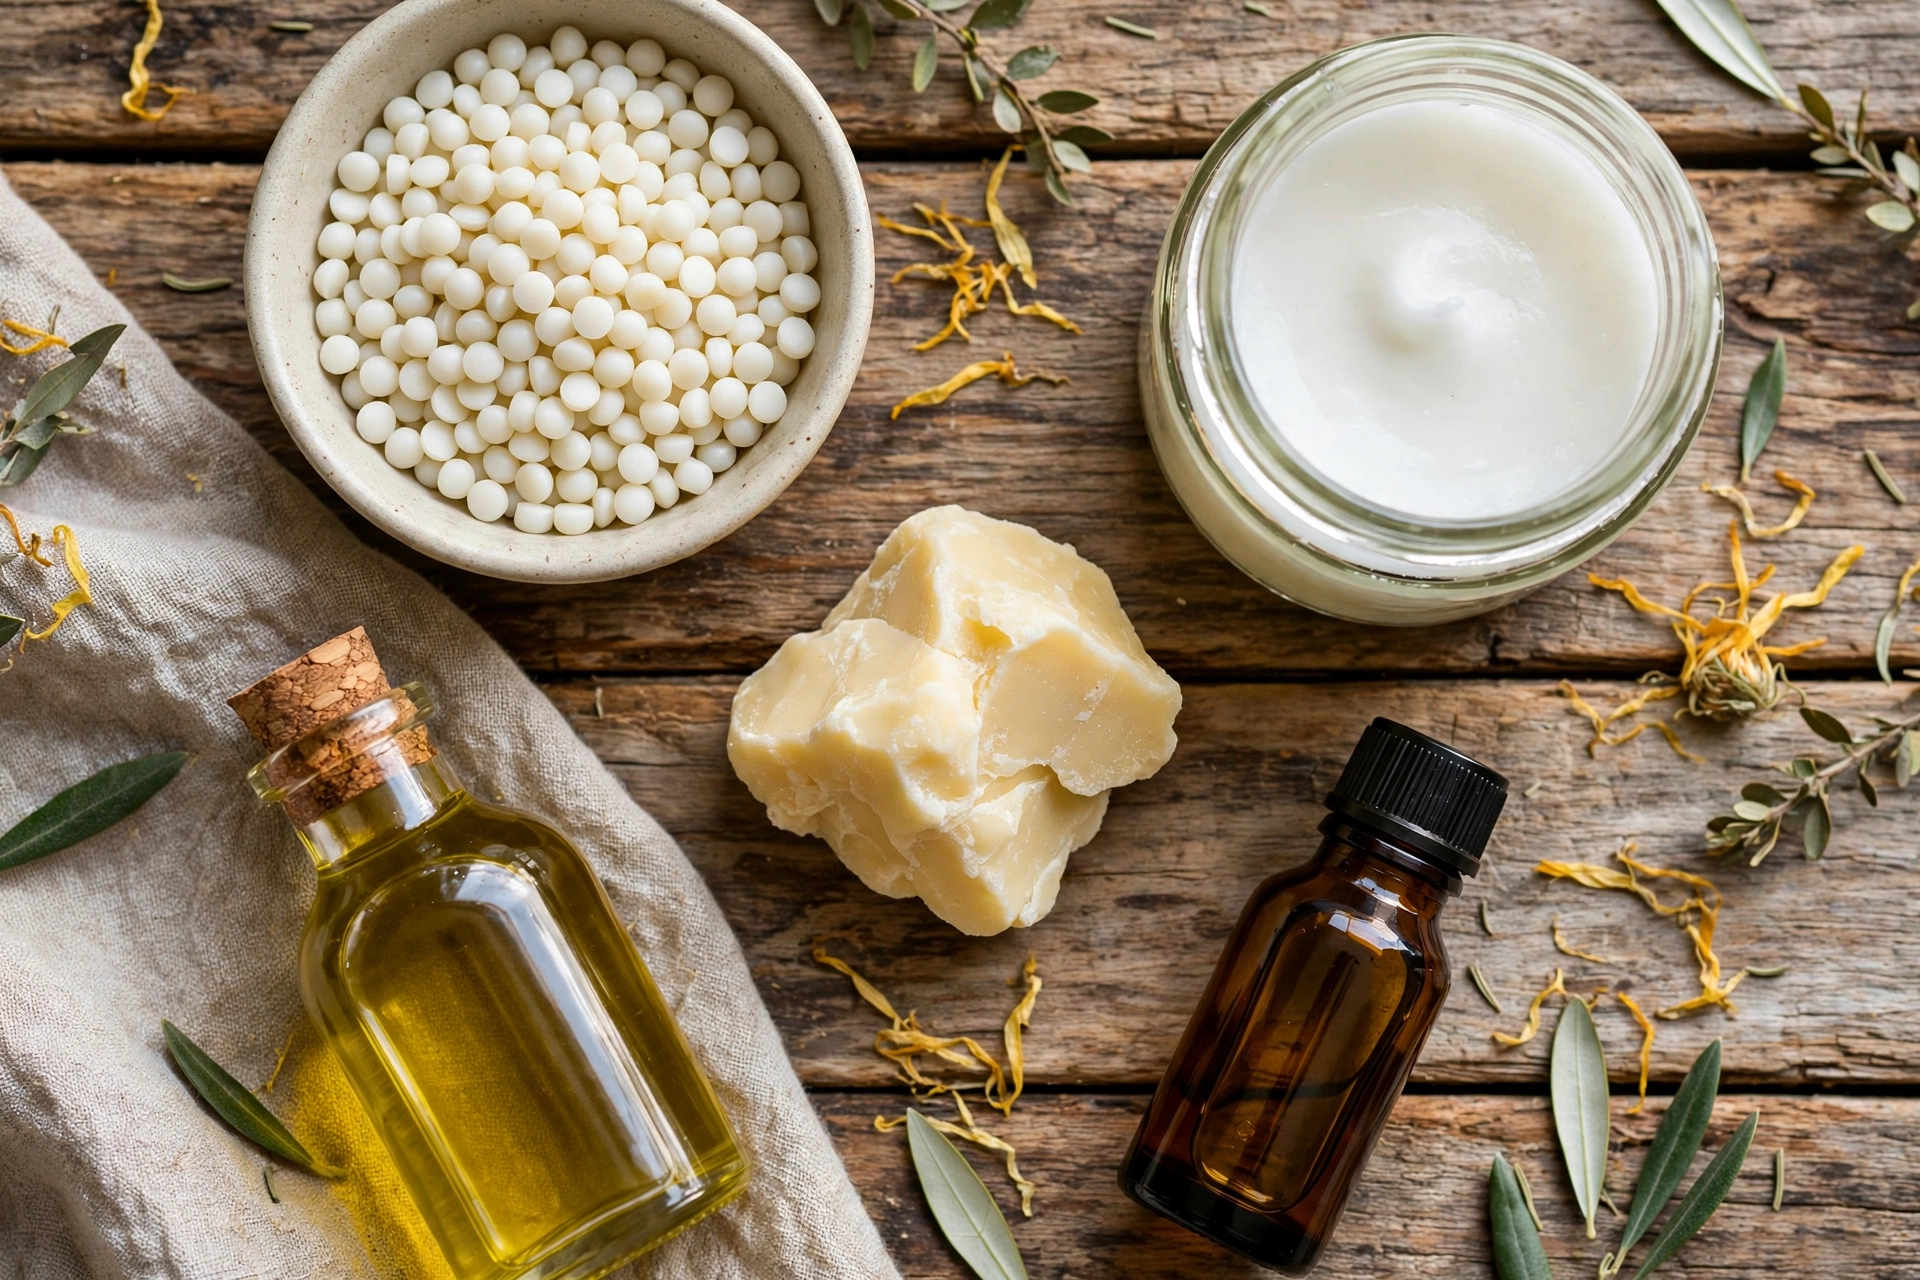
- 2 tablespoons beeswax pellets — the backbone of the balm. Beeswax gives the salve its firm texture and creates the protective barrier that locks moisture in and keeps salt and grit out. Pellets melt far more easily than blocks. Organic white beeswax pellets are ideal — they’re cosmetic-grade and triple-filtered.
- 2 tablespoons raw, unrefined shea butter — the deep moisturizer. Shea butter is rich in vitamins A and E and fatty acids that soften rough, thickened pads. Use raw and unrefined (it has a mild nutty scent) rather than heavily processed versions. Raw unrefined African shea butter works perfectly.
- 1/4 cup unrefined coconut oil — the soothing base. Coconut oil melts on contact with skin, carries the other ingredients into the pad, and has natural antibacterial properties that are helpful for paws with minor cracks. Choose virgin, unrefined coconut oil. Nutiva Organic Virgin Coconut Oil is a reliable pantry staple that doubles for cooking.
- 1 tablespoon olive oil — the spreadability booster. A splash of olive oil keeps the balm from feeling too waxy and helps it glide onto pads smoothly. Any plain, food-grade olive oil from your kitchen works — no need to buy anything special.
- 1 teaspoon vitamin E oil — the repair helper. Vitamin E supports skin repair and also acts as a mild natural preservative that helps the balm stay fresh longer. Nature’s Bounty Vitamin E Oil is easy to find and lasts for many batches.
- 2–3 small metal tins with lids (2 oz each) — for storing the finished balm. Screw-top aluminum tins are perfect: they’re portable, resealable, and survive being tossed in a walking bag. These 2 oz aluminum tins with screw lids are exactly the right size, and extras make great gifts for fellow dog owners (pair one with our dog gift ideas).
A note on what to skip: leave essential oils out of this recipe. A dog’s sense of smell is thousands of times stronger than ours, and several popular oils (tea tree, pennyroyal, wintergreen, and concentrated citrus oils among them) can be toxic to dogs. An unscented balm is the safest choice — your dog will thank you by actually letting you apply it.
How to Make Dog Paw Balm: Step by Step
Active time is about 15 minutes, plus a few hours of hands-off cooling. You’ll need a medium saucepan, a heatproof glass measuring cup (like Pyrex), and a spoon or wooden skewer for stirring.
- Set up your tins first. Place your clean, dry tins on a flat, heat-safe surface where they can sit undisturbed for several hours. Once the mixture is melted and hot, you won’t want to go hunting for containers.
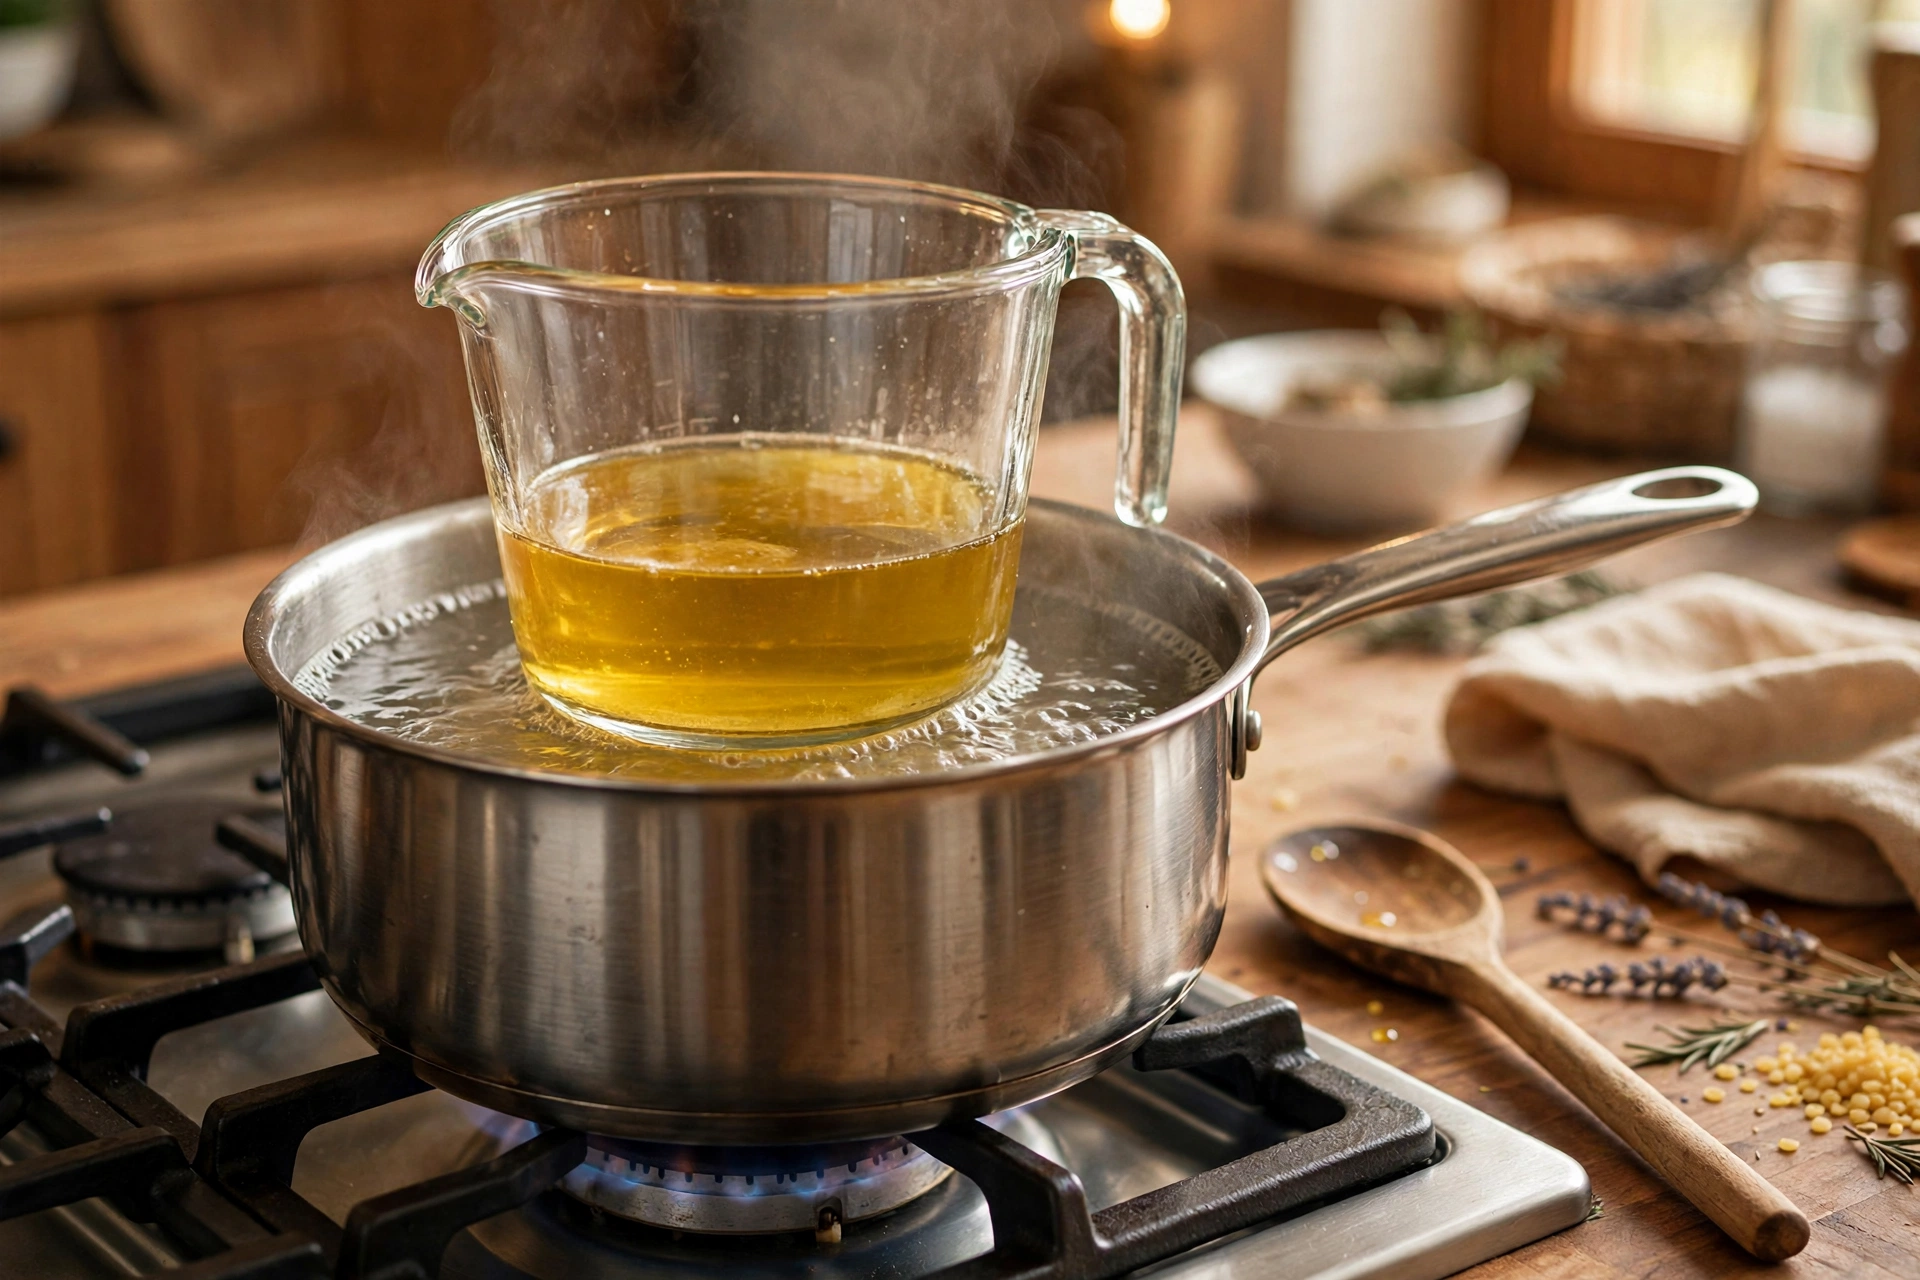
- Build a double boiler. Pour about 2 inches of water into a medium saucepan. Rest a heatproof glass measuring cup inside it, handle hooked over the pan’s edge. The cup’s bottom should sit in the water without touching the pan directly.
- Add the ingredients. Put the beeswax pellets, shea butter, coconut oil, and olive oil into the glass cup. Save the vitamin E oil for later — heat can degrade it.
- Melt gently. Bring the water to a gentle simmer over medium-low heat (never a rolling boil). Stir occasionally with a spoon or wooden skewer. Everything should liquefy into a clear golden liquid in about 8–10 minutes. Don’t rush it with high heat — scorched oils smell bad and lose quality.
- Remove from heat and add vitamin E. Take the pan off the burner, carefully lift out the hot cup (use an oven mitt), and stir in the teaspoon of vitamin E oil.
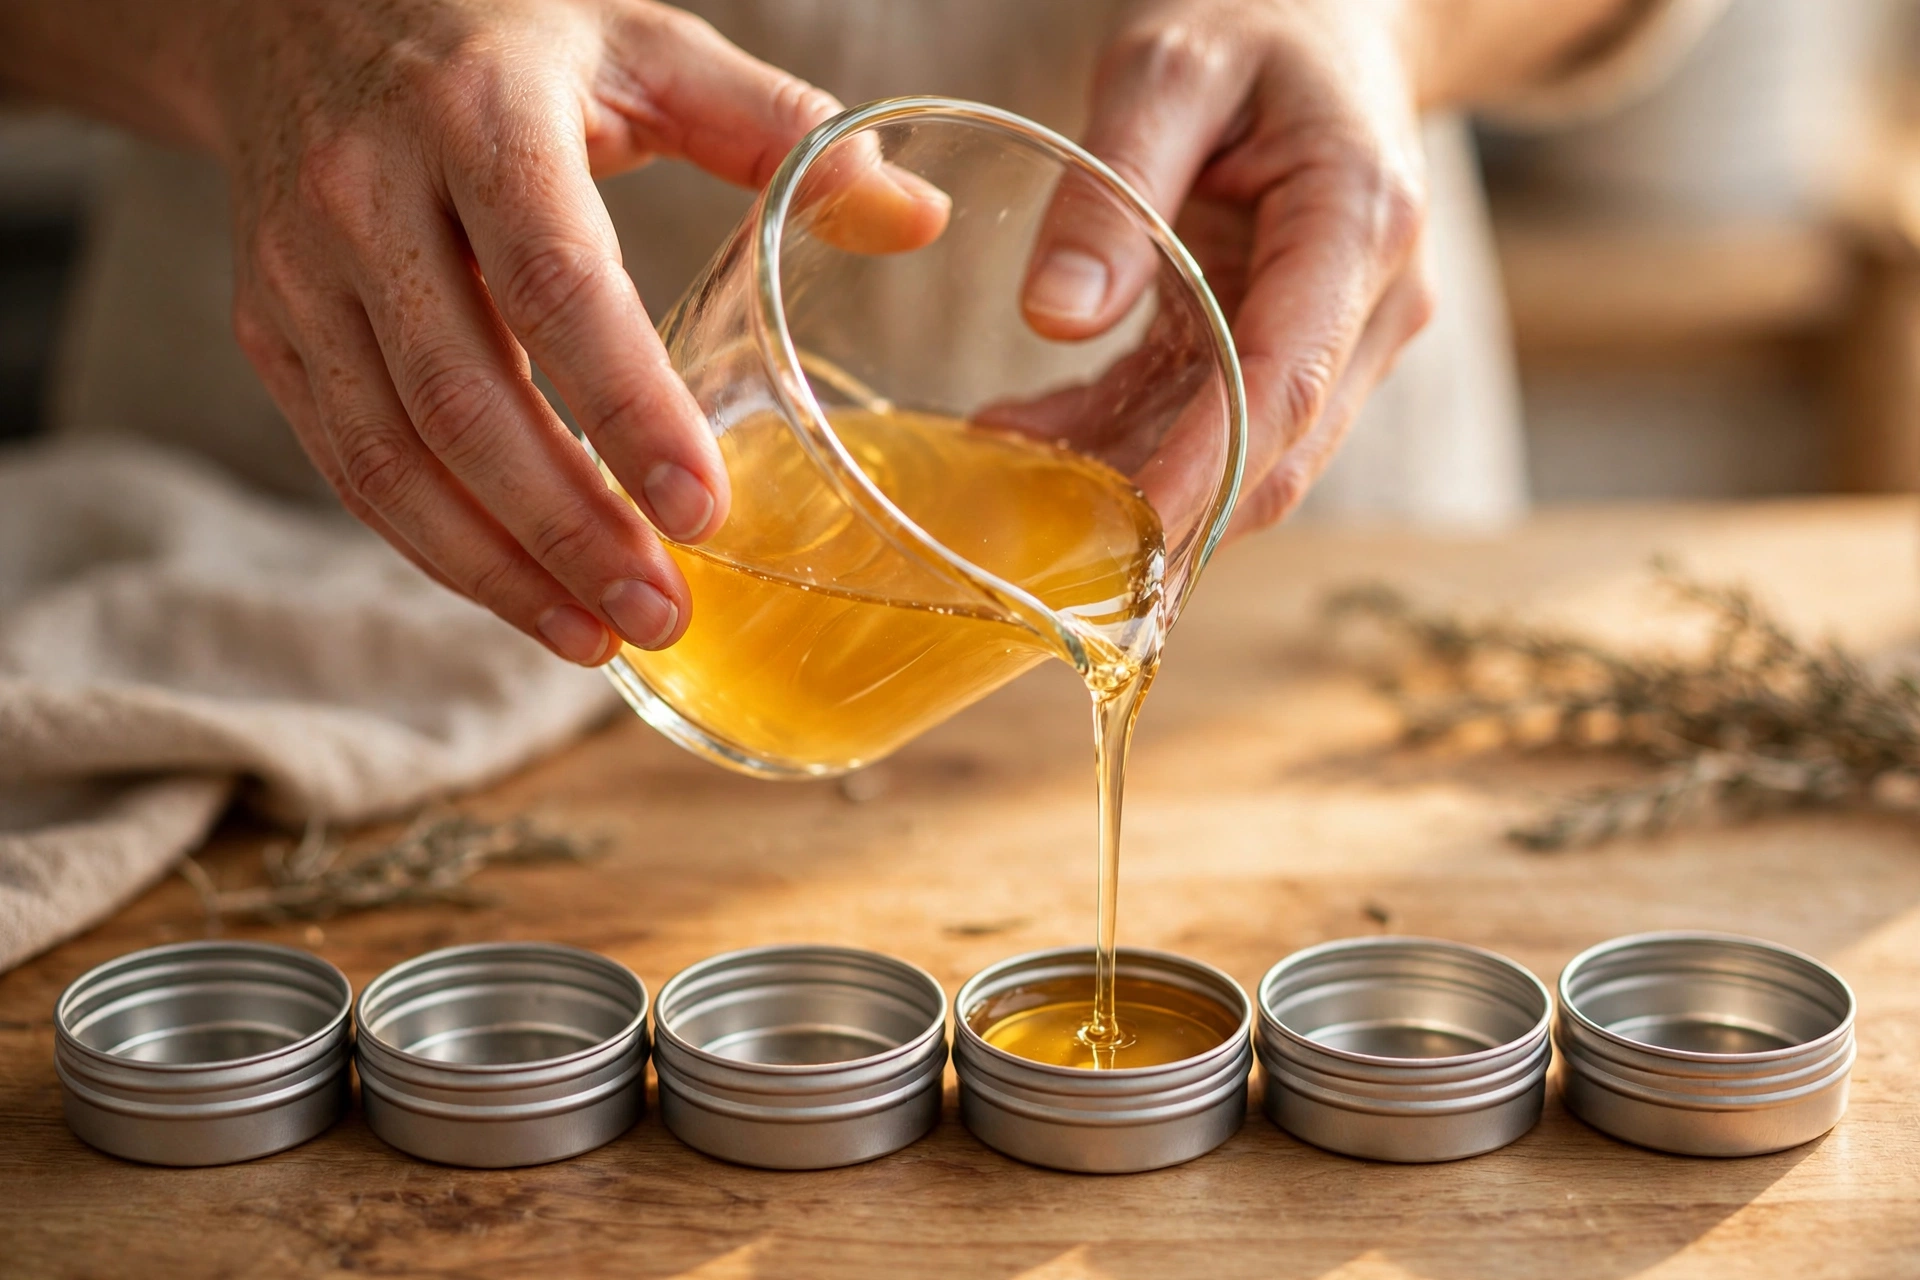
- Pour into tins. While the mixture is still fully liquid, carefully pour it into your prepared tins, filling each about three-quarters full. This leaves headroom so the lids close cleanly without smudging.
- Let it set. Leave the tins completely undisturbed at room temperature for at least 4 hours (overnight is ideal). As the balm cools it will turn opaque and firm up into a smooth, scoopable salve.
Troubleshooting: if your finished balm feels too soft and melty at room temperature, remelt it and stir in an extra teaspoon of beeswax. Too hard and waxy? Remelt and add a teaspoon of coconut oil. The recipe is forgiving — adjust to your climate.
How to Apply Paw Balm
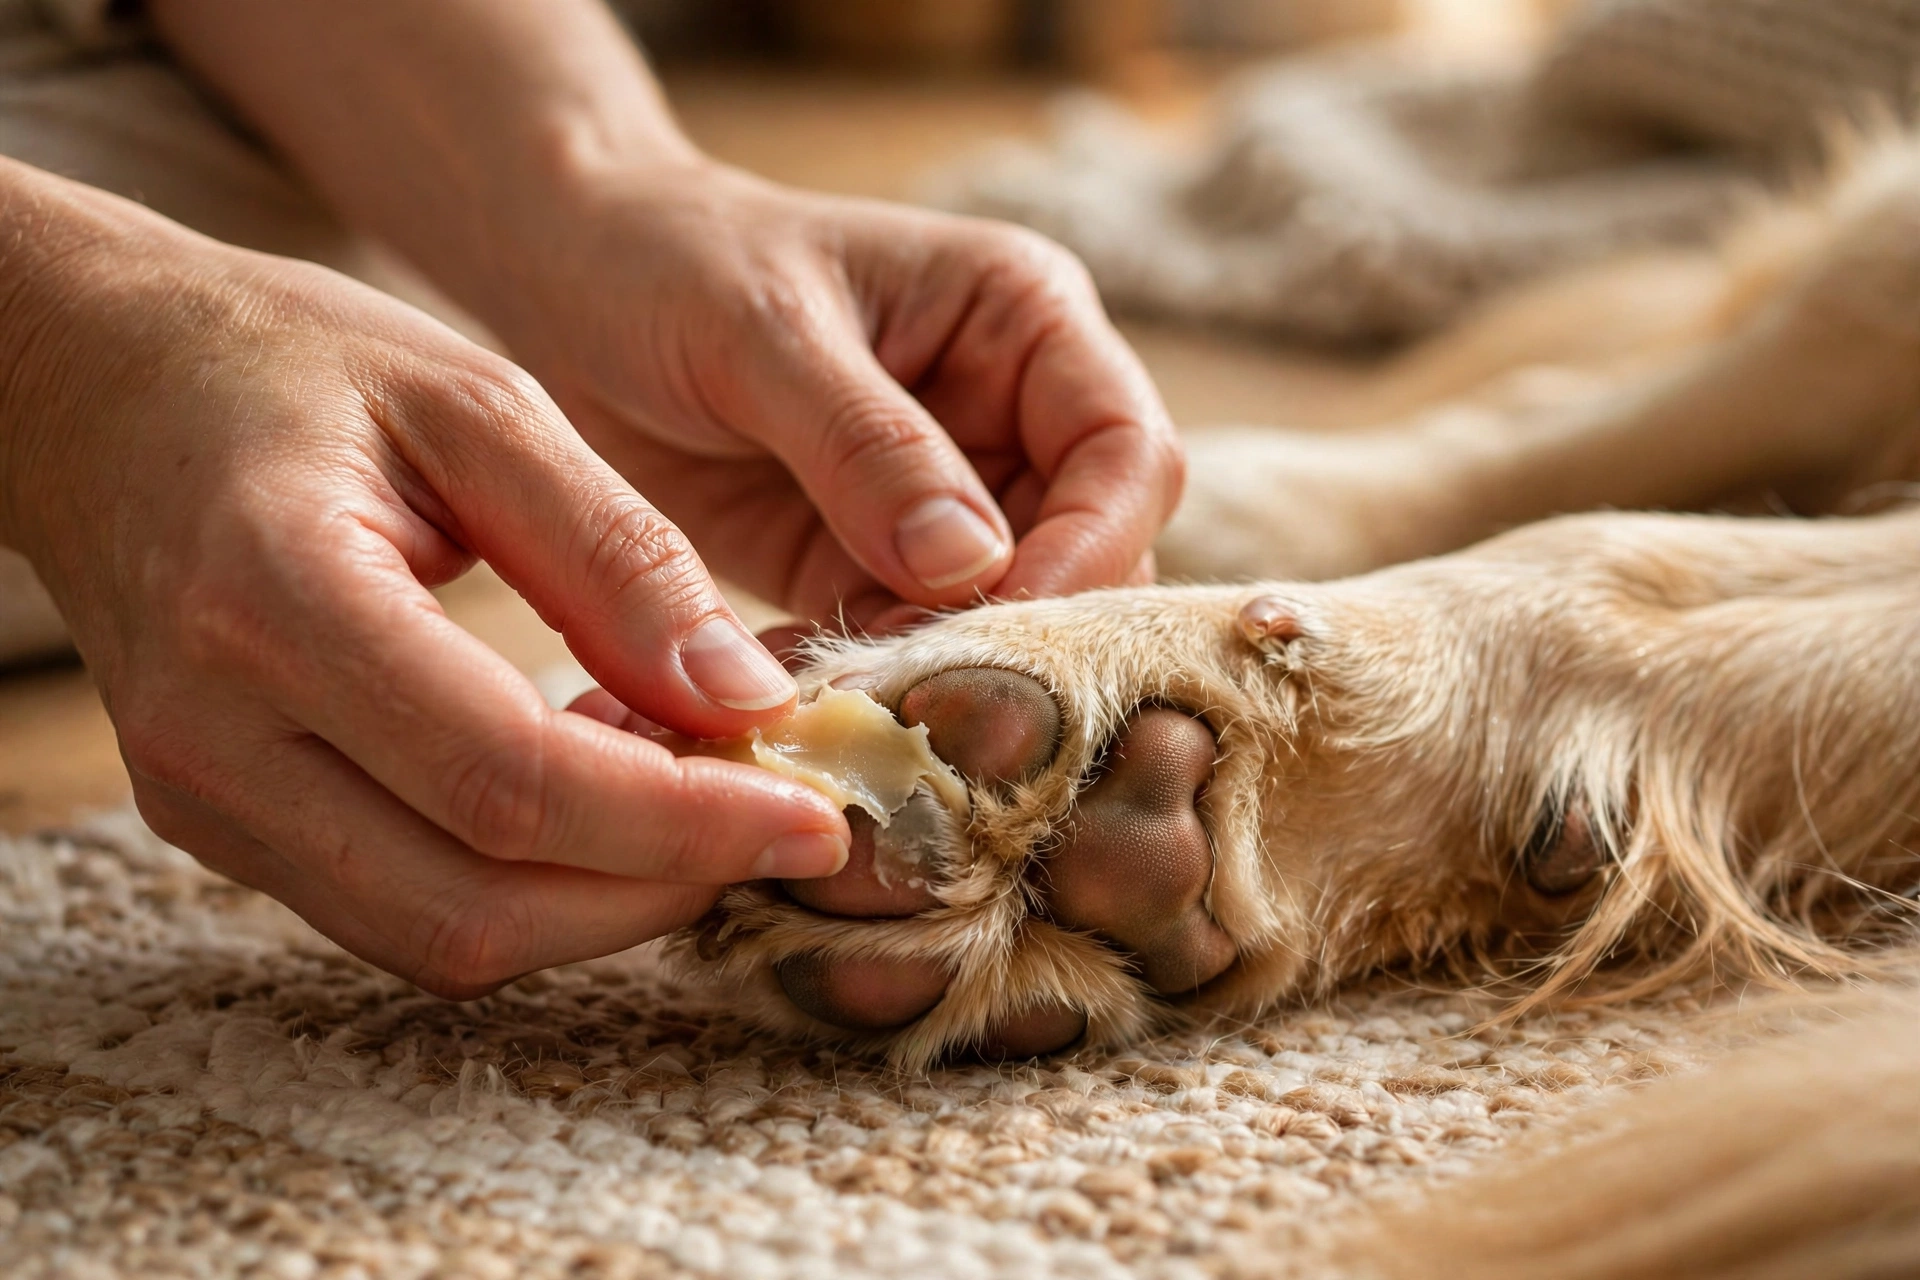
Applying the balm takes less than a minute per paw once you get the rhythm:
- Clean the paws first. Wipe each paw with a damp cloth to remove dirt, salt, or grit. You don’t want to seal debris under the balm. (While you’re at it, this is a good moment for a quick ear check too — grooming tasks pair well together.)
- Warm a little balm. The salve is firm in the tin. Swirl your fingertip in small circles on the surface; your body heat melts just enough for one paw.
- Massage it in. Work the balm thoroughly into each paw pad, getting the edges and — if pads are very dry — a little between the toes. Most dogs enjoy the mini paw massage once they realize what’s happening.
- Distract and let it absorb. Right after applying, offer a treat or a favorite toy. A few minutes of distraction lets the balm sink in before your dog tries to lick it off.
How often? For maintenance, 1–2 times per week keeps pads supple. In winter, apply a generous layer right before walks as a salt barrier, then wipe paws when you get home. For already-cracked pads, apply a thin layer daily — ideally at bedtime when your dog is settled — until the cracks heal. If cracks are deep, bleeding, or not improving within a week, see your vet; some paw problems need professional treatment, as we cover in our guide to common dog health issues.
Storage & Shelf Life
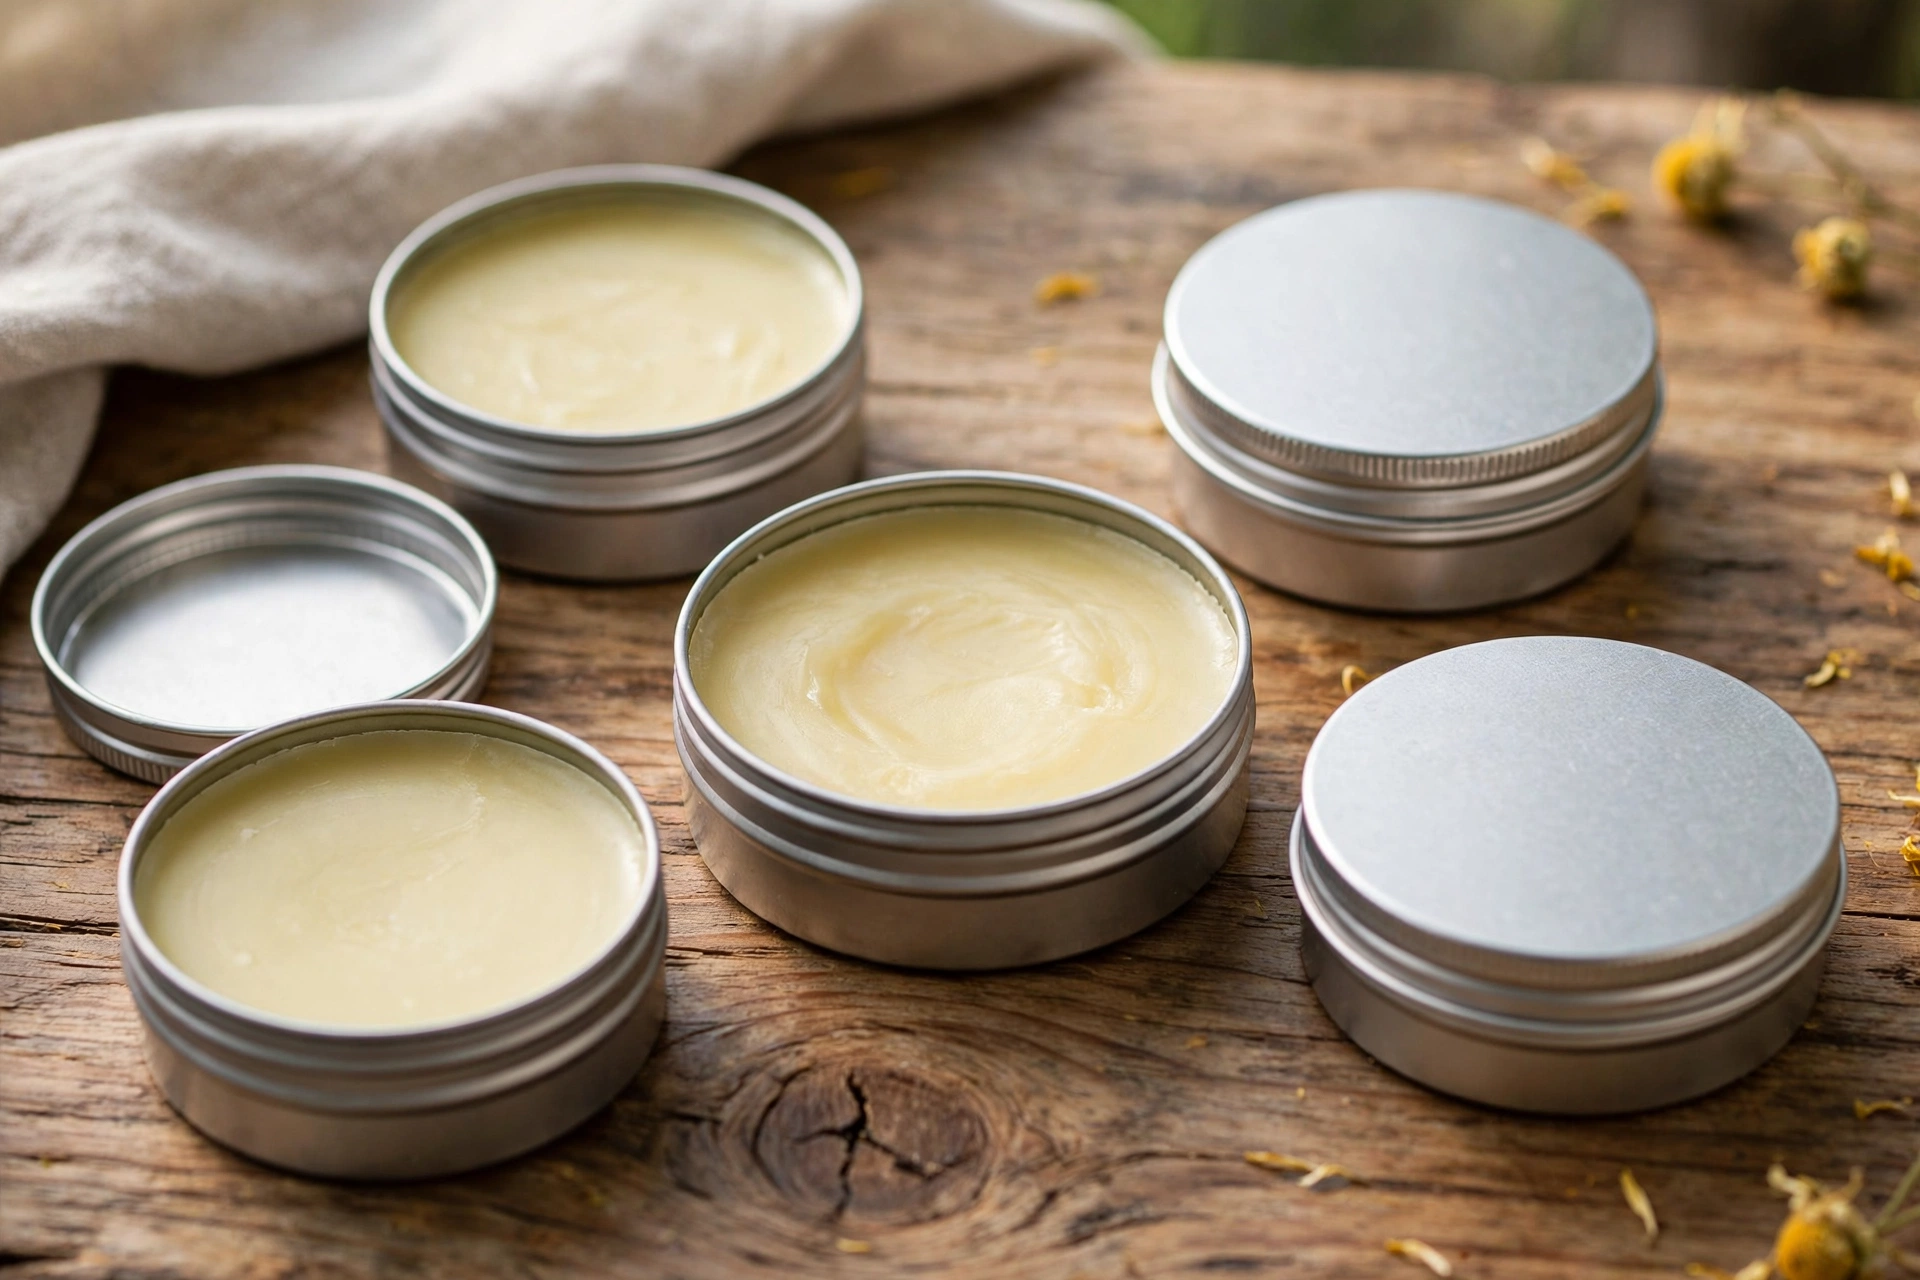
Because this balm contains no water, it keeps well without synthetic preservatives:
- Where: Store tins in a cool, dry spot away from direct sunlight — a bathroom cabinet or drawer is perfect. Heat is the enemy: leave a tin in a hot car in summer and it will melt right back into liquid (it’s still usable once it re-hardens, just messier).
- Shelf life: Expect about 2–3 months at room temperature. The vitamin E oil helps slow rancidity. If the balm ever smells “off” — sharp, sour, or like old crayons — toss it and whip up a fresh batch.
- Fridge option: You can refrigerate it to extend freshness, but cold balm is very hard; let the tin sit out for 15–20 minutes before applying.
- Gifting: These little tins make genuinely lovely gifts. Tie one with twine, add a handwritten label, and you’ve got a thoughtful present for any dog owner — especially nice tucked into a holiday package alongside homemade dog toothpaste.
Frequently Asked Questions
Is homemade paw balm safe if my dog licks it?
Yes — every ingredient in this recipe (beeswax, shea butter, coconut oil, olive oil, vitamin E) is non-toxic to dogs in the small amounts they’d ingest from licked paws. That said, a big mouthful of any oil can cause loose stool, so the treat-distraction trick after applying is worth doing.
Can I use this balm on my dog’s nose?
Absolutely. The same moisturizing ingredients work well on dry, crusty noses — just dab on a very thin layer. It’s also fine for dry elbows or other rough skin patches.
Can I substitute cocoa butter for shea butter?
It’s best not to. Cocoa butter comes from the cacao plant, and while the butter itself contains only trace theobromine, there’s no reason to risk it when shea butter works so well and is completely dog-safe. Stick with shea.
Why is my balm grainy?
Graininess usually happens when shea butter cools too slowly or unevenly. It’s harmless and still works fine, but for a silkier texture, melt the mixture fully (no cloudy bits), pour promptly, and let it cool at steady room temperature away from drafts.
Can I use paw balm instead of dog boots in winter?
For mild conditions, balm plus a post-walk wipe is plenty. But balm is not a substitute for boots in extreme cold, deep snow, or heavily salted streets — it reduces irritation but can’t insulate like a physical barrier. Many owners use both: balm under boots for the ultimate protection.
As an Amazon Associate, PetPostHub earns from qualifying purchases.