
How to Stop Your Dog from Scratching Wood Floors: 8 Fixes (2026)
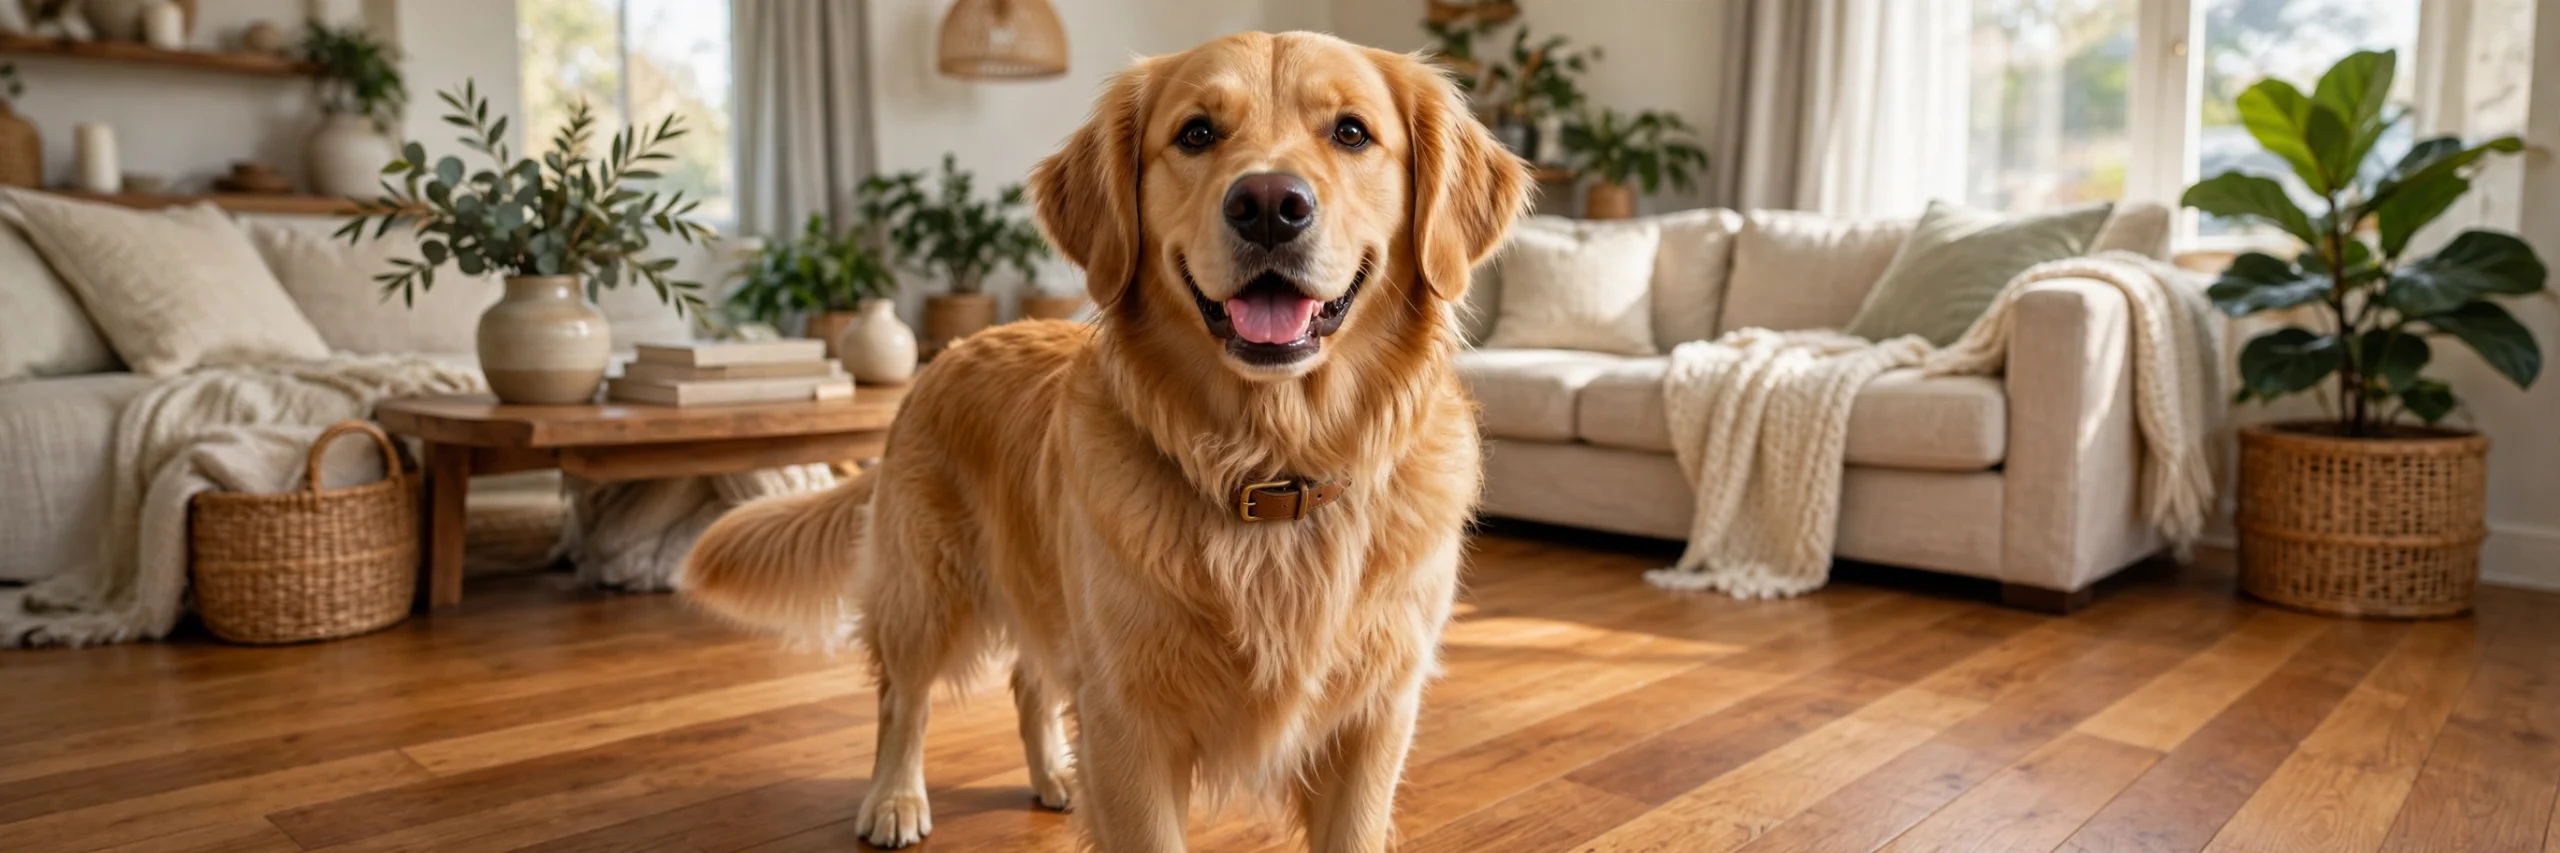
That telltale clicking sound down the hallway. The fine white lines near the front door. The scuffed patch where your dog launches off the couch. If you love your dog and your hardwood floors, you know the struggle: learning how to stop dog from scratching wood floors is one of the most practical battles in pet home ownership.
The good news? You do not have to choose between beautiful floors and a happy dog. Most floor damage comes down to long nails meeting high-momentum movement — and both of those are manageable. This guide walks you through 8 proven fixes, from a simple nail routine to floor-proofing tricks, plus why your dog scratches in the first place.
Table of Contents
- 1. Trim Nails Regularly (Every 2–3 Weeks)
- 2. Try Soft Nail Caps
- 3. Use Paw Wax for Better Grip
- 4. Lay Area Rugs and Runners in High-Traffic Zones
- 5. Exercise Your Dog Before Indoor Play
- 6. Calm the Anxiety Behind the Scratching
- 7. Booties for Senior Dogs (and Slippery Floors)
- 8. Repair Existing Scratches the Easy Way
- Why Dogs Scratch Wood Floors
- Frequently Asked Questions
1. Trim Nails Regularly (Every 2–3 Weeks)
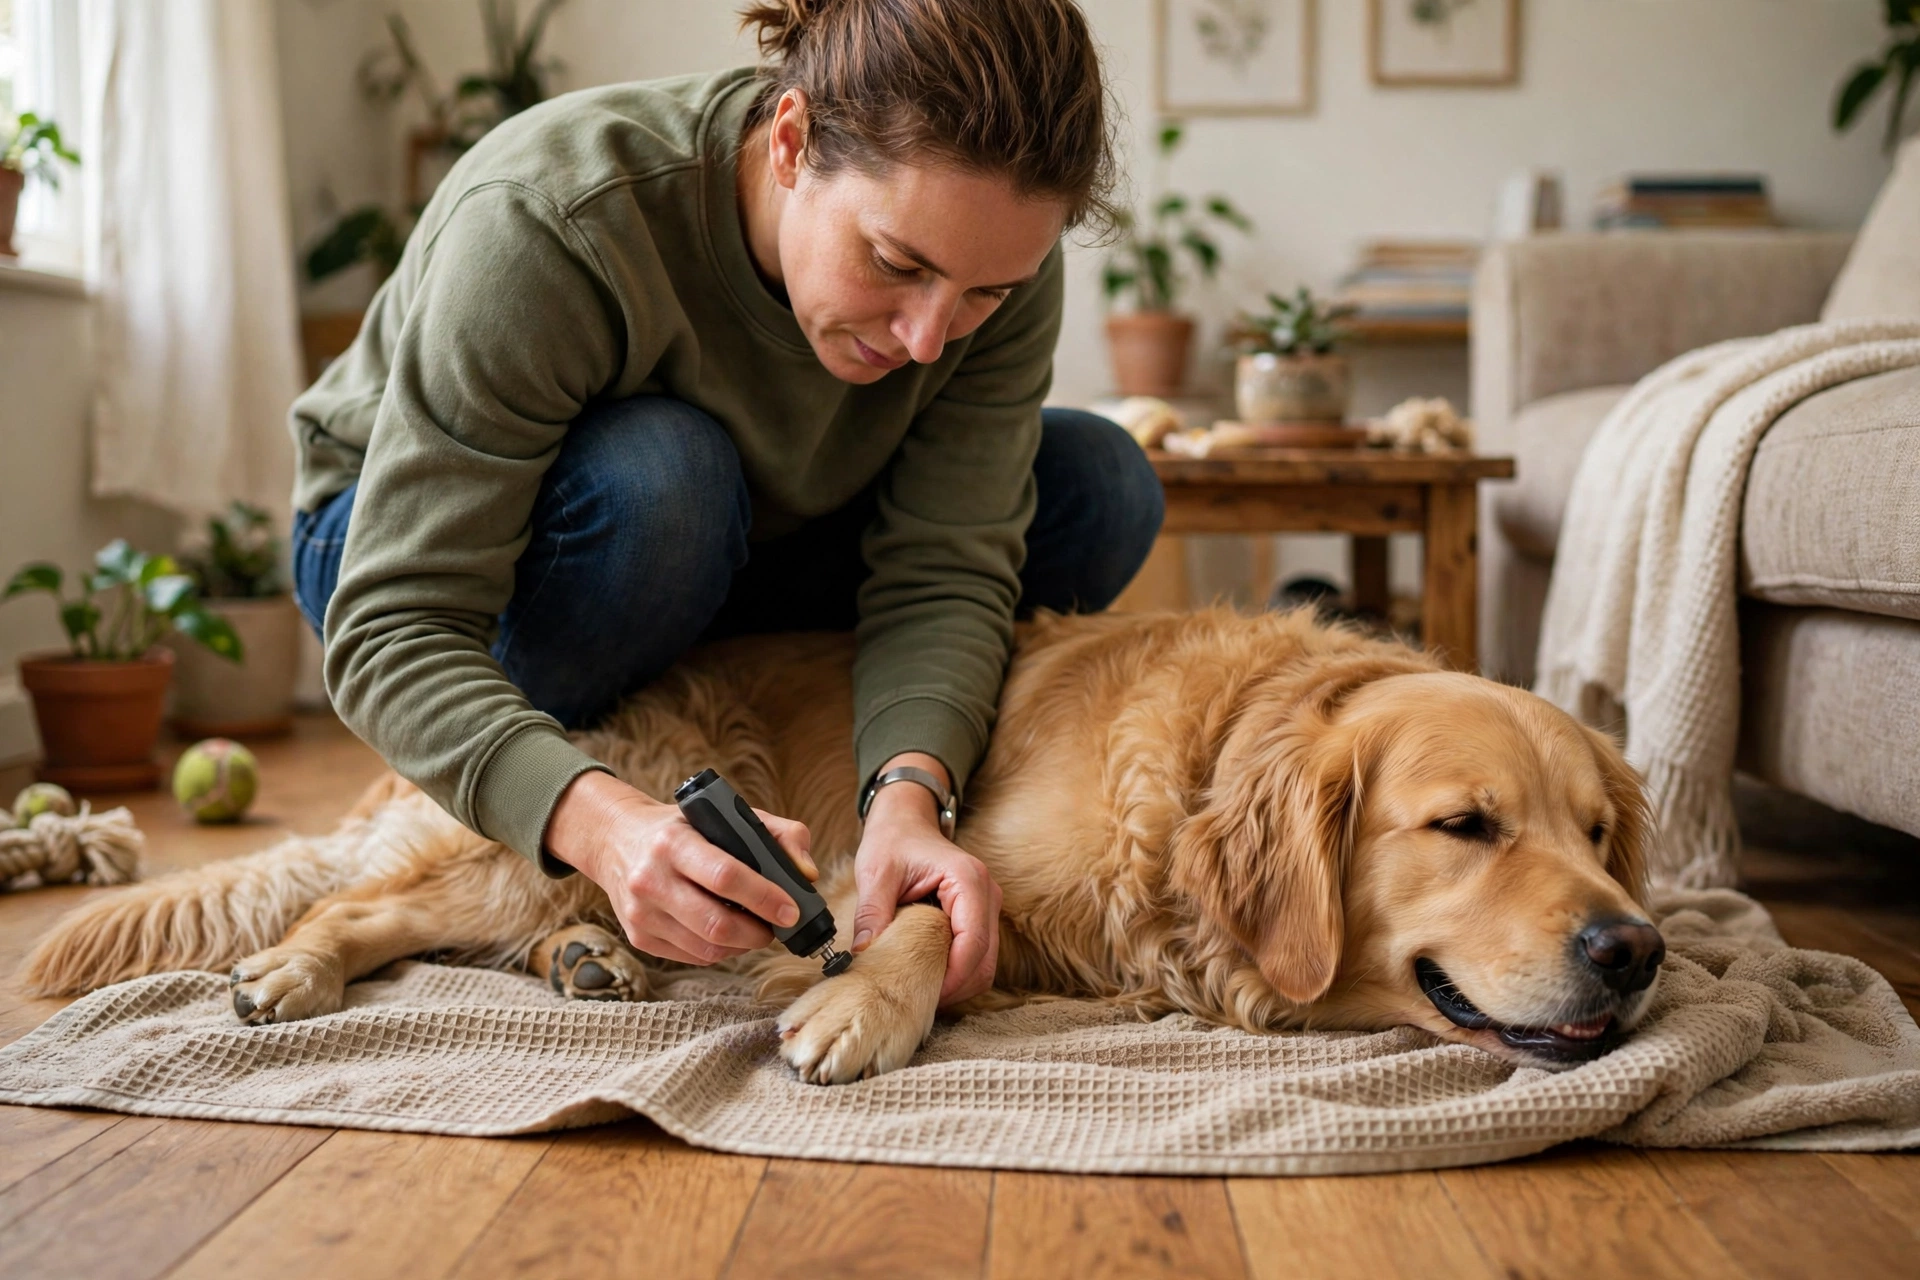
The single biggest cause of floor scratches is simply long nails. Dog nails do not retract, so every step presses the sharp tip into your floor’s finish. If you can hear your dog’s nails clicking on the floor when they walk, they are too long.
How to do it: Trim every two to three weeks, taking small amounts at a time so you avoid the quick (the pink blood vessel inside the nail). A rotary grinder leaves a smoother, rounder edge than clippers, which is gentler on wood — and you can touch up nails weekly in short, low-stress sessions. Dogs who walk on concrete may wear nails down naturally, but indoor pets rarely do.
Pro tip: Trim the fur between your dog’s paw pads at the same time. Furry paws reduce traction, which causes scrambling — and scrambling causes scratches.
Helpful pick: Casfuy Dog Nail Grinder — the quiet rotary tool that files nails to a smooth, rounded edge instead of leaving sharp clipper edges.
2. Try Soft Nail Caps
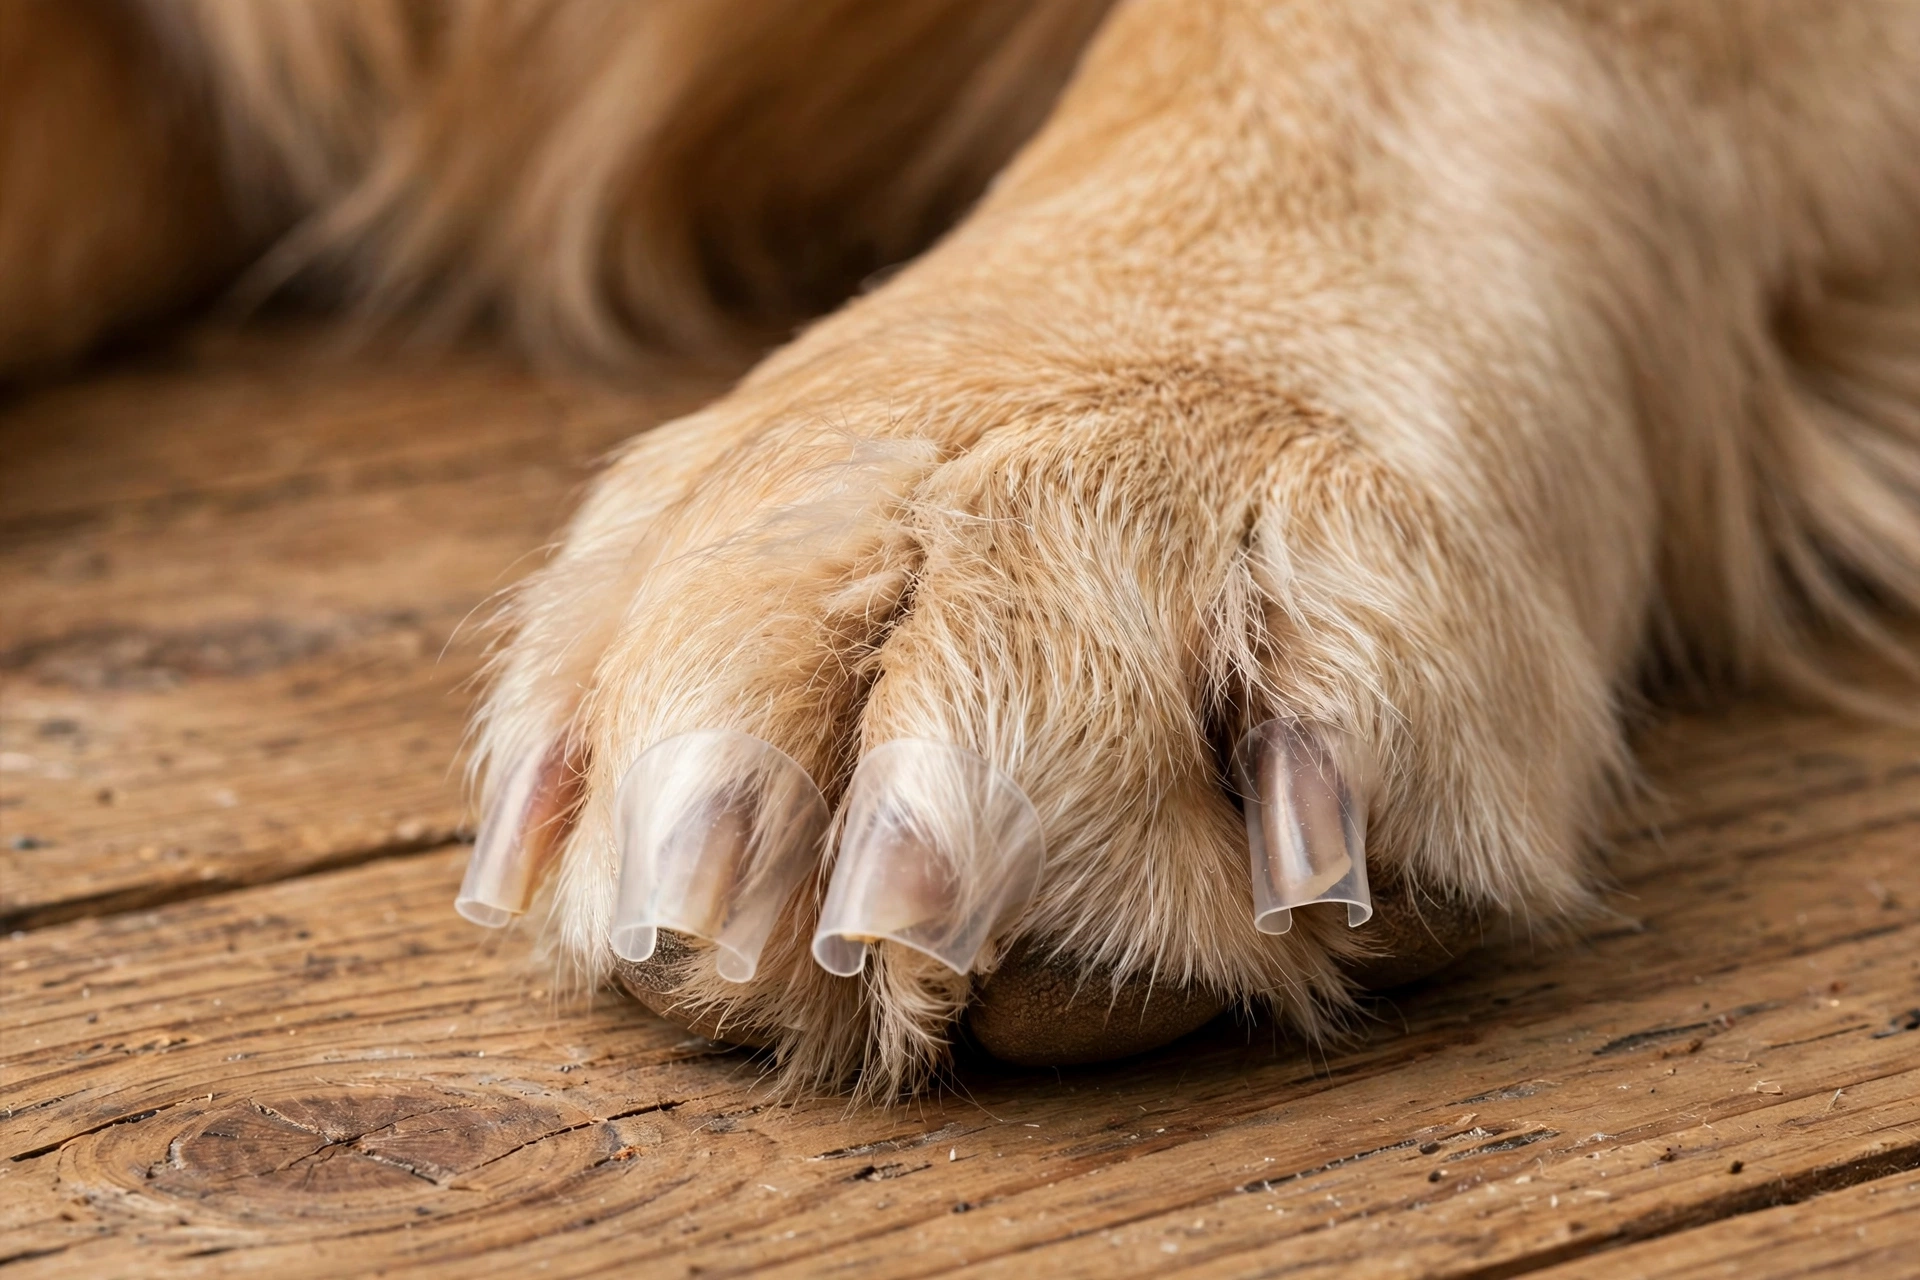
Nail caps are small vinyl covers that glue over each trimmed nail and blunt the claw’s tip — so even if your dog skids across the room, the soft cap touches the floor instead of the hard nail. Each application lasts about four to six weeks as the nails naturally grow and shed.
How to do it: Trim the nails first, test-fit each cap without glue for a snug fit, then fill the cap about one-third with the included adhesive and slide it on. Watch your dog for about five minutes while the adhesive sets. Most dogs need a little patience — expect some high-stepping on day one before they adjust.
Pro tip: Buy the right size using the brand’s weight chart; caps that are too loose pop off, and caps that are too tight bother the nail.
Helpful pick: Pretty Claws Soft Nail Caps for Dogs — non-toxic vinyl caps with adhesive and applicator tips, plus a size chart from toy breeds to giants.
3. Use Paw Wax for Better Grip
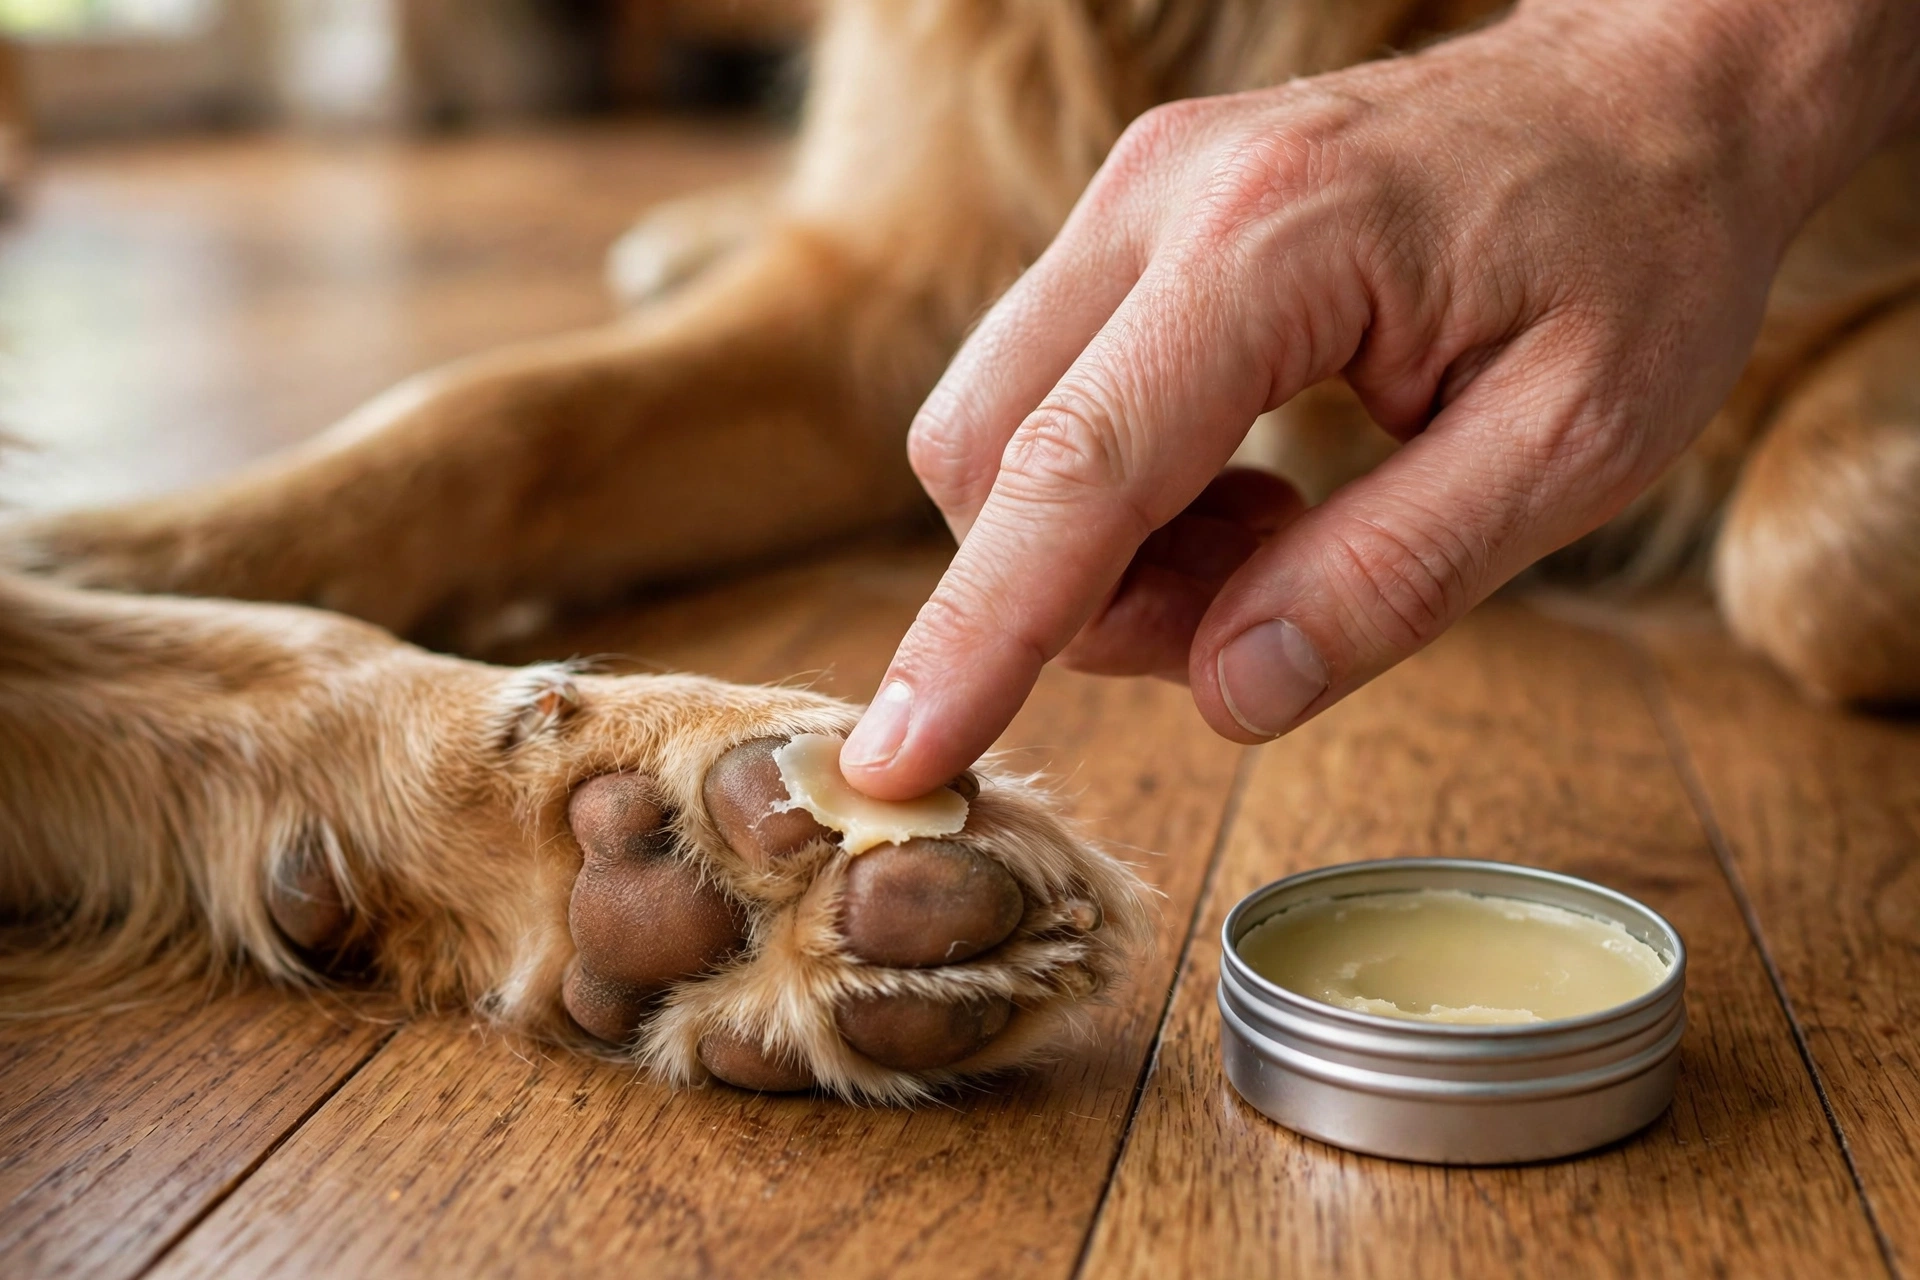
Here’s a fix people overlook: a lot of scratching happens because the dog can’t grip. Smooth hardwood plus dry paw pads equals scrambling starts, skidding stops, and frantic claw marks at every turn. A thin layer of paw wax improves traction and conditions dry pads at the same time.
How to do it: Rub a small amount of natural paw wax onto each paw pad before walks and before active indoor play. The wax wears off with activity, so reapply as needed — especially in winter, when cold and dry air make pads even slicker.
Pro tip: Paw wax also protects against ice, salt, and hot pavement outdoors, so it pulls double duty year-round.
Helpful pick: Musher’s Secret Paw Wax — the original all-natural paw balm that supports traction on slick floors while conditioning dry pads.
4. Lay Area Rugs and Runners in High-Traffic Zones
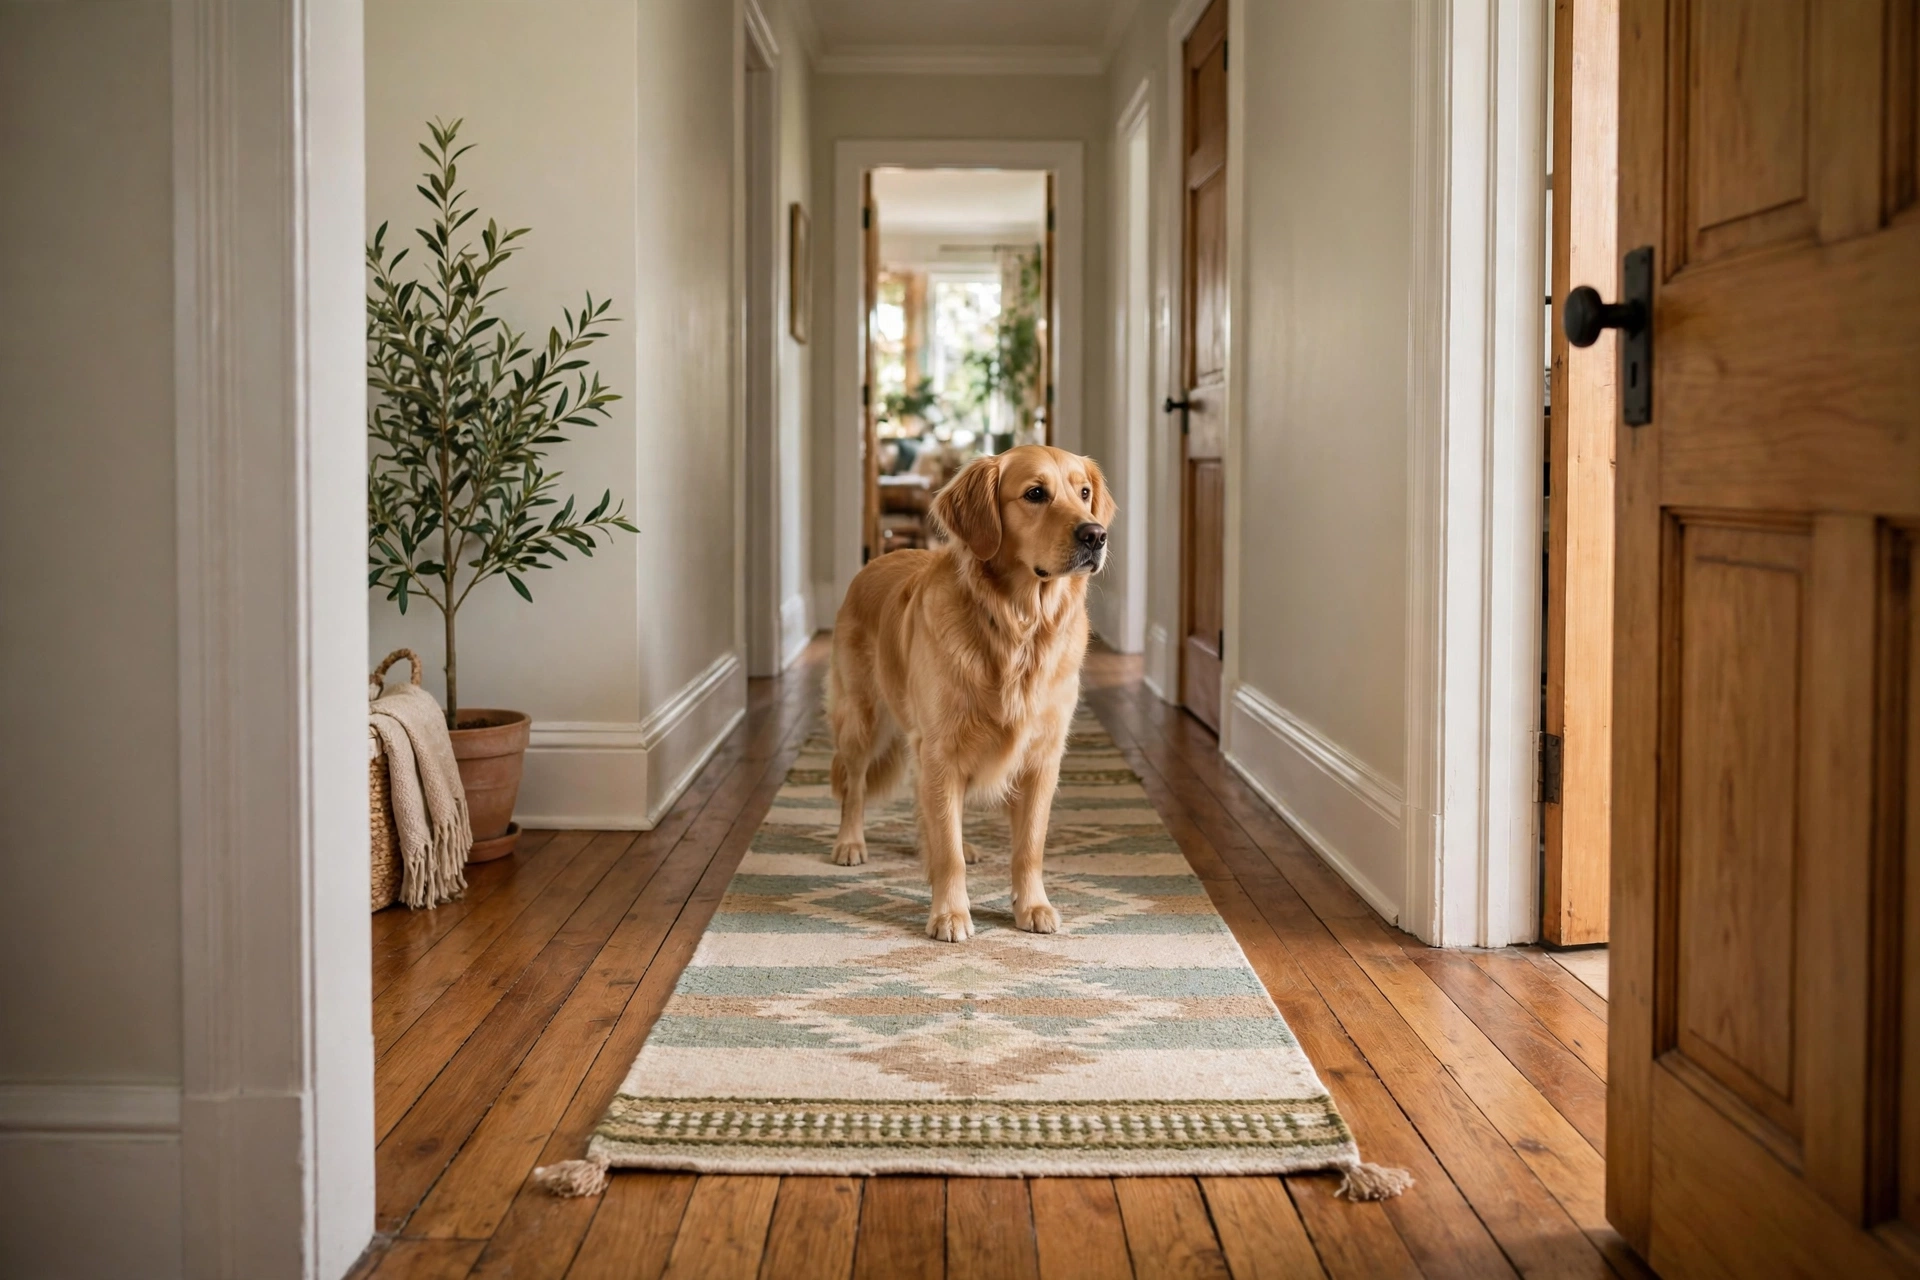
You don’t have to carpet the whole house. Target the launchpads: the hallway from the couch to the door, the entryway, around food and water bowls, and the stretch your dog sprints down when someone knocks. Low-profile rugs with non-slip backing give claws something soft to dig into and give your dog better traction — which means fewer panic-skid scratches.
How to do it: Place washable, low-pile runners along your dog’s daily routes. Machine-washable is non-negotiable with pets — mud, hair, and drool happen. Secure rugs with non-slip backing or rug tape so they don’t bunch up and become a new tripping hazard.
Pro tip: Put a mat under the water bowl too. Spills soften wood finishes and make the area extra slippery.
Helpful pick: Hazo Haus Washable Hallway Runner Rug — pet-friendly, machine-washable, and backed with non-slip rubber that stays put on hardwood.
5. Exercise Your Dog Before Indoor Play
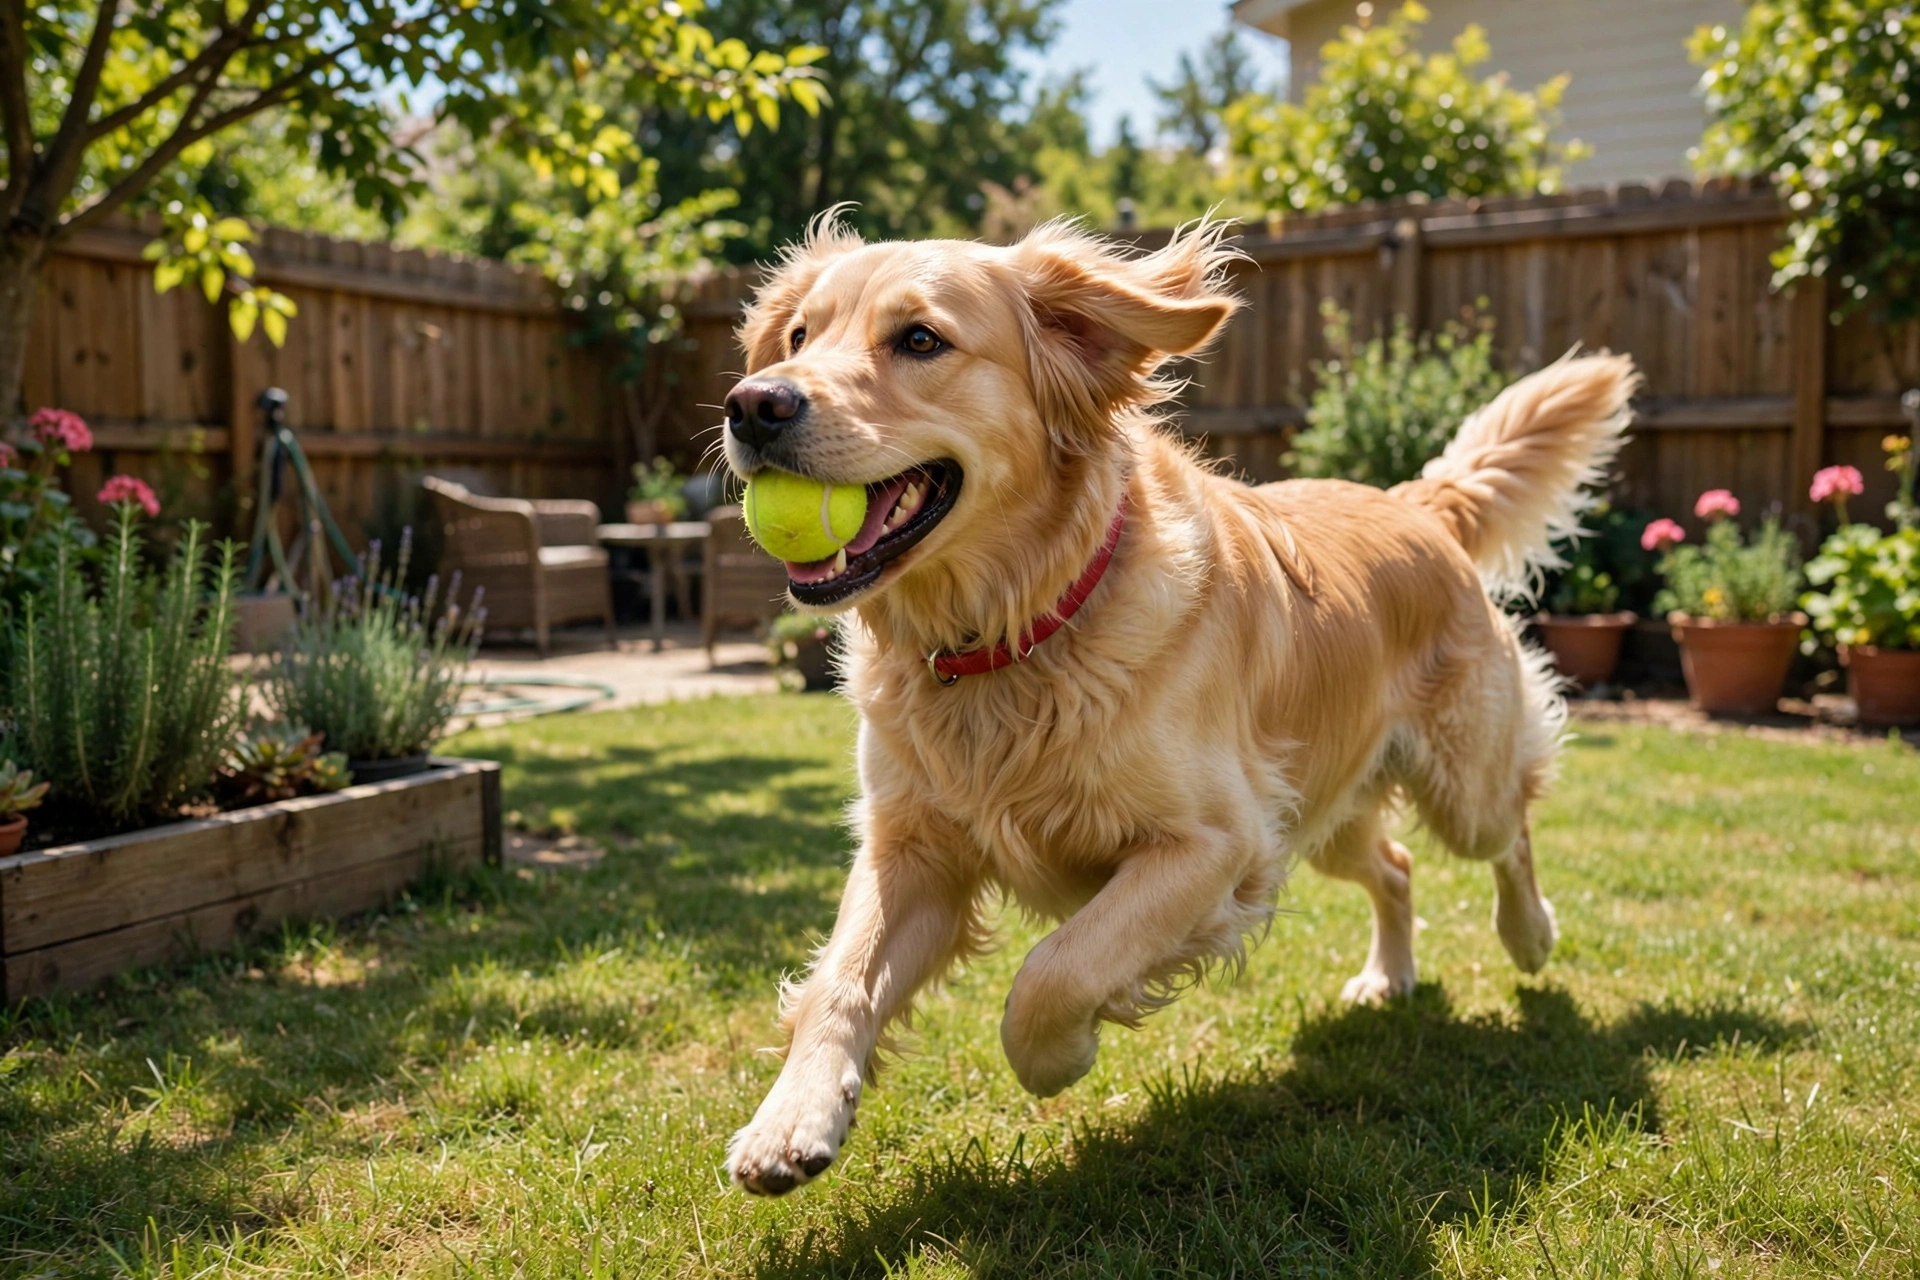
A tired dog moves like a gentleman; a bored, over-energized dog tears around the house at full speed. Most dramatic scratch events — the zoomies launch off the rug, the full-speed corner turn, the airborne couch dismount — happen when a dog has energy to burn and nowhere appropriate to burn it.
How to do it: Give your dog a proper exercise session before long indoor stretches: a walk, a fetch session, or structured play that matches their breed’s needs. Most dogs need at least 30–60 minutes of activity daily; high-energy breeds need more. Redirect rowdy indoor play to the yard or a rug-covered area.
Pro tip: Mental exercise counts too. A stuffed KONG or a short training session can drain energy as effectively as a run for many dogs.
Helpful pick: KONG Classic — the stuffable chew toy that turns ten minutes of indoor energy into a calm, floor-safe activity.
6. Calm the Anxiety Behind the Scratching
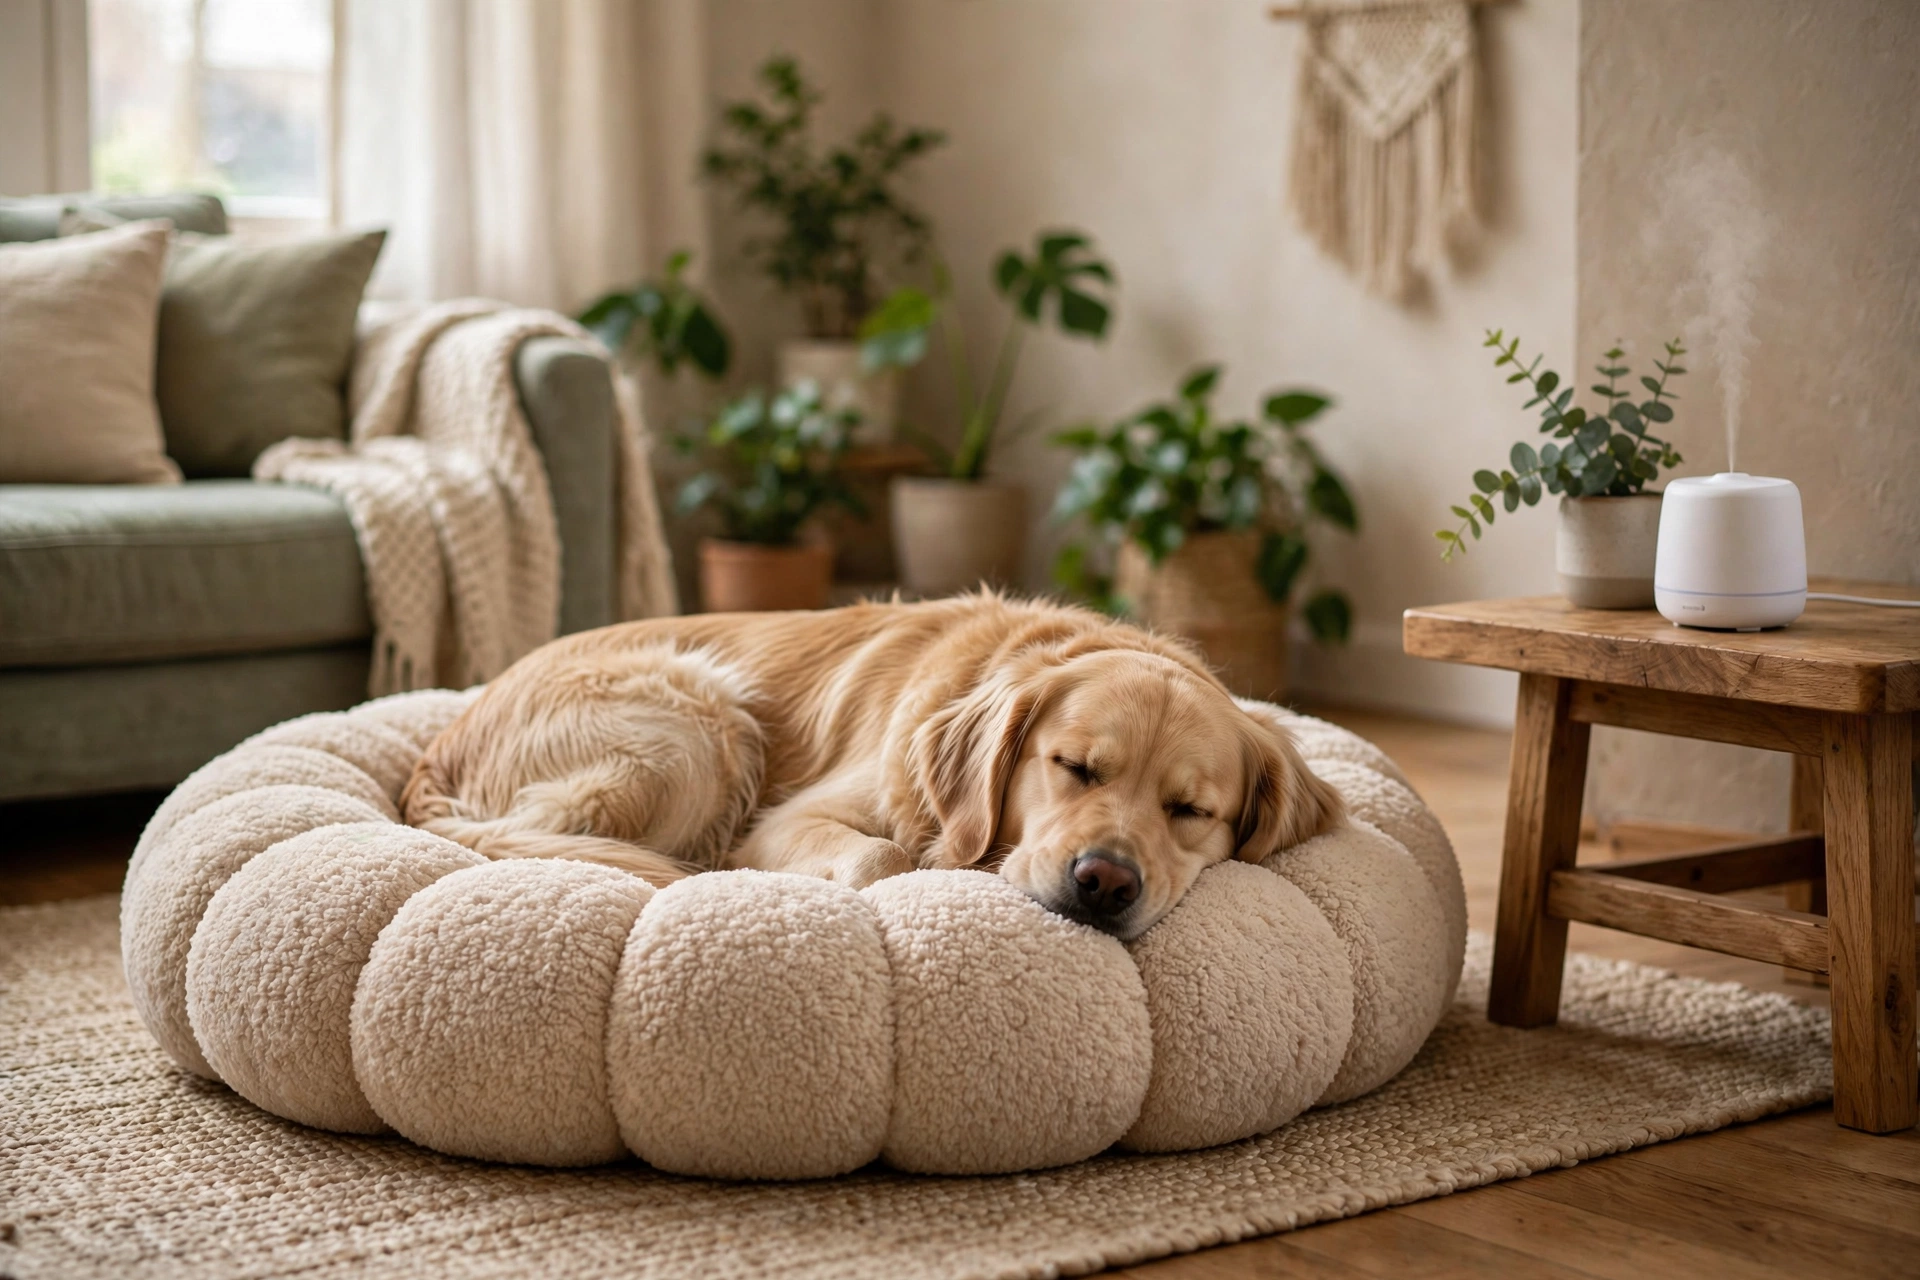
Sometimes the scratching is not accidental at all. Dogs with separation anxiety dig and claw at floors and doors — often near the exit you left through. Watch for the pattern: scratching that happens only when you are gone, plus pacing, panting, or whining, points to anxiety rather than long nails. Read the full breakdown of signs your dog is stressed if this sounds familiar.
How to do it: Address the root cause: build up alone-time gradually, leave enrichment toys when you go, keep departures low-key, and establish a consistent routine. Calming aids — a cozy den-style bed, white noise, or a pheromone diffuser — can take the edge off while you work on the training.
Pro tip: Confining an anxious dog to a small room with the “problem” floor can make things worse — they will just scratch that floor harder. Focus on reducing the anxiety, not restricting the dog.
Helpful pick: ADAPTIL Calm Home Diffuser — a plug-in pheromone diffuser that supports a calmer home environment during stressful moments.
7. Booties for Senior Dogs (and Slippery Floors)
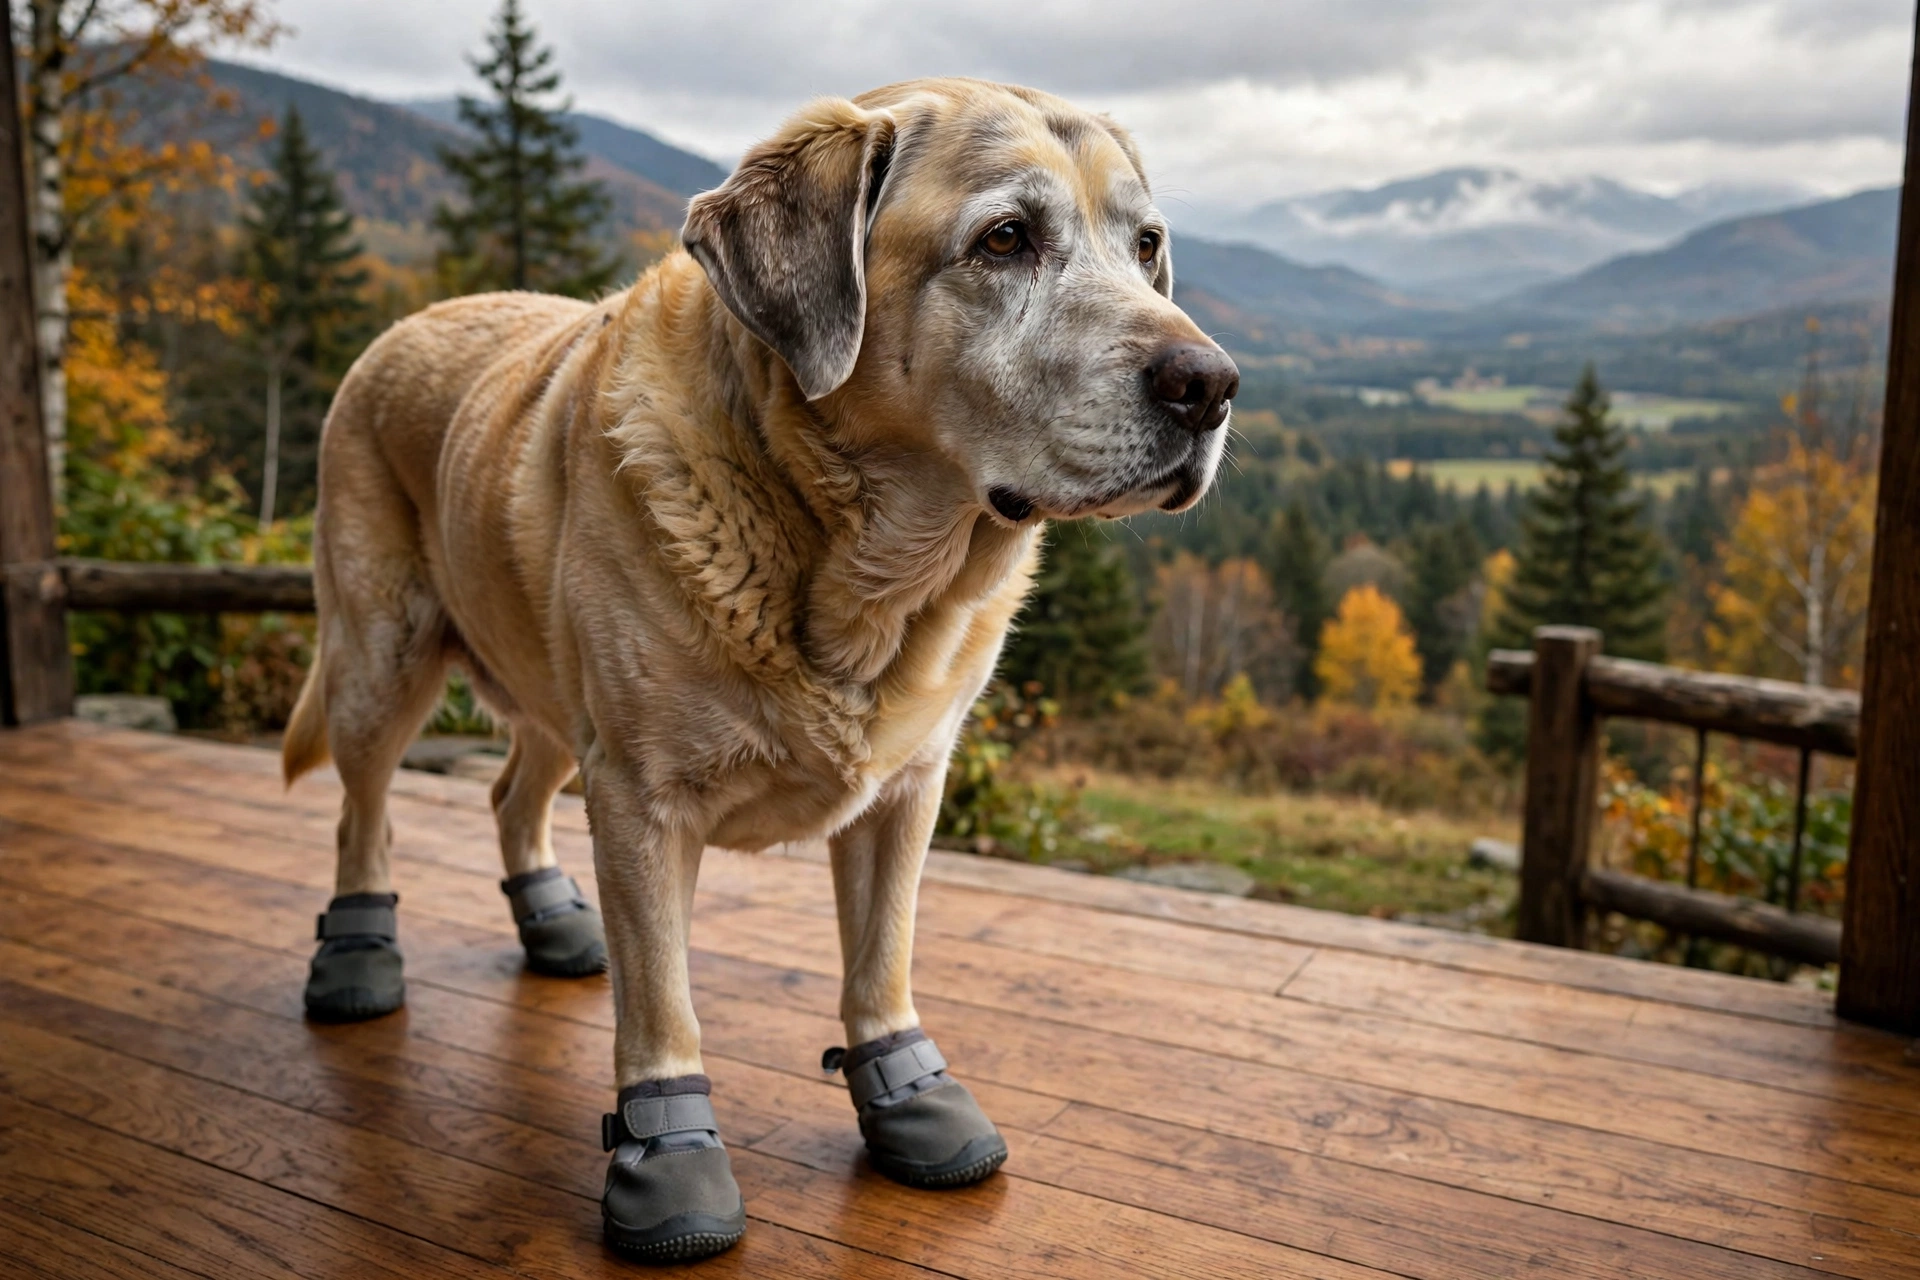
Older dogs have a special problem: weaker legs and stiffer joints mean more slipping, more scrambling, and more desperate claw marks as they try to stand up on slick wood. Lightweight booties with rubberized soles give seniors the grip they need — protecting your floors and your dog’s confidence at the same time.
How to do it: Measure your dog’s paws and follow the brand’s size chart carefully — fit matters more than style. Introduce booties gradually with treats: a few minutes indoors at first, then longer wear. Many dogs do a hilarious high-step march on day one and forget about the boots by day three.
Pro tip: Booties are for indoors or short outings, not all-day wear. Check the fit regularly and keep paws clean and dry underneath.
Helpful pick: Ruffwear Grip Trex Dog Boots — breathable boots with non-marking rubber soles that give reliable indoor traction without scratching floors.
8. Repair Existing Scratches the Easy Way
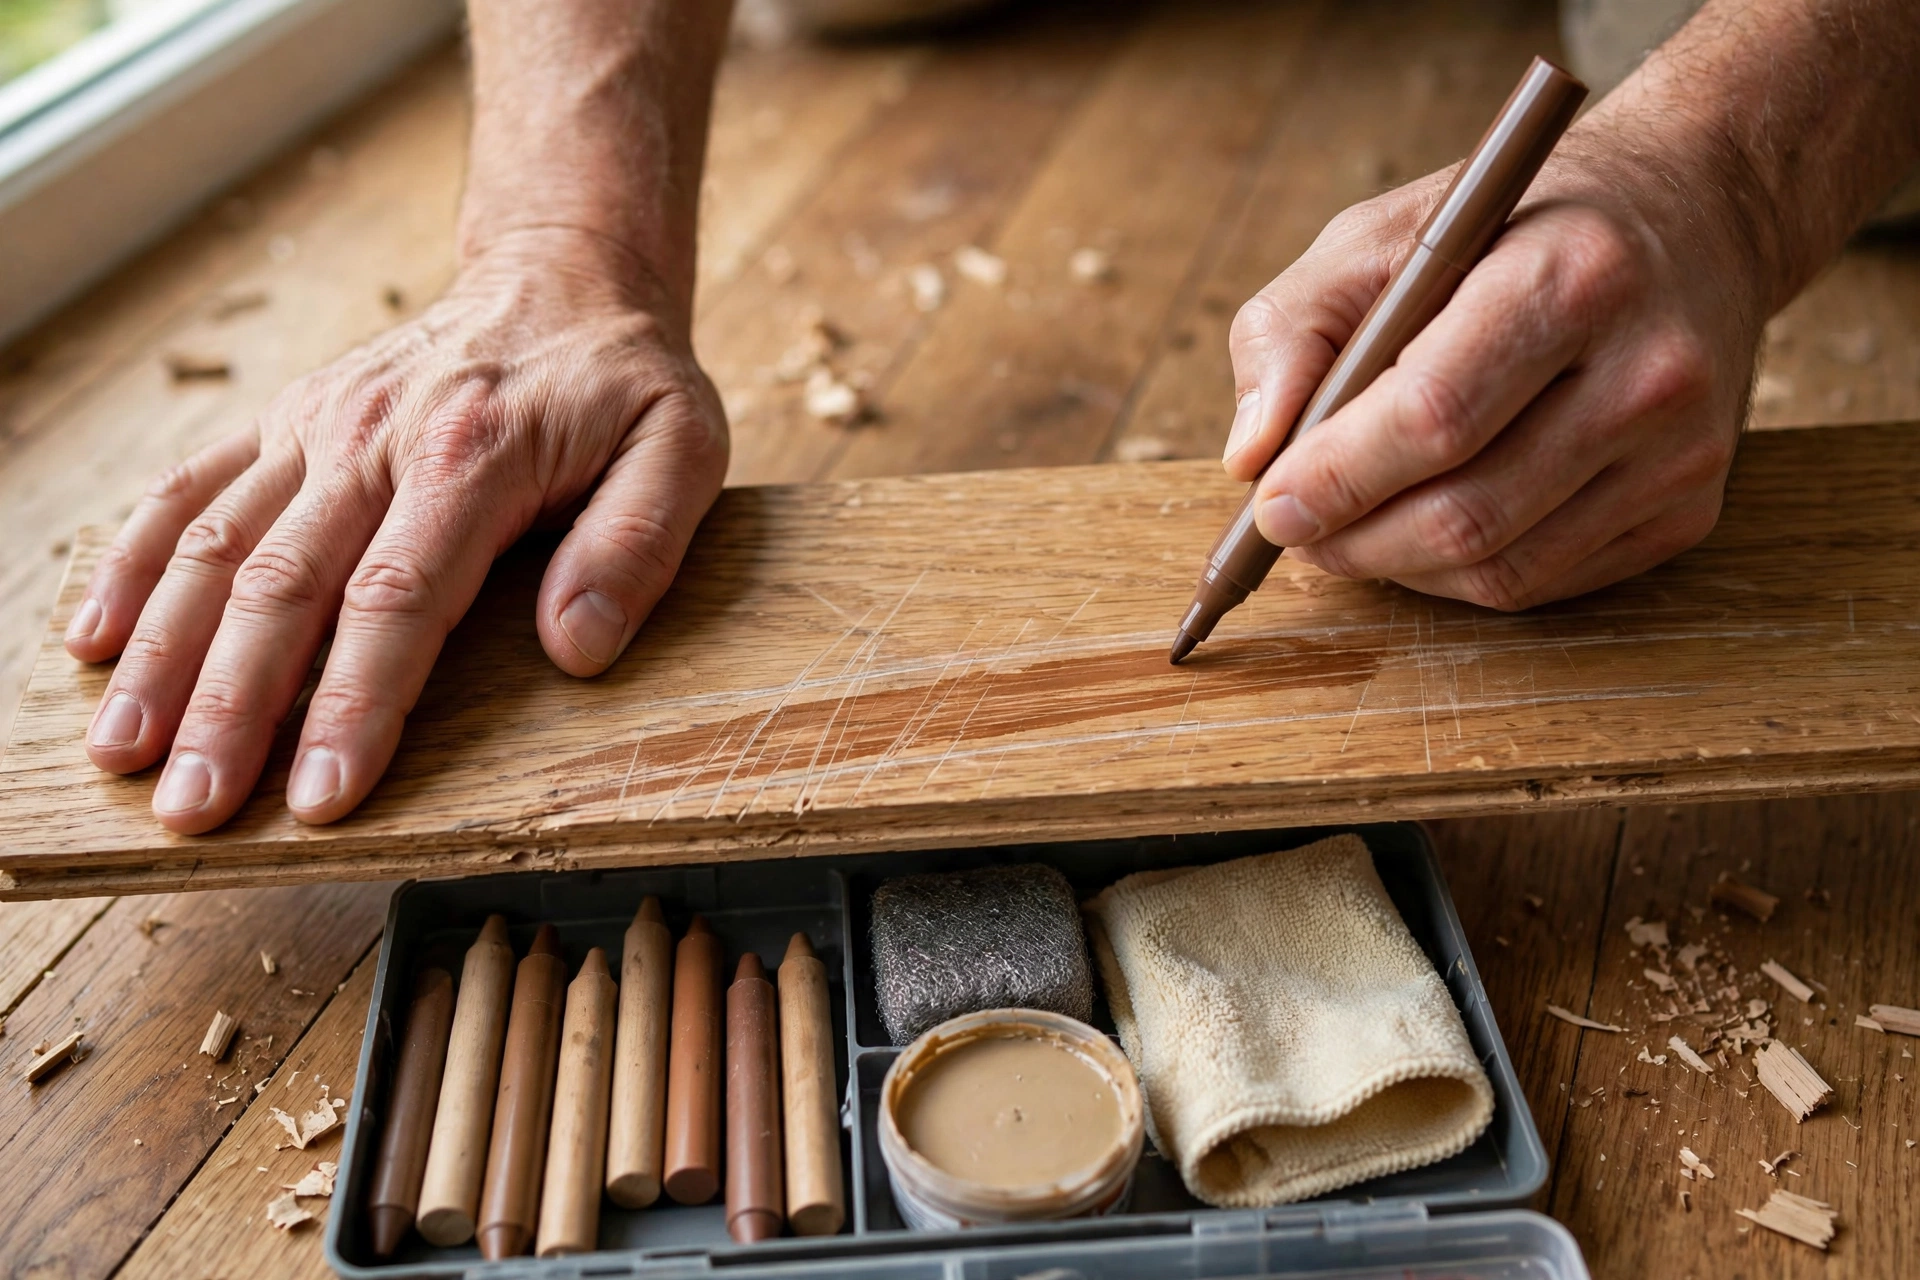
Prevention stops new damage, but what about the scratches already there? Most surface scratches sit in the finish, not the wood — and those are easy to fix. For light marks, try rubbing a walnut or a dab of coconut oil into the scratch; for visible lines, wood repair markers and wax sticks blend remarkably well.
How to do it: Clean the area with a damp cloth, choose a wax or marker color that matches your floor, fill or color the scratch, then buff smooth. For deeper gouges, use a wax-fill repair kit: melt the wax into the damage, let it cool, and sand it flush.
Pro tip: Satin finishes hide fine scratches far better than high-gloss ones. If you ever refinish, consider switching to satin for a more dog-friendly look.
Helpful pick: Wood Floor Repair Kit with Wax and Markers — color-matched wax sticks and touch-up markers designed to cover scratches, chips, and pet damage on wood floors.
Why Dogs Scratch Wood Floors
Understanding the cause helps you pick the right fix. The most common reasons:
- Long nails: The number-one culprit. Non-retractable claws drag across the finish with every step, and the damage multiplies during running and sudden stops.
- High-speed movement: Launching off furniture, skidding around corners, and sprinting to the door create the downward and lateral force that etches the finish.
- Poor traction: Slippery floors make dogs scramble for grip, and scrambling claws do more damage than calm walking.
- Excess energy or boredom: Zoomies and roughhousing indoors are scratch factories. A well-exercised dog barely dents a floor.
- Anxiety: Stress-driven scratching — at doors, exits, or one persistent spot — often accompanies separation anxiety.
- Nesting instinct: Some dogs “dig” before lying down, an old instinct for making a comfortable bed. Soft bedding in their favorite spots redirects it.
The fix that covers most cases: keep nails short, give your dog traction, burn off the energy outdoors, and protect the highest-traffic zones. Do that, and your floors can survive your dog — and look good doing it.
Frequently Asked Questions
Will my dog’s nails always scratch wood floors?
Not necessarily. Short, well-maintained nails cause far less damage than long ones, and most marks are just in the finish layer. The combination of nail care, traction aids, and rugs keeps most floors looking great for years.
Are dog nail caps safe?
Yes. Soft vinyl nail caps are non-toxic, humane, and were originally developed with veterinary input. They blunt the nail tip for four to six weeks per application and fall off naturally as nails grow.
Can I repair deep dog scratches on hardwood myself?
Surface scratches — the white or light lines in the finish — are very DIY-friendly with markers, wax sticks, or a repair kit. Deep gouges into the wood itself may need sanding and refinishing, which is often best left to a professional.
Why does my dog scratch the floor when I’m gone?
Scratching that only happens in your absence is a classic sign of separation anxiety — especially near doors or exits. Focus on calming routines and gradual alone-time training rather than punishing the scratching.
Do hardwood floors and dogs ever really mix?
Absolutely. Harder wood species and satin finishes resist and hide wear better, but honestly, consistent nail trims plus a few protective rugs make almost any wood floor compatible with almost any dog.
Keep Reading: How to Stop Your Dog from Scratching the Carpet · How to Stop Your Dog from Scratching Doors · Best Dog Nail Clippers for Thick Nails
As an Amazon Associate, PetPostHub earns from qualifying purchases.


One Comment